CentOS7.6.1810实现Harbor(v1.10.3)镜像仓库管理以及多机实现镜像主从复制
1 docker 安装
《centos 7.6.1810安装与使用docker 18.09.6》:https://blog.csdn.net/CleverCode/article/details/107181446
2 安装docker-compose
# curl -L https://github.com/docker/compose/releases/download/1.21.2/docker-compose-`uname -s`-`uname -m` -o /usr/local/bin/docker-compose
# chmod +x /usr/local/bin/docker-compose
3 安装harbor
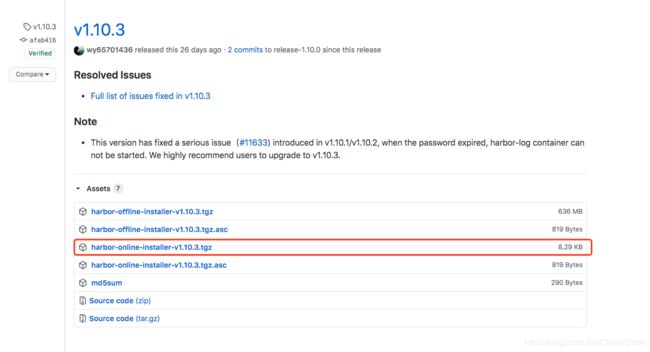
1 下载harbor-online-installer-v1.10.3.tgz
https://github.com/goharbor/harbor/releases
2 解压
# tar xf harbor-online-installer-v1.10.3.tgz
3 修改配置
# cd harbor
vi harbor.yml
hostname: 172.16.159.162
http:
  port: 8081
harbor_admin_password: clevercode12345
hostname:变成自己主机的ip
port:自己定义,我改成了8081
harbor_admin_password:是管理员登录密码,我改成了clevercode12345
4 安装
# ./prepare  //预处理
# ./install.sh //执行安装操作
5 查看

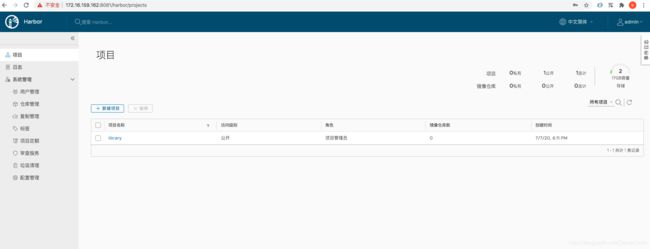
6 登录
http://172.16.159.162:8081/ 账号:admin 密码:clevercode12345
7 重启
再次执行./install.sh即可
./install.sh
4 向harbor中推送镜像与下载镜像
4.1 上传镜像
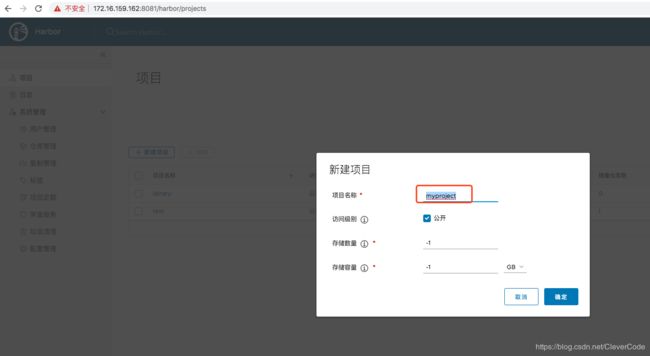
1 在harbor中新建项目
在172.16.159.162:8081 新建test项目
2 拉取一个测试镜像
# docker pull busybox
3 查看镜像
![]()
4 给镜像打标签
# docker tag busybox:latest 172.16.159.162:8081/myproject/busybox:v1
# docker tag
docker tag SOURCE_IMAGE[:TAG] TARGET_IMAGE[:TAG]
docker tag 镜像名:${version} 镜像仓库/镜像名:${version}
5 登录harbor
[root@localhost harbor]# docker login 172.16.159.162:8081
Username: admin
Password:
Error response from daemon: Get https://172.16.159.162:8081/v2/: http: server gave HTTP response to HTTPS client
[root@localhost harbor]#
报https问题,将172.16.159.162:8081加入到私服
vi /etc/docker/daemon.json
{
  "registry-mirrors": ["https://docker.mirrors.ustc.edu.cn","http://hub-mirror.c.163.com","https://dockerhub.mirrors.nwafu.edu.cn"],

  "insecure-registries": ["172.16.159.162:8081"],
  "max-concurrent-downloads": 10,
  "log-driver": "json-file",
  "log-level": "warn",
  "log-opts": {
    "max-size": "10m",
    "max-file": "3"
    },
  "data-root": "/var/lib/docker"
}
重启docker
# systemctl restart docker
再次登录正常
[root@localhost harbor]# docker login 172.16.159.162:8081
Username: admin
Password:
WARNING! Your password will be stored unencrypted in /root/.docker/config.json.
Configure a credential helper to remove this warning. See
https://docs.docker.com/engine/reference/commandline/login/#credentials-store

Login Succeeded
5 推送镜像
[root@localhost harbor]# docker push 172.16.159.162:8081/myproject/busybox:v1
The push refers to repository [172.16.159.162:8081/myproject/busybox]
50761fe126b6: Pushed
v1: digest: sha256:2131f09e4044327fd101ca1fd4043e6f3ad921ae7ee901e9142e6e36b354a907 size: 527
[root@localhost harbor]#
6 查看镜像
http://172.16.159.162:8081/

4.2 下载镜像
# docker pull 172.16.159.162:8081/myproject/busybox:v1

5 两台harbor主机,主从复制
5.1 建立主推从
1、按照1,2,3章节启动harbor
harbor1: 172.16.159.162 (主)
harbor2: 172.16.159.164 (从)
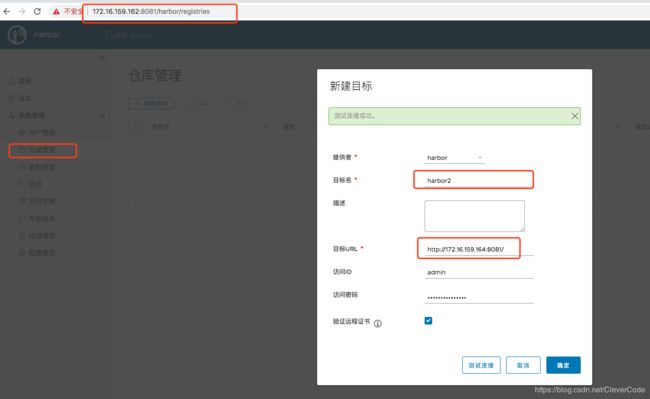
2 在 172.16.159.162:8081上面
   【仓库管理】 => 【新建目标】
目标URL:http://172.16.159.164:8081/
访问ID: admin
访问密码: clevercode12345
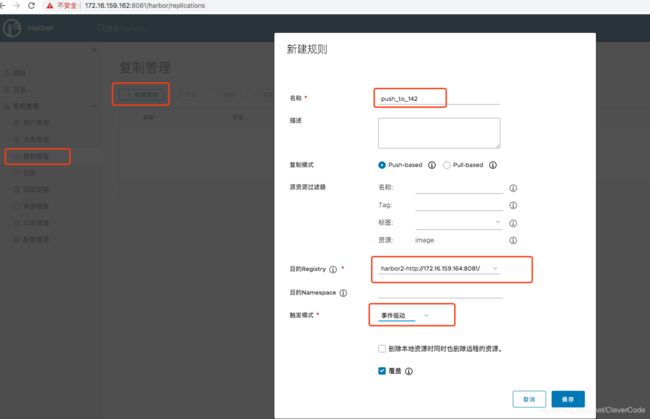
3 在 172.16.159.162:8081上面 新建复制规则
【复制管理】=> 【新建规则】
5.2 测试
1 新建标签
# [root@localhost harbor]# docker tag hello-world:latest 172.16.159.162:8081/java/hello-world:v1.0.0
2 推送镜像
# docker push 172.16.159.162:8081/java/hello-world:v1.0.0
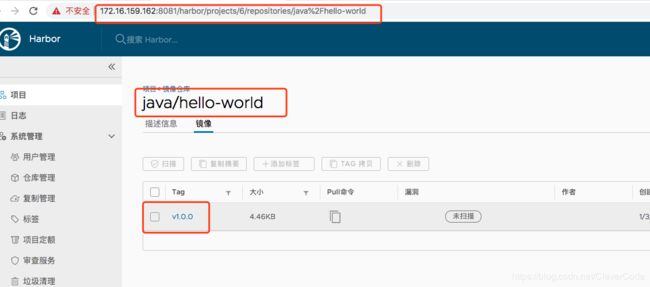
3 查看 172.16.159.162:8081
发现镜像已经有了
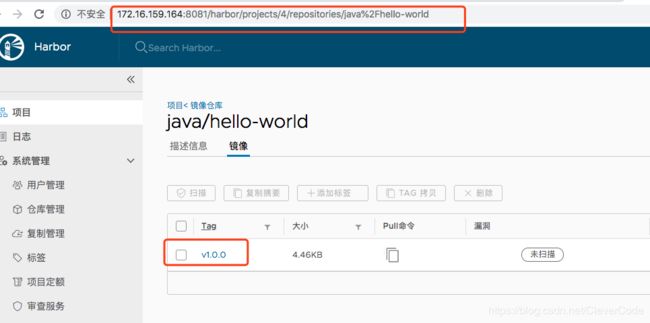
3 查看 172.16.159.164:8081
发现镜像已经同步过来了
4 在从上拉取镜像
拉取172.16.159.164:8081镜像
# docker pull 172.16.159.164:8081/java/hello-world:v1.0.0
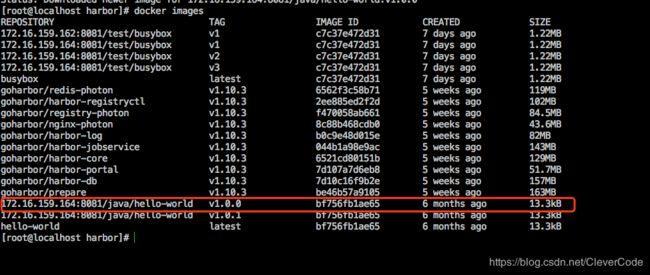
查看镜像
# docker images