通过opencv获取图片轮廓
在做wordcloud时,有一个让人非常非常非常头疼的问题,就是想做那种带轮廓的wordcloud却找不到满意的轮廓图。本篇博客利用opencv中的前景提取函数grabCut(),来制作背景为白色的前景轮廓提取图。
啥也不多说了,直接上代码和过程吧。
方法一:
# 利用矩形框来选中前景区,矩形外部为背景区域
import numpy as np
import cv2
from matplotlib import pyplot as plt
from imageio import imread

#获取图片
img = cv2.imread('saber.jpg')
mask = np.zeros(img.shape[:2],np.uint8)
bgdModel = np.zeros((1,65),np.float64)
fgdModel = np.zeros((1,65),np.float64)
#根据鼠标事件来划定边界框
def drawRect(event,x,y,flags,param):
    global ix,iy,X,Y,W,H,img
#若鼠标左键按下,则记住当前位置,边界框的一个顶点
    if event==cv2.EVENT_LBUTTONDOWN:
        ix,iy=x,y
#拖动的过程中,对原图的复制体画矩形,img_temp表示临时使用图片
    elif event==cv2.EVENT_MOUSEMOVE and flags==cv2.EVENT_FLAG_LBUTTON:
        img_temp=img.copy()
        cv2.rectangle(img_temp,(ix,iy),(x,y),(0,255,25),1)
        cv2.imshow('rect_test',img_temp)
#当鼠标左键释放,则将当前位置作为边界框的另一个顶点
    elif event==cv2.EVENT_LBUTTONUP:
        X=min(ix,x)
        Y=min(iy,y)
        W=max(ix,x)-X
        H=max(iy,y)-Y
#使用grabCut()的RECT模式来提取前景
        cv2.grabCut(img,mask,(X,Y,W,H),bgdModel,fgdModel,5,cv2.GC_INIT_WITH_RECT)
        mask2 = np.where((mask==2)|(mask==0),0,1).astype('uint8')
        img=img*mask2[:,:,np.newaxis]
        img += 255*(1-cv2.cvtColor(mask2,cv2.COLOR_GRAY2BGR))
        cv2.imwrite('saber_outline.jpg',img)
        cv2.imshow('rect_test',img)

ix,iy,X,Y,W,H=[0]*6

cv2.namedWindow('rect_test')
cv2.setMouseCallback('rect_test',drawRect)
cv2.imshow('mask',mask)
cv2.imshow('rect_test',img)
cv2.waitKey(0)

cv2.destroyAllWindows()
原图:

轮廓图:

再用wordcloud简单地绘制一个词云图试试
import jieba
from wordcloud import WordCloud, STOPWORDS, ImageColorGenerator
from imageio import imread

text_for_wordcloud="""
A few days before, a girl who studied abroad had the great honor to speech at the graduation ceremony.
When people from her country was looking forward to hearing her wonderful speech, they were shocked by her exaggerate words.
She said the air in her country was so bad that she needed to wear face mask every time she went out of the house.
But when she stepped in America, she felt the sweet and fresh air. The fact is that the quality of air in her hometown was good,
and there was no need to wear face mask. A lot of people criticized her for twisting the fact. They show their love to their own country.
I love my country, because of its profound culture and diversity. Chinese food is famous around the world.
I think my stomach can't get used to other country's food. I love everything of my country.
"""
text_list = jieba.cut(text_for_wordcloud, cut_all=True)
text=' '.join(text_list)

mk = imread('saber_outline.jpg')
w = WordCloud(mask=mk,font_path='msyh.ttc')
w.generate(text)
w.to_file('saber_wc.png')
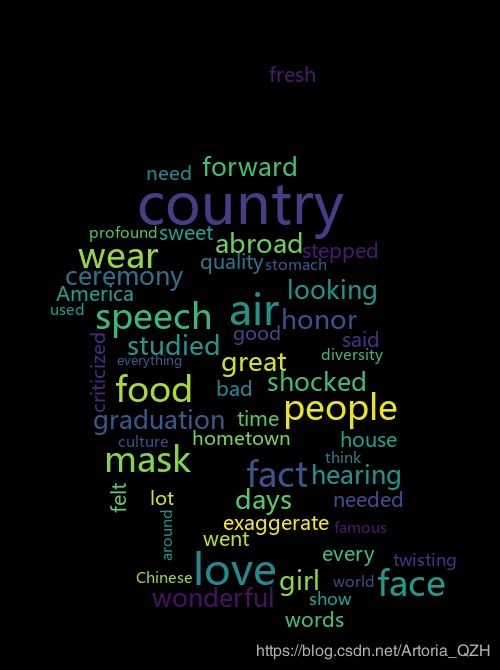
额。。。。好像。。。。没有看出轮廓的样子哈哈哈哈哈。
不过用起来真的很方便
方法二:
#利用掩模图来实现前景区的提取
import numpy as np
import cv2

# mode来决定当前画前景还是背景,前景时画笔为白色,画背景时画笔为黑色,默认画笔为白色
mode=True
#函数用来选定前景和背景,实质是移动鼠标过程中画圆
def drawCircle(event,x,y,flags,param):
    global img_temp,mask1
    if event==cv2.EVENT_MOUSEMOVE and flags==cv2.EVENT_FLAG_LBUTTON:
        if mode:
            color_used=1
        else:
            color_used=0
        cv2.circle(img_temp,(x,y),5,(255*color_used,)*3,-1)
        cv2.circle(mask1,(x,y),3,color_used,-1)
        cv2.imshow('img',img_temp)
#         cv2.imshow('draw_test',mask1)

cv2.namedWindow('img')
img = cv2.imread('tr.jpg')
img_temp=img.copy()
bgdModel = np.zeros((1,65),np.float64)
fgdModel = np.zeros((1,65),np.float64)
mask1=3*np.ones(img.shape[:2],np.uint8)

cv2.setMouseCallback('img',drawCircle)
cv2.imshow('img',img)
#cv2.imshow('draw_test',mask1)

# 按下'm'键表示切换画笔模式,按下'q'键退出,按下'o'键表示选定完毕开始提取
while(1):
    k=cv2.waitKey(0)& 0xFF
    if k==ord('m'):
        mode=not mode
    elif k==ord('q'):
        break
    elif k==ord('o'):
        cv2.grabCut(img,mask1,None,bgdModel,fgdModel,4,cv2.GC_INIT_WITH_MASK)
        mask2 = np.where((mask1==2)|(mask1==0),0,1).astype('uint8')
        img = img*mask2[:,:,np.newaxis]
        img += 255*(1-cv2.cvtColor(mask2,cv2.COLOR_GRAY2BGR))
        cv2.imwrite('tr_outline.jpg',img)
        cv2.imshow('img',img)

cv2.destroyAllWindows()
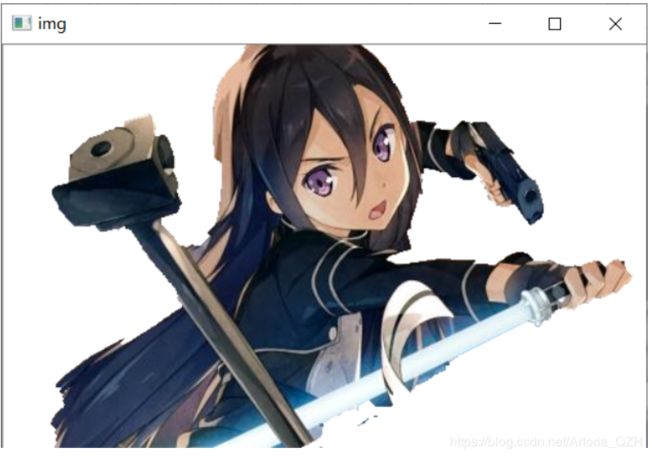
原图:

过程图:

别打我。。。我已经笑死了。。。。不过效果还是很不错的
虽然代码中已经有了注释,但最简单的理解就是白色的线是需要保留的,黑色的是不需要保留的
绘制词云图:

最后比较下优缺点
第一种:
优点:提取过程简单,整体效果不错,对人物头发边缘、裙角提取得到位;
缺点:人物:发带的处理,人物外:蝴蝶,月亮(不完整)等细节很容易就被判为背景,无法控制。
第二种:
优点:可以自行选定图像前景背景,更符合实际情况;
缺点:相对第一种模式要费时一点,脸部下方、发带部分的细节处理还需要进一步细分背景。
参考:
https://www.jianshu.com/p/6e45e9d324de