生成自己的coco数据集
1、环境准备
操作系统:macOS
python:3.6.0
2、coco数据集
文件夹格式:
coco/
-
annotations/-
instances_train2017.json -
instances_val2017.json
-
-
images/-
rail_1.jpg -
... -
rail_5.jpg -
... -
train2017/ -
val2017
-
coco格式:
整体结构
{"info": info,"licenses": [license],"images": [image],"annotations": [annotation],"categories": [category]}
info字段
info: {"year": int,"version": str,"description": str,"contributor": str,"url": str,"date_created": datetime,}
licenses字段
license{"id": int,"name": str,"url": str,}
images字段
image{"id": int,"width": int,"height": int,"file_name": str,"license": int,"flickr_url": str,"coco_url": str,"date_captured": datetime,}
annotations字段
annotation{
    "id": int,
    "image_id": int,
    "category_id": int,
    "segmentation": RLE or [polygon],
    "area": float,
    "bbox": [x,y,width,height],
    "iscrowd": 0 or 1,
}annotations字段另外一种:segmentation中polygon格式
{"segmentation": [[510.66,423.01,511.72,420.03,510.45......]],"area": 702.1057499999998,"iscrowd": 0,"image_id": 289343,"bbox": [473.07,395.93,38.65,28.67],"category_id": 18,"id": 1768},
3、labelme文件夹
labelme/
-
rail_1.json -
rail_1.jpg -
rail_2.json -
rail_2.jpg
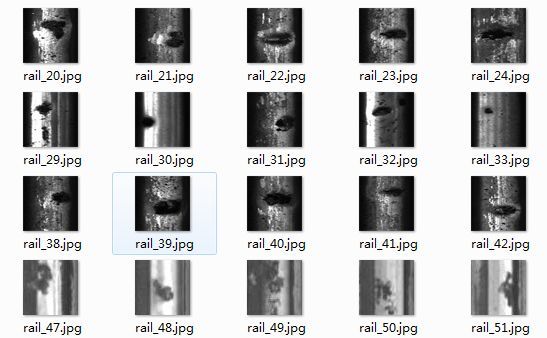
4、原始数据集是一系列.jpg的图片
5、先将原始图片转为labelme
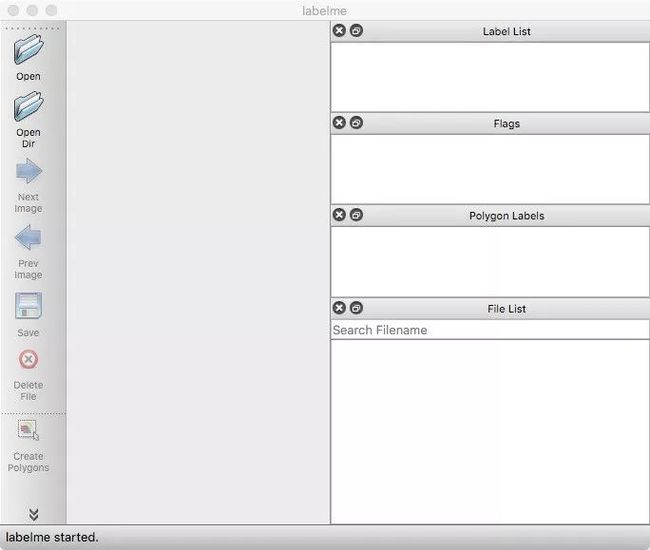
pip install labelme安装好后运行labelme输入labelme即可
labelme点击open dir选择数据集文件夹
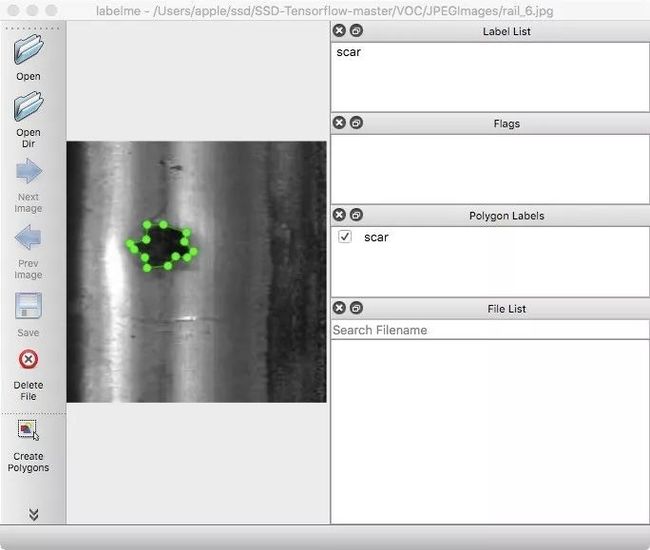
然后右击选择create polygons标记多边形
点击save保存在图片同一路径下
6、labelme转coco数据格式(labelme2coco)
下载labelme项目
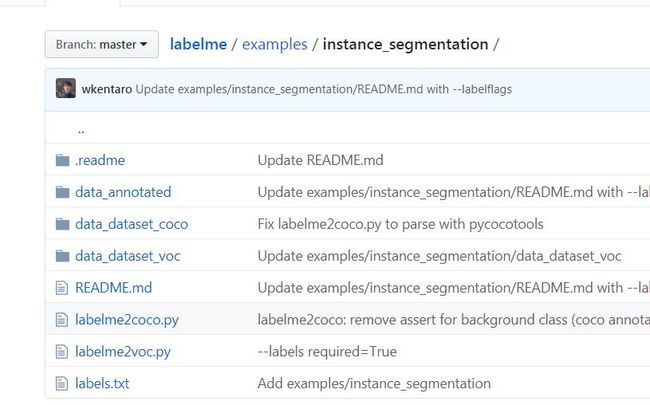
git clone https://github.com/wkentaro/labelme.git进入下图文件夹
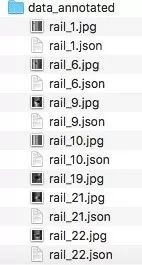
将生成好的labelme文件放入data_annotated
删除data_dataset_coco文件夹
修改labels.txt文件中的类别
执行以下命令即可
./labelme2coco.py data_annotated data_dataset_coco --labels labels.txt