Linux--RH254---unit 2 高级网络配置
一、bond
1.定义
bond 网络:
Red Hat Enterprise Linux 允许管理员使用bonding 内核模块和称为通道绑定接口的特殊网络接口将多个网络接口绑定到一个通道。根据选择的绑定模式 , 通道绑定使两个或更多个网络接口作为一个网络接口 , 从而增加带宽和 / 提供冗余性
选择 Linux 以太网绑定模式:
模式 0 ( 平衡轮循 ) - 轮循策略 , 所有接口都使用采用轮循方式在所有 Slave 中传输封包 ; 任何Slave 都可以接收
模式 1 ( 主动备份 ) - 容错。一次只能使用一个Slave 接口 , 但是如果该接口出现故障 , 另一个Slave 将接替它
模式 3 ( 广播 ) - 容错。所有封包都通过所有Slave 接口广播
2.添加网卡
主机:
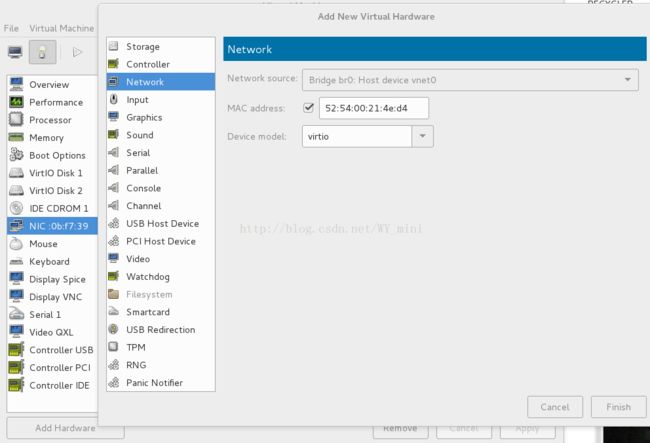
virt-manager
Add Hardware-->Network-->Device model(virtio)-->finish ##添加一块新的网卡
3.删除网络配置
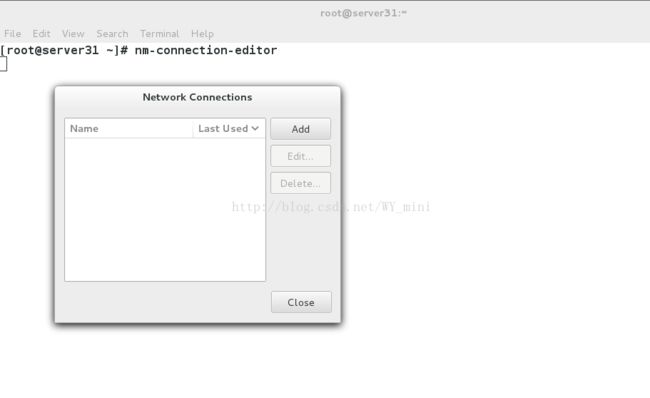
nm-connection-editor ##删除所有网路-->delete
4.配置 bond 网络接口
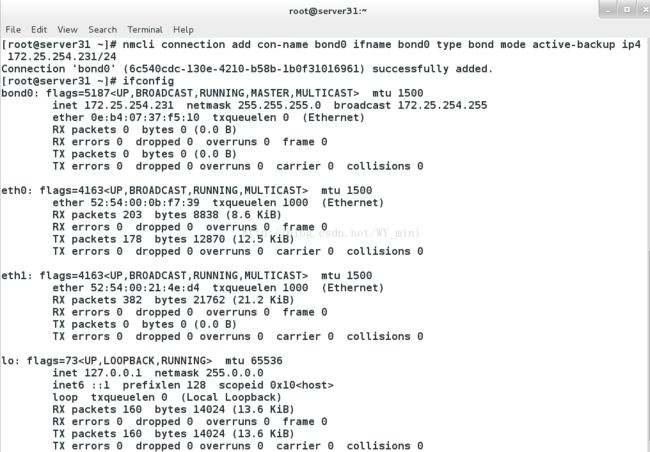
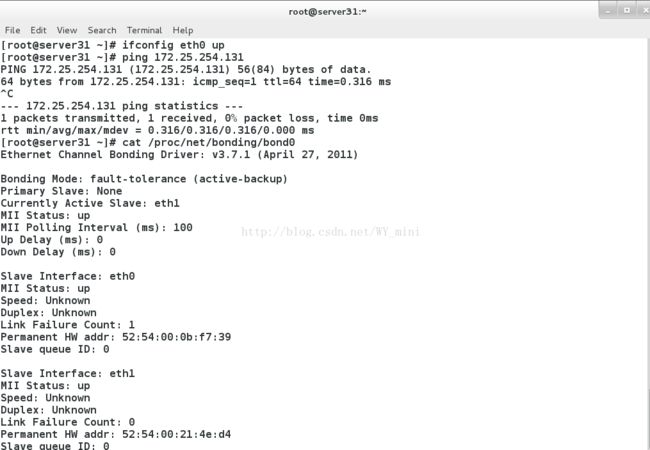
nmcli connection add con-name bond0 ifname bond0 type bond mode active-backup ip4 172.25.254.231/24 ##建立绑定接口 bond0
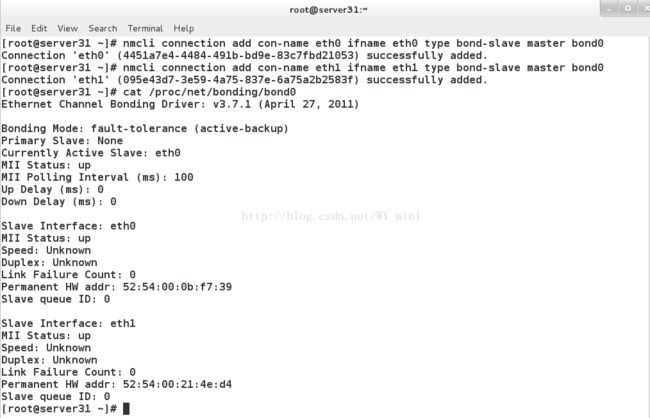
nmcli connection add con-name eth0 ifname eth0 type bond-slave master bond0 ##建立 Slave 接口 eth0nmcli connection add con-name eth1 ifname eth1 type bond-slave master bond0 ##建立 Slave 接口 eth1
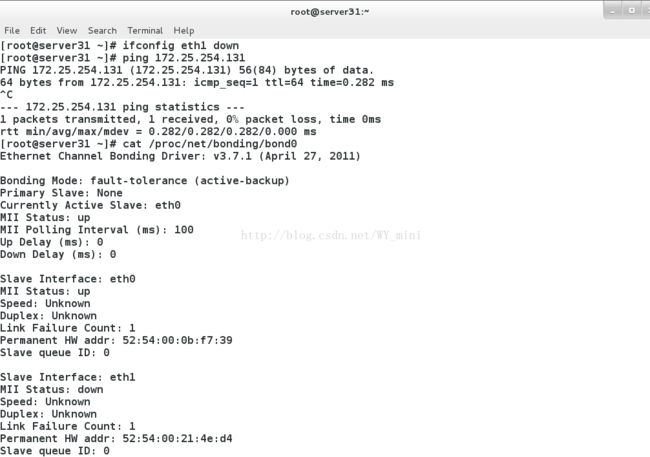
cat /proc/net/bonding/bond0 ##查看 bonding 状态
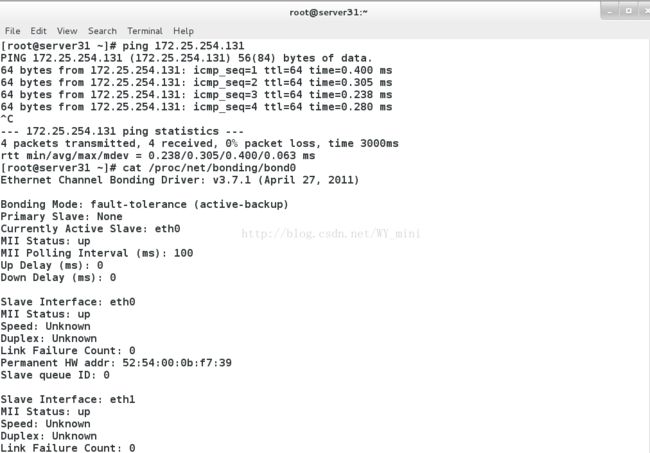
测试:ping 172.25.254.131 ##此时网通,提供服务的是eth0
ifconfig eth0 down ##停止eth0ping 172.25.254.131 ##此时网通,提供服务的是eth1
ifconfig eth0 up ##开启eth0ping 172.25.254.131 ##此时网通,提供服务的是eth1,当eth1坏了eth0提供服务
二、team
1.定义:
Team 和 bond0 功能类似
Team 不需要手动加载相应内核模块
Team 有更强的拓展性
最多支持 8 快网卡
Team 的种类:
broadcast 广播容错
roundrobin 平衡轮询
activebackup 主动备份
loadbalance 负载均衡(谁闲着谁工作)
2.添加网卡
主机:
virt-manager
Add Hardware-->Network-->Device model(virtio)-->finish ##添加一块新的网卡
3.删除网络配置
nm-connection-editor ##删除所有网路
-->delete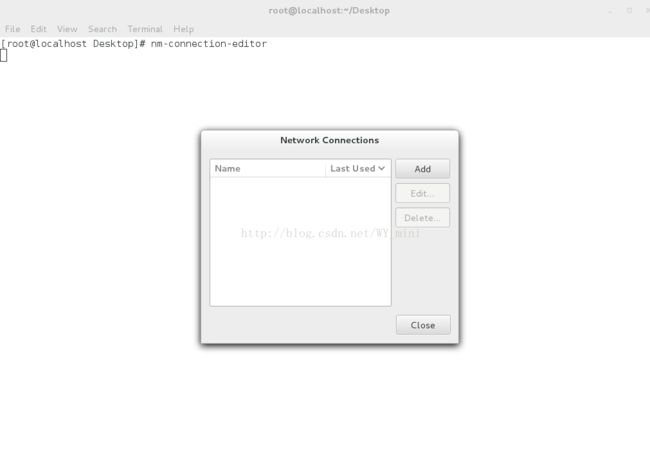
4.配置Team接口:
nmcli connection add con-name team0 ifname team0 type team config '{"runner":{"name":"activebackup"}}' ip4 172.25.254.231/24 ##建立绑定接口 team0
nmcli connection add con-name eth0 ifname eth0 type team-slave master team0 ##建立 Slave 接口 eth0
nmcli connection add con-name eth1 ifname eth1 type team-slave master team0 ##建立 Slave 接口 eth1
5.测试:
watch -n 1 teamdctl team0 stat ##监控
ifconfig eth0 down ##停止eth0,此时网通,提供服务的是eth1
ifconfig eth0 up ##开启eth0,此时网通,提供服务的是eth1,当eth1坏了eth0提供服务
6.删除
nmcli connection delete team0 ##删除接口 team0
nmcli connection delete eth0 ##删除接口 eth0
nmcli connection delete eth1 ##删除接口 eth1
nmcli connection show ##查看
三、网络桥接
1.定义
网络桥接用网络桥实现共享上网主机和客户机除了利用软件外,还可以用系统自带的网络桥建立连接用双网卡的机器做主机
2.准备
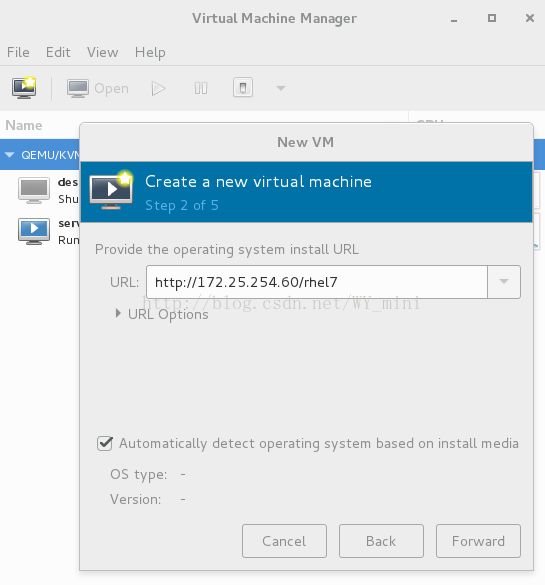
未配置时安装虚拟机卡住
真机中
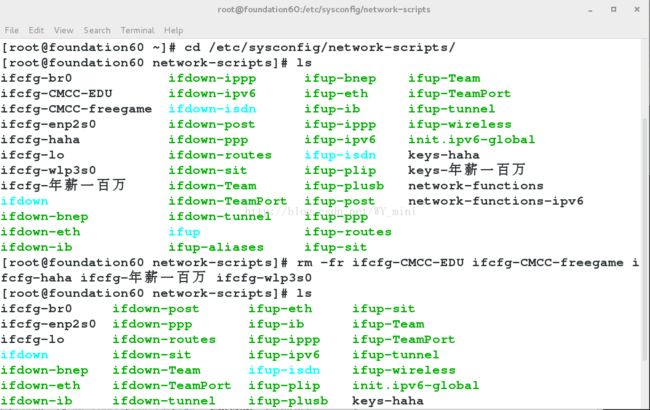
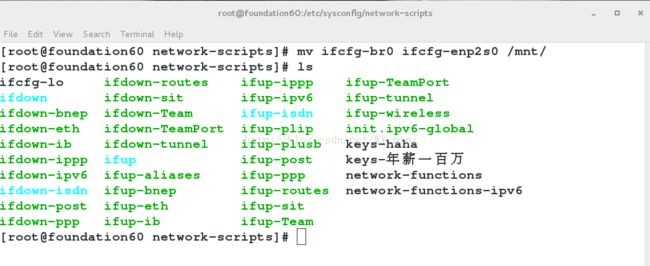
cd /etc/sysconfig/network-scripts/ ##切换到/etc/sysconfig/network-scripts/下
mv ifcfg-br0 ifcfg-enp2s0 /mnt/ ##将ifcfg-br0 ifcfg-enp2s0移动到/mnt/
rm -fr ifcfg-* ##黑体字的删掉除了ifcfg-lo以外的
vim ifcfg-enp2s0 ##编辑ifcfg-enp2s0
DEVICE=enp2s0 ##设备名称
ONBOOT=yes ##开启服务设备自动激活
BOOTPROTO=none ##网卡工作状态
IPADDR=172.25.254.60 ##ip地址
NETMASK=255.255.255.0 ##子网掩码
systemctl stop NetworkManager.service
systemctl restart network
systemctl start NetworkManager.service
3.配置方式
真机中
systemctl stop NetworkManager.service
cd /etc/sysconfig/network-scripts/ ##切换到/etc/sysconfig/network-scripts/下
vim ifcfg-enp2s0 ##编辑ifcfg-enp2s0
DEVICE=enp2s0 ##设备名称
ONBOOT=yes ##开启服务设备自动激活
BOOTPROTO=none ##网卡工作状态
BRIDGE=br0 ##网卡开启的网桥接口
vim ifcfg-br0 ##编辑ifcfg-br0
DEVICE=br0 ##设备名称
ONBOOT=yes ##开启服务设备自动激活
BOOTPROTO=none ##网卡工作状态
IPADDR=172.25.254.60 ##ip地址
NETMASK=255.255.255.0 ##子网掩码
TYPE=Bridge ##网络接口类型是桥接
systemctl restart network
systemctl start NetworkManager.service

测试
ifconfig
br0: flags=4163
inet 172.25.254.60 netmask 255.255.255.0 broadcast 172.25.254.255
inet6 fe80::f276:1cff:fefe:b7fe prefixlen 64 scopeid 0x20
ether f0:76:1c:fe:b7:fe txqueuelen 0 (Ethernet)
RX packets 6230 bytes 190246 (185.7 KiB)
RX errors 0 dropped 0 overruns 0 frame 0
TX packets 340 bytes 2629434 (2.5 MiB)
TX errors 0 dropped 0 overruns 0 carrier 0 collisions 0
安装虚拟机时不卡
4.命令管理方式
添加
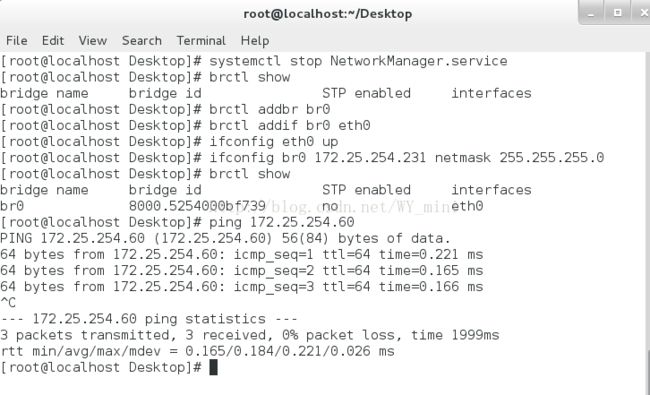
systemctl stop NetworkManager.service
brctl show ##显示
brctl addbr br0 ##添加网桥
brctl addif br0 eth0 ##添加网桥连接
ifconfig eth0 up
ifconfig br0 172.25.254.231 netmask 255.255.255.0
brctl show
ping 172.25.254.60
删除
ifconfig br0 down
brctl delif br0 eth0 ##删除网桥连接
brctl delbr br0 ##删除网桥
brctl show

