IntelliJ IDEA 搭建网易云信IM服务端
本篇是基于上一篇Android实现网易云信IM即时通信实现后,来实现的,因为实际中大部分都是要通过我们自己后台来控制一些数据,所以本例就带大家一起来实现服务端。
服务端很简单,所有方式都是通过Main方式来实现的。
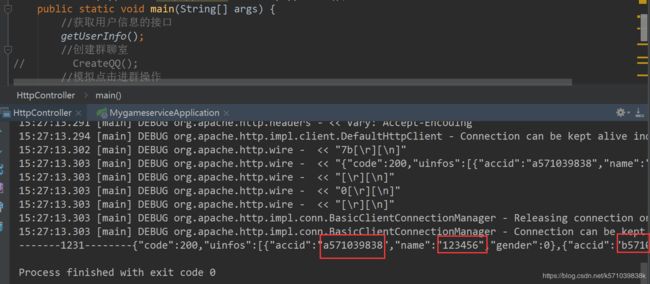
1、批量获取用户信息
方法实现
 //获取用户信息的接口
    public static void getUserInfo(){
        Map map = new ConcurrentSkipListMap<>();
        List list = new ArrayList<>();
        list.add("a571039838");
        list.add("b571039838");
        map.put("accids", gson.toJson(list));

        try {
            String str = httpAppUtils.sendUrl("https://api.netease.im/nimserver/user/getUinfos.action", map);
            // 打印执行结果
            System.out.println("-------1231--------" + str);

        } catch (Exception e) {
            e.printStackTrace();
        }
    }
2、创建群 (tid就是群id号)
实现方法
 //创建群聊室
    public static void CreateQQ(){
        Map map = new ConcurrentSkipListMap<>();
        List list = new ArrayList<>();
        list.add("a571039838");
        list.add("b571039838");
        map.put("members", gson.toJson(list));
        map.put("tname","我的群聊");
        map.put("owner","a571039838");
        map.put("joinmode","0");
        map.put("msg","好");
        try {
            String str = httpAppUtils.sendUrl("https://api.netease.im/nimserver/team/create.action", map);
            // 打印执行结果
            System.out.println("-------1231--------" + str);

        } catch (Exception e) {

        }
    }
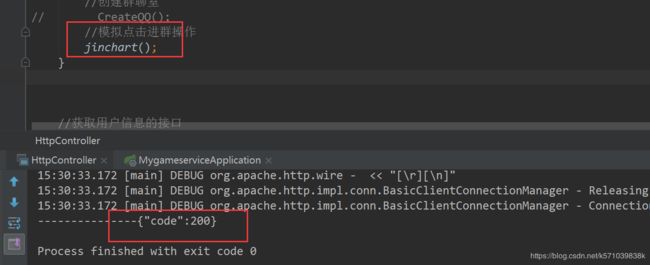
3、模拟点击进群
实现方法
//模拟点击进群操作
    public static void jinchart(){
        Map map = new ConcurrentSkipListMap<>();
        List list = new ArrayList<>();
        list.add("b571039838");
        map.put("members", gson.toJson(list));
        map.put("tid","1645709171");
        map.put("owner","a571039838");
        map.put("magree","0");
        map.put("msg","好");
        try {
            String str = httpAppUtils.sendUrl("https://api.netease.im/nimserver/team/add.action", map);
            // 打印执行结果
            System.out.println("---------------"+str);

        } catch (Exception e) {

        }
    }
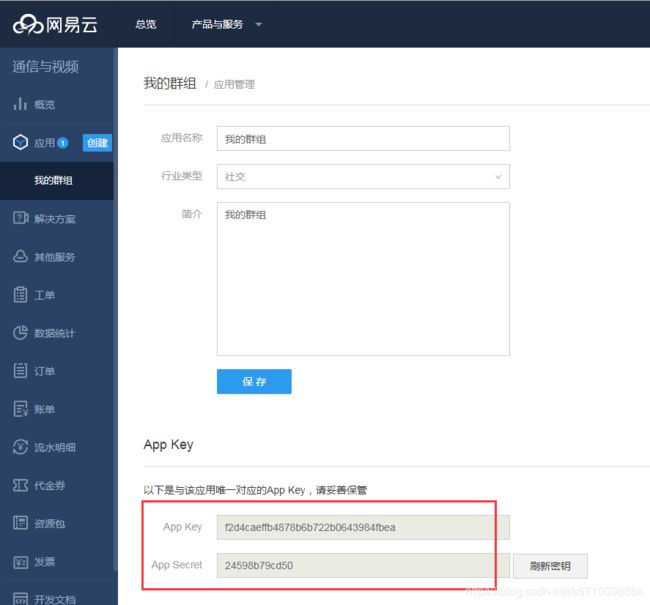
在此之前你还是需要先去官网创建运用获取Appkey和AppSecret
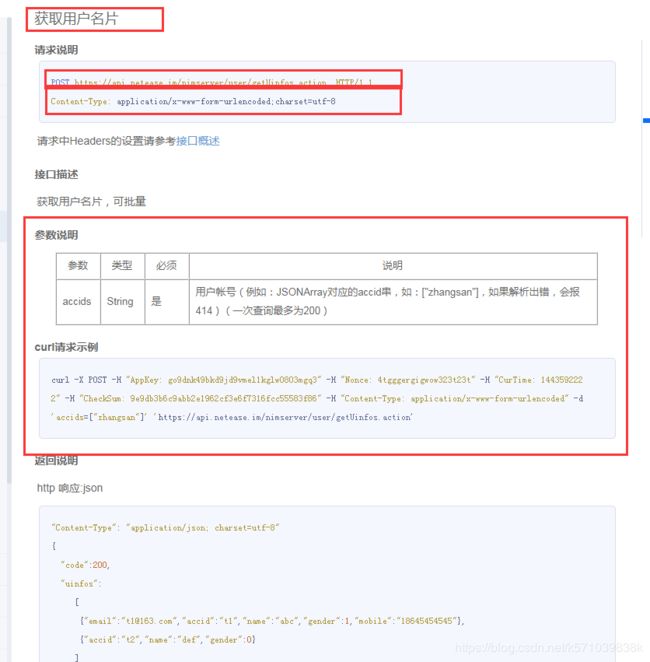
接着我们来看一下官方的请求说明,这里我们以获取用户信息为例
官方接口说明告诉我们 调用网易云通信服务端接口的请求都需要按此规则校验。并给出代码。
public class CheckSumBuilder {
    // 计算并获取CheckSum
    public static String getCheckSum(String appSecret, String nonce, String curTime) {
        return encode("sha1", appSecret + nonce + curTime);
    }

    // 计算并获取md5值
    public static String getMD5(String requestBody) {
        return encode(“md5”, requestBody);
    }

    private static String encode(String algorithm, String value) {
        if (value == null) {
            return null;
        }
        try {
            MessageDigest messageDigest
                    = MessageDigest.getInstance(algorithm);
            messageDigest.update(value.getBytes());
            return getFormattedText(messageDigest.digest());
        } catch (Exception e) {
            throw new RuntimeException(e);
        }
    }
    private static String getFormattedText(byte[] bytes) {
        int len = bytes.length;
        StringBuilder buf = new StringBuilder(len * 2);
        for (int j = 0; j < len; j++) {
            buf.append(HEX_DIGITS[(bytes[j] >> 4) & 0x0f]);
            buf.append(HEX_DIGITS[bytes[j] & 0x0f]);
        }
        return buf.toString();
    }
    private static final char[] HEX_DIGITS = { '0', '1', '2', '3', '4', '5',
            '6', '7', '8', '9', 'a', 'b', 'c', 'd', 'e', 'f' };
}
然后官方有一个HttpClient请求示例
  public static void main(String[] args) throws Exception{
        DefaultHttpClient httpClient = new DefaultHttpClient();
        String url = "https://api.netease.im/nimserver/user/create.action";
        HttpPost httpPost = new HttpPost(url);

        String appKey = "94kid09c9ig9k1loimjg012345123456";
        String appSecret = "123456789012";
        String nonce =  "12345";
        String curTime = String.valueOf((new Date()).getTime() / 1000L);
        String checkSum = CheckSumBuilder.getCheckSum(appSecret, nonce ,curTime);//参考 计算CheckSum的java代码

        // 设置请求的header
        httpPost.addHeader("AppKey", appKey);
        httpPost.addHeader("Nonce", nonce);
        httpPost.addHeader("CurTime", curTime);
        httpPost.addHeader("CheckSum", checkSum);
        httpPost.addHeader("Content-Type", "application/x-www-form-urlencoded;charset=utf-8");

        // 设置请求的参数
        List nvps = new ArrayList();
        nvps.add(new BasicNameValuePair("accid", "helloworld"));
        httpPost.setEntity(new UrlEncodedFormEntity(nvps, "utf-8"));

        // 执行请求
        HttpResponse response = httpClient.execute(httpPost);

        // 打印执行结果
        System.out.println(EntityUtils.toString(response.getEntity(), "utf-8"));
    }
}
获取用户名片(然后自己通过官方的请求示例来构造自己需要的请求)
以上就是一个网易云信IM服务端入门的一个简单说明。有兴趣的伙伴可以看文档继续往前钻研。
附Demo下载地址


