gitlab安装部署
系统环境Centos7
内存4G
Cpu:4核
1
配置yum源
新建/etc/yum.repos.d/tsinghua.repo
[gitlab-ce]
name=Gitlab CE Repository
baseurl=https://mirrors.tuna.tsinghua.edu.cn/gitlab-ce/yum/el$releasever/
gpgcheck=0
enabled=1
2
关闭防火墙和selinux
systemctl stop firewalld
getenforce 0 -------临时关闭selinux
vim /etc/selinux/config --------永久关闭selinux,重启生效
3
检车yum想换缓存包
yum makecahce
yum install curl policycoreutils-python openssh-server
安装邮件服务
yum install postfix
systemctl status postfix -----产看状态
systemctl enable postfix -----设置开机启动
4
安装gitlab服务
yum install gitlab-ce
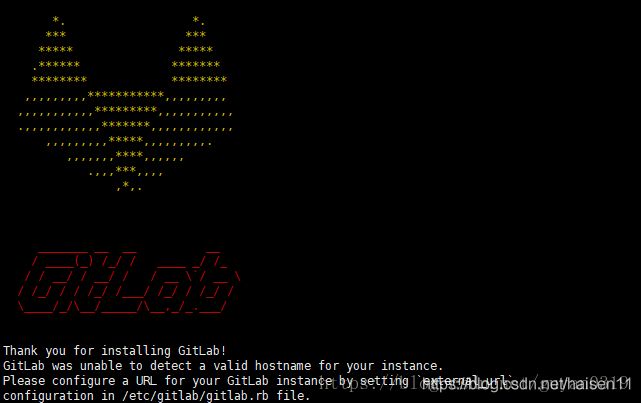
出现下图安装成功:
5
修改gitlab配置文件
external_url 'http://gitlab.xxxxxx.com' #改域名,修改成你自己的域名,如果你用的https,改成https://gitlab.xxxxxx.com
unicorn['worker_processes'] = 2 #CPU使用核数,默认好像是24核,用不了那么多,改成2
gitlab_rails['time_zone'] = 'Asia/Shanghai' # 时间区域
6
配置生效
gitlab-ctl reconfigure
加载配置完成,访问服务器地址即可
##################################################################################################
--------------------------------------------------------------------------------------------------------------------------------------------------------------------
##################################################################################################
gitlab 相关操作命令
start 启动所有服务 这个重启也会继续开启 相当systemctl enable
stop 关闭所有服务
restart 重启所有服务
status 查看所有服务状态
tail 查看日志信息
service-list 列举所有启动服务
graceful-kill 平稳停止一个服务
help 帮助
reconfigure 修改配置文件之后,需要重新加载下
show-config 查看所有服务配置文件信息
uninstall 卸载这个软件
cleanse 删除gitlab数据,重新白手起家
gitlab 包含的服务
Restarting previously running GitLab services
ok: run: alertmanager: (pid 6798) 0s
ok: run: gitaly: (pid 13241) 147348s
ok: run: gitlab-monitor: (pid 6813) 1s
ok: run: gitlab-workhorse: (pid 6816) 0s
ok: run: logrotate: (pid 6825) 1s
ok: run: nginx: (pid 6831) 0s
ok: run: node-exporter: (pid 6833) 0s
ok: run: postgres-exporter: (pid 6839) 1s
ok: run: postgresql: (pid 12349) 147445s
ok: run: prometheus: (pid 6849) 0s
ok: run: redis: (pid 12289) 147452s
ok: run: redis-exporter: (pid 6866) 1s
ok: run: sidekiq: (pid 6874) 0s
ok: run: unicorn: (pid 6882) 1s
