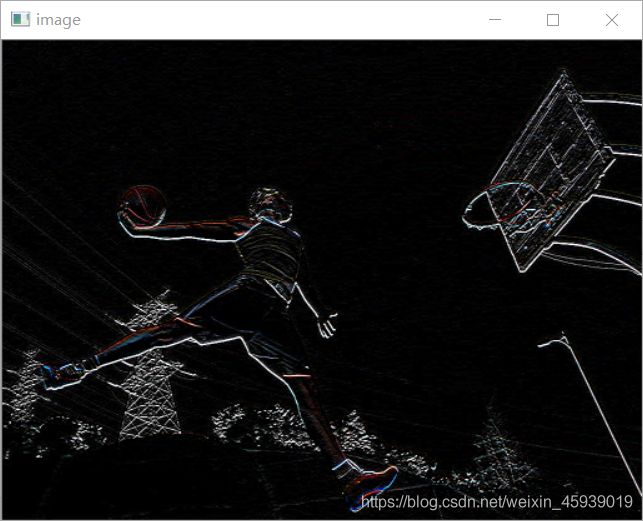
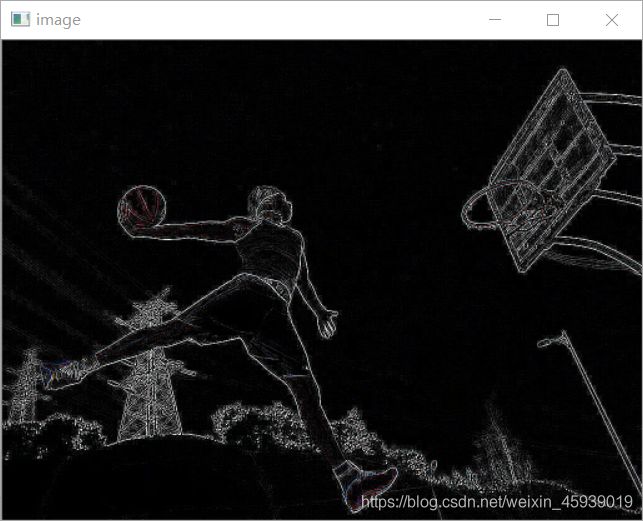
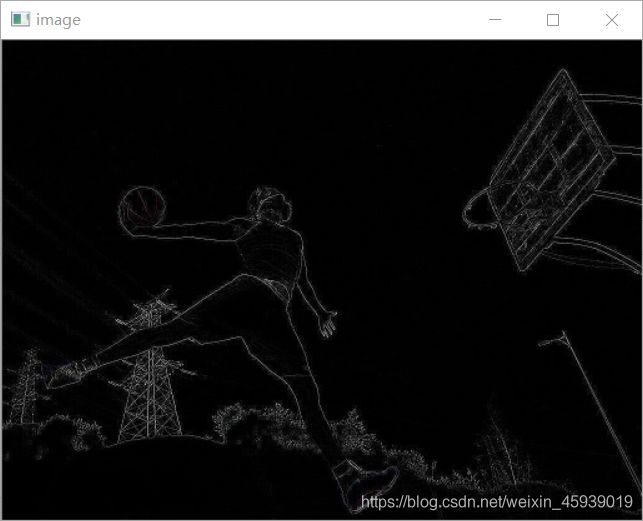
有时候我们想要处理的图像中噪音太多,影响到我们的识别判断,我们就需要对图像进行模糊处理,使图像变得平滑。
而opencv-python提供给我们cv2.filter()函数来对图像进行2D卷积,我们可以使用自定义的卷积核来对图像进行卷积操作。
构造函数:
dst=cv.filter2D(src, ddepth, kernel[, dst[, anchor[, delta[, borderType]]]])
参数解释
- src:待处理图像
- ddepth:目标图像深度,如果值为-1则表示目标图像输出为与原图像深度相同。
- kernel:自定义的卷积核,float32型浮点矩阵。
- anchor 内核的锚点,指示内核中过滤点的相对位置;锚应位于内核中;默认值(-1,-1)表示锚位于内核中心。
- detal 在将它们存储在dst中之前,将可选值添加到已过滤的像素中。类似于偏置。
- borderType 像素外推法,参见BorderTypes
图像内核是一个小矩阵,在Photoshop或Gimp中找到的效果都可以实现,例如模糊,锐化,轮廓或浮雕。它们还用于机器学习中的“特征提取”,这是一种用于确定图像最重要部分的技术。在这种情况下,该过程更普遍地称为“卷积”
有许多特殊的内核,一 一记录下来。
这些效果唯一的差别就是他们的卷积核不同

模糊(blur)
| 0.0625 |
0.125 |
0.0625 |
| 0.125 |
0.25 |
0.125 |
| 0.0625 |
0.125 |
0.125 |
import numpy as np
import cv2

img=cv2.imread('D://zopencv//ball.jpg')
kernel=np.array( (  [0.0625, 0.125, 0.0625],
       			    [0.125, 0.25, 0.125],
                    [0.0625, 0.125, 0.0625]),dtype="float32")
dst=cv2.filter2D(img,-1,kernel)
mask=cv2.resize(dst,None,fx=0.5,fy=0.5,interpolation=cv2.INTER_AREA)
cv2.imshow('image',mask)
cv2.waitKey(0)
cv2.destroyAllWindows()

sobel
kernel=np.array( (  [-1,-2,-1],
       				 [0,0,0],
      			     [1,2,1]),dtype="float32")

浮雕(emboss)
在这里插入代码片

大纲(outline)
轮廓内核/边缘内核,强调边缘
| -1 |
-1 |
-1 |
| -1 |
8 |
-1 |
| -1 |
-1 |
-1 |
在这里插入代码片

锐化(sharpen)
kernel=np.array( (  [0,-1,0],
   			        [-1,5,-1],
     			    [0,-1,0]),dtype="float32")

拉普拉斯算子(laplacian operator)
用于边缘检测,或者图像中的模糊处理。
kernel=np.array( (  [0,1,0],
                    [1,-4,1],
                    [0,1,0]),dtype="float32")


