远程调试之gdb移植
实验环境:Ubuntu14.04LTS+Qt5.8+arm-none-linux-gnueabi-gcc 4.4.3+exynos4412+linux最小系统
第一步:下载gdb源码。gdb源码链接
第二步:解压并配置gdb。一般浏览器下载的文件在下载目录下,进入gdb源码所在目录,解压并进入gdb源码目录下:
cd ~/下载
tar -xf gdb*.gz  && cd gdb*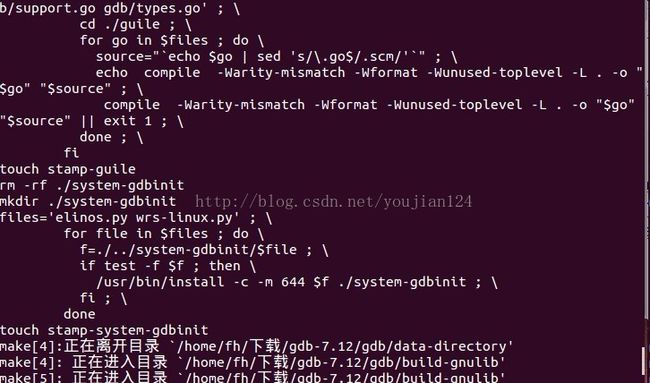
./configure --target=/arm-none-linux-gnueabi -prefix=/usr/local/arm/gdb第三步:编译:终端输入make命令;如下编译成功。
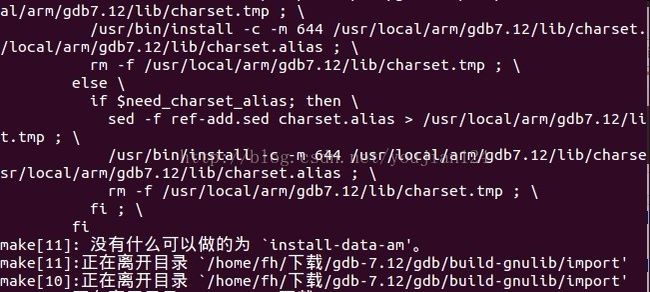
第四步:开始安装了。终端输入:sudo make install。就会安装到之前配置的目录。事情当然不会是想象的那么顺利,这不就有第一个错误了。
WARNING: 'makeinfo' is missing on your system.
You should only need it if you modified a '.texi' file, or
any other file indirectly affecting the aspect of the manual.
You might want to install the Texinfo package:
The spurious makeinfo call might also be the consequence of
using a buggy 'make' (AIX, DU, IRIX), in which case you might
want to install GNU make:
make[5]: *** [gdb.info] 错误 127
make[5]:正在离开目录 `/home/fh/下载/gdb-7.12/gdb/doc'
make[4]: *** [subdir_do] 错误 1
make[4]:正在离开目录 `/home/fh/下载/gdb-7.12/gdb'
make[3]: *** [install-only] 错误 2
make[3]:正在离开目录 `/home/fh/下载/gdb-7.12/gdb'
make[2]: *** [install] 错误 2
make[2]:正在离开目录 `/home/fh/下载/gdb-7.12/gdb'
make[1]: *** [install-gdb] 错误 2
make[1]:正在离开目录 `/home/fh/下载/gdb-7.12'
make: *** [install] 错误 2
解决办法:sudo apt-get install texinfo.
安装完继续sudo make install .这样就顺利没有报错,成功安装了。
第五步:查看安装目录有没有相应的lib,share,include,bin目录。有就把gdb添加到环境变量上,然后更新新的环境变量。profile文件最后一行添加export PATH=$PATH:/usr/local/arm/gdb7.12/bin
fh@pc:~/下载/gdb-7.12$ ls /usr/local/arm/gdb7.12/
bin  include  lib  share
fh@pc:~/下载/gdb-7.12$ sudo vim /etc/profile
fh@pc:~/下载/gdb-7.12$ source /etc/profilecd gdb/gdbserver
./configure --target=arm-none-linux-gnueabi
make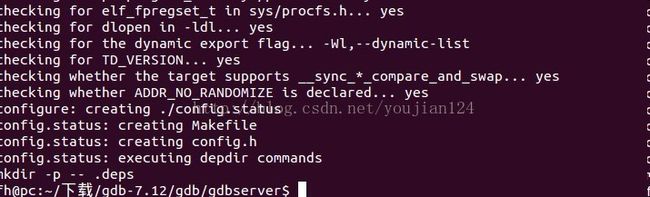
这不make的时候又出错了。提示:linux-arm-low.c: In function ‘CORE_ADDR arm_sigreturn_next_pc(regcache*, int, int*)’:
linux-arm-low.c:769:29: error: ‘__NR_sigreturn’ was not declared in this scope
gdb_assert (svc_number == __NR_sigreturn || svc_number == __NR_rt_sigreturn);
^
./../common/gdb_assert.h:34:13: note: in definition of macro ‘gdb_assert’
((void) ((expr) ? 0 : \
^
linux-arm-low.c: In function ‘CORE_ADDR get_next_pcs_syscall_next_pc(arm_get_next_pcs*)’:
linux-arm-low.c:823:21: error: ‘__NR_sigreturn’ was not declared in this scope
if (svc_number == __NR_sigreturn || svc_number == __NR_rt_sigreturn)
^
make: *** [linux-arm-low.o] 错误 1
这个错误可就坑了,在系统arm-none-linux-gnueabi编译器路径下sys-root/usr/include/asm/unistd.h里面有定义__NR_sigreturn,也有定义__NR_rt_sigreturn。但是为什么编译的时候就找到了__NR_rt_sigreturn的定义了而找不到__NR_sigreturn的定义呢。解决办法很简单,他不是说没定义吗,那就在这个linux-arm-low.c文件中加上几句包含头文件的不就行了吗。
#ifndef  __NR_sigreturn
#include
#endif root@pc:/home/fh/下载/gdb-7.12/gdb/gdbserver# ls gdb*
gdb_proc_service.h gdbreplay.c gdbserver gdb_vecs.o
gdbreplay gdbreplay.o gdbthread.h
[root@itop-4412:/mnt/nfs$]#./gdbserver 192.168.31.100:2345 helloworld
Process helloworld created; pid = 5200
Listening on port 2345
fh@pc:~/linux$ arm-none-linux-gnueabi-gdb helloworld
GNU gdb (GDB) 7.12
Copyright (C) 2016 Free Software Foundation, Inc.
License GPLv3+: GNU GPL version 3 or later
This is free software: you are free to change and redistribute it.
There is NO WARRANTY, to the extent permitted by law. Type "show copying"
and "show warranty" for details.
This GDB was configured as "--host=x86_64-pc-linux-gnu --target=arm-none-linux-gnueabi".
Type "show configuration" for configuration details.
For bug reporting instructions, please see:
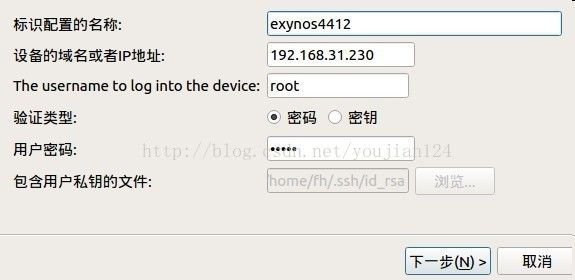
等等,这篇文章写的是为Qt调试做准备的啊!没有关于qt的文字怎么能就此结束呢。其实qt安装gdb调试器很简单。打开Qt5.8任意一个工程文件,选上“-->项目-->Manage Kits-->构建和运行-->Debuggers-->add添加之前编译好的arm版gdb”确定应用。然后选上“设备-->add-->开始向导”如下图。下一步,完成即可。
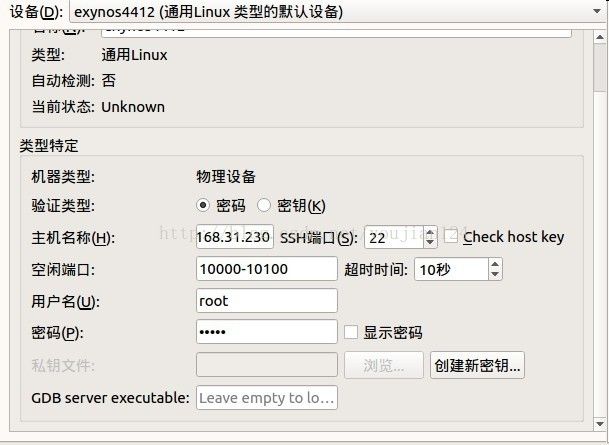

在下一步完成之前最好先在板子上开启sshd,不然它会提示找不到远程设备。开启板子上的sshd,删掉Qt的exynos4412远端设备,再次新建,它就连接到了远程设备了。还有gdbserver文件最好还是放在板子系统上的bin目录下吧,不然运行远程调试,可能会找不到gdbserver哦。等真正调试qt程序的时候,就要提前把板子上的sshd开启。关于openssh的移植,下回在说,我这里提前移植好了的
接下来就打开一个hello的QT程序看看,远程调试效果吧。我是把qt-arm版的编译程序的文件目录给nfs共享了最小系统,然后在板子上对应的目录下执行gdbserver 主机ip:10000 hello -qws ,然后打开qt调试器,开始调试,出错。如下图编译输出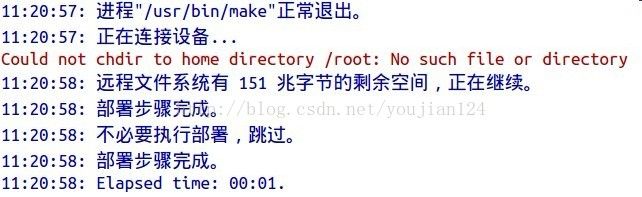
先写到这吧。这个问题没有想到解决办法。
gdb参考文章:gdbserver移植
gdb移植到arm板
qt添加gdb调试器参考文章:Qt 远程调试