RecyclerView之ItemDecoration详解(上)
转载请注明出处:http://blog.csdn.net/binbinqq86/article/details/54090829
RecyclerView的出现让许多人眼前一亮,当然在整个开发者圈子里面也拥有很不错的口碑,相比ListView而言,它高度灵活的使用方式也让很多新手感到不知所措,虽然做Android开发也有些时间了,但也是最近才转到RecyclerView上,不用不知道,一用就发现它真的很强大,比如传统的ListView和GridView所有的功能和效果它都能轻松实现,而最新的嵌套滑动它也能够很完美的支持,复杂的瀑布流效果对它而言就是小菜一碟,还有各种炫酷的item动画,总之只要你能够想到的就没有它实现不了的。
本文主要对RecyclerView中的ItemDecoration进行一个详细的讲解,虽然网上也有很多类似的文章,但想要真正理解关于这个抽象类的使用,具体每个方法和参数的含义是什么,怎么去实现一个自己想要的divider的时候,却发现其实不是那么容易,仍然需要自己去进行实践和整理,于是我就把自己所研究和理解的东西做一个相关的记录,同时也分享给大家。
首先贴上官方的解释:
An ItemDecoration allows the application to add a special drawing and layout offset to specific item views from the adapter's data set. This can be useful for drawing dividers between items, highlights, visual grouping boundaries and more.

All ItemDecorations are drawn in the order they were added, before the item views (in onDraw() and after the items (in onDrawOver(Canvas, RecyclerView, RecyclerView.State).
大致意思就是ItemDecoration允许应用去添加一个特殊的图形,并且布局在item的偏移处,这样就可以在item之间显示分割线。所有的分割线都被按照添加的顺序去绘制,onDraw是绘制在item的后面,而onDrawOver则是绘制在最上层。
当然官方也提供了一个默认的子类——android.support.v7.widget.DividerItemDecoration
这个类很简单,下面是代码:
/*
 * Copyright (C) 2016 The Android Open Source Project
 *
 * Licensed under the Apache License, Version 2.0 (the "License");
 * you may not use this file except in compliance with the License.
 * You may obtain a copy of the License at
 *
 *      http://www.apache.org/licenses/LICENSE-2.0
 *
 * Unless required by applicable law or agreed to in writing, software
 * distributed under the License is distributed on an "AS IS" BASIS,
 * WITHOUT WARRANTIES OR CONDITIONS OF ANY KIND, either express or implied.
 * See the License for the specific language governing permissions and
 * limitations under the License.
 */


package android.support.v7.widget;

import android.annotation.SuppressLint;
import android.content.Context;
import android.content.res.TypedArray;
import android.graphics.Canvas;
import android.graphics.Rect;
import android.graphics.drawable.Drawable;
import android.support.annotation.NonNull;
import android.support.v4.view.ViewCompat;
import android.view.View;
import android.widget.LinearLayout;

/**
 * DividerItemDecoration is a {@link RecyclerView.ItemDecoration} that can be used as a divider
 * between items of a {@link LinearLayoutManager}. It supports both {@link #HORIZONTAL} and
 * {@link #VERTICAL} orientations.
 *
 *
 *     mDividerItemDecoration = new DividerItemDecoration(recyclerView.getContext(),
 *             mLayoutManager.getOrientation());
 *     recyclerView.addItemDecoration(mDividerItemDecoration);
 *
 */
public class DividerItemDecoration extends RecyclerView.ItemDecoration {
    public static final int HORIZONTAL = LinearLayout.HORIZONTAL;
    public static final int VERTICAL = LinearLayout.VERTICAL;

    private static final int[] ATTRS = new int[]{ android.R.attr.listDivider };

    private Drawable mDivider;

    /**
     * Current orientation. Either {@link #HORIZONTAL} or {@link #VERTICAL}.
     */
    private int mOrientation;

    private final Rect mBounds = new Rect();

    /**
     * Creates a divider {@link RecyclerView.ItemDecoration} that can be used with a
     * {@link LinearLayoutManager}.
     *
     * @param context Current context, it will be used to access resources.
     * @param orientation Divider orientation. Should be {@link #HORIZONTAL} or {@link #VERTICAL}.
     */
    public DividerItemDecoration(Context context, int orientation) {
        final TypedArray a = context.obtainStyledAttributes(ATTRS);
        mDivider = a.getDrawable(0);
        a.recycle();
        setOrientation(orientation);
    }

    /**
     * Sets the orientation for this divider. This should be called if
     * {@link RecyclerView.LayoutManager} changes orientation.
     *
     * @param orientation {@link #HORIZONTAL} or {@link #VERTICAL}
     */
    public void setOrientation(int orientation) {
        if (orientation != HORIZONTAL && orientation != VERTICAL) {
            throw new IllegalArgumentException(
                    "Invalid orientation. It should be either HORIZONTAL or VERTICAL");
        }
        mOrientation = orientation;
    }

    /**
     * Sets the {@link Drawable} for this divider.
     *
     * @param drawable Drawable that should be used as a divider.
     */
    public void setDrawable(@NonNull Drawable drawable) {
        if (drawable == null) {
            throw new IllegalArgumentException("Drawable cannot be null.");
        }
        mDivider = drawable;
    }

    @Override
    public void onDraw(Canvas c, RecyclerView parent, RecyclerView.State state) {
        if (parent.getLayoutManager() == null) {
            return;
        }
        if (mOrientation == VERTICAL) {
            drawVertical(c, parent);
        } else {
            drawHorizontal(c, parent);
        }
    }

    @SuppressLint("NewApi")
    private void drawVertical(Canvas canvas, RecyclerView parent) {
        canvas.save();
        final int left;
        final int right;
        if (parent.getClipToPadding()) {
            left = parent.getPaddingLeft();
            right = parent.getWidth() - parent.getPaddingRight();
            canvas.clipRect(left, parent.getPaddingTop(), right,
                    parent.getHeight() - parent.getPaddingBottom());
        } else {
            left = 0;
            right = parent.getWidth();
        }

        final int childCount = parent.getChildCount();
        for (int i = 0; i < childCount; i++) {
            final View child = parent.getChildAt(i);
            parent.getDecoratedBoundsWithMargins(child, mBounds);
            final int bottom = mBounds.bottom + Math.round(ViewCompat.getTranslationY(child));
            final int top = bottom - mDivider.getIntrinsicHeight();
            mDivider.setBounds(left, top, right, bottom);
            mDivider.draw(canvas);
        }
        canvas.restore();
    }

    @SuppressLint("NewApi")
    private void drawHorizontal(Canvas canvas, RecyclerView parent) {
        canvas.save();
        final int top;
        final int bottom;
        if (parent.getClipToPadding()) {
            top = parent.getPaddingTop();
            bottom = parent.getHeight() - parent.getPaddingBottom();
            canvas.clipRect(parent.getPaddingLeft(), top,
                    parent.getWidth() - parent.getPaddingRight(), bottom);
        } else {
            top = 0;
            bottom = parent.getHeight();
        }

        final int childCount = parent.getChildCount();
        for (int i = 0; i < childCount; i++) {
            final View child = parent.getChildAt(i);
            parent.getLayoutManager().getDecoratedBoundsWithMargins(child, mBounds);
            final int right = mBounds.right + Math.round(ViewCompat.getTranslationX(child));
            final int left = right - mDivider.getIntrinsicWidth();
            mDivider.setBounds(left, top, right, bottom);
            mDivider.draw(canvas);
        }
        canvas.restore();
    }

    @Override
    public void getItemOffsets(Rect outRect, View view, RecyclerView parent,
            RecyclerView.State state) {
        if (mOrientation == VERTICAL) {
            outRect.set(0, 0, 0, mDivider.getIntrinsicHeight());
        } else {
            outRect.set(0, 0, mDivider.getIntrinsicWidth(), 0);
        }
    }
}
只有100多行代码,注释也非常清晰。但这个类只支持LinearLayoutManager,包括VERTICAL和HORIZONTAL,主要方法包括
- getItemOffsets(Rect outRect, View view, RecyclerView parent, State state)
- onDrawOver(Canvas c, RecyclerView parent, State state)
- onDraw(Canvas c, RecyclerView parent, State state)
首先getItemOffsets主要是为每个item去计算出偏移空间来绘制divider,而onDraw和onDrawOver主要用来去绘制具体的divider,不同的区别就是一个绘制在item背面,一个绘制在上面,想要实现任何效果的divider只需要重写这两个方法就可以实现了,下面看一下效果图:
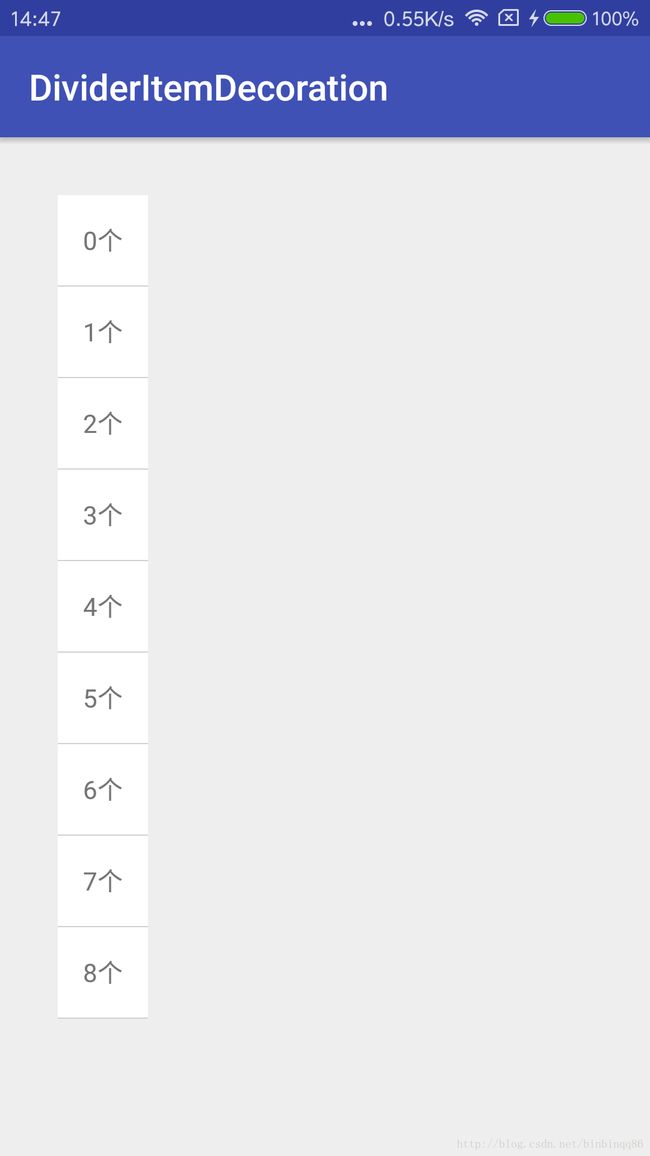
图中的分割线采用的是通过读取系统主题中的 Android.R.attr.listDivider作为Item间的分割线,也就是listView默认的分割线,如果想要修改,则可以在主题中加入如下属性:
<style name="AppTheme" parent="Theme.AppCompat.Light.DarkActionBar">

        <item name="colorPrimary">@color/colorPrimaryitem>
        <item name="colorPrimaryDark">@color/colorPrimaryDarkitem>
        <item name="colorAccent">@color/colorAccentitem>
        <item name="android:listDivider">@drawable/divideritem>
    style>
其中divider.xml是我们自定义的drawable
<shape xmlns:android="http://schemas.android.com/apk/res/android"
    android:shape="rectangle">
    <solid android:color="#66000000" />
    <size android:height="5dp" android:width="5dp"/>
shape>
实现效果如下:
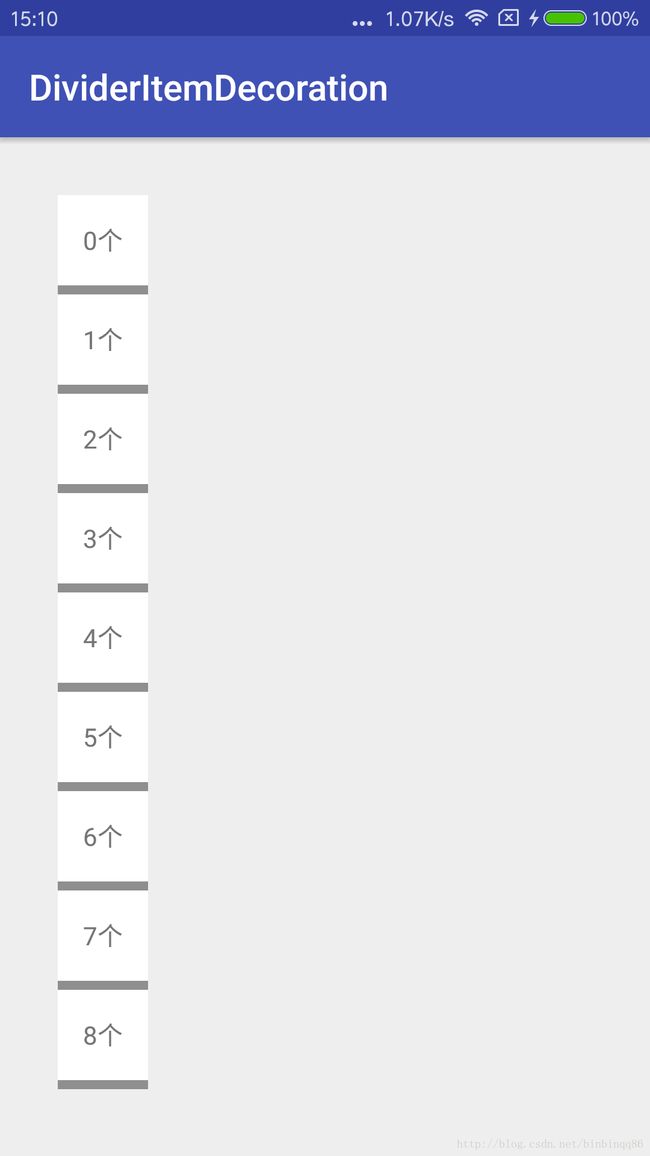
可以看到,基本上实现了我们想要的效果,有人这时候就想了,能不能控制顶部跟底部的divider呢,这种默认的限制性太大,当然可以!
@Override
    public void getItemOffsets(Rect outRect, View view, RecyclerView parent,
            RecyclerView.State state) {
        if (mOrientation == VERTICAL) {
            outRect.set(0, 0, 0, mDivider.getIntrinsicHeight());
        } else {
            outRect.set(0, 0, mDivider.getIntrinsicWidth(), 0);
        }
    }
可以看到,代码里面是通过判断LinearLayoutManager的垂直和水平来进行偏移的,水平垂直是在底部留出分割线高度大小的偏移,这样就出现了上图的情况,在每一个item下面空出divider的高度,在onDraw中进行绘制,想要实现自由控制边界线的绘制,我们就要在这里面做详细的判断了,下面是我改进后的代码:
@Override
    public void getItemOffsets(Rect outRect, View view, RecyclerView parent,
                               RecyclerView.State state) {
        int left=0,right=0,top=0,bottom=0;
        int childCount = parent.getAdapter().getItemCount();
        int itemPosition=((RecyclerView.LayoutParams) view.getLayoutParams()).getViewLayoutPosition();
        if (((LinearLayoutManager)parent.getLayoutManager()).getOrientation() == LinearLayoutManager.VERTICAL) {
            bottom=mDivider.getIntrinsicHeight();
            if(itemPosition==0&&drawBorderLine){
                //第一个item,需要绘制就在顶部留出偏移
                top=mDivider.getIntrinsicHeight();
            }
            if(itemPosition==childCount-1&&!drawBorderLine){
                //最后一个item,需要绘制则留出偏移,默认留出,不需要则设置bottom为0
                bottom=0;
            }
        } else {
            right=mDivider.getIntrinsicHeight();
            if(itemPosition==0&&drawBorderLine){
                //第一个item,需要绘制就在左边留出偏移
                left=mDivider.getIntrinsicHeight();
            }
            if(itemPosition==childCount-1&&!drawBorderLine){
                //最后一个item,需要绘制则留出偏移,默认留出,不需要则设置right为0
                right=0;
            }
        }
        outRect.set(left,top,right,bottom);
    }
我加入一个drawBorderLine变量来控制是否绘制边界线,只加入以上代码只是留出了offsets,同时也要改进onDraw方法去绘制:
public void drawVertical(Canvas c, RecyclerView parent) {
        int spanCount = getSpanCount(parent);
        int allChildCount = parent.getAdapter().getItemCount();
        for (int i = 0; i < parent.getChildCount(); i++) {
            final View child = parent.getChildAt(i);
            final RecyclerView.LayoutParams params = (RecyclerView.LayoutParams) child.getLayoutParams();
            int top=0,bottom=0,left=0,right=0;
            left = child.getLeft() - params.leftMargin;
            right = child.getRight() + params.rightMargin;
            if(drawBorderLine){
                //加上第一条
                if(i==0){
                    top=child.getTop()-params.topMargin-mDivider.getIntrinsicHeight();
                    bottom = top + mDivider.getIntrinsicHeight();
                    mDivider.setBounds(left, top, right, bottom);
                    mDivider.draw(c);
                }
            }else{
                if(i==parent.getChildCount()-1){
                    continue;
                }
            }
            top = child.getBottom() + params.bottomMargin;
            bottom = top + mDivider.getIntrinsicHeight();
            mDivider.setBounds(left, top, right, bottom);
            mDivider.draw(c);
        }
    }
这样就可以随意控制divider了,包括颜色、大小、边界线等,看效果图:

目前的话,LinearLayoutManager相关的ItemDecoration就讲完了,下一篇文章我会带领大家继续完善这个程序,加入GridLayoutManager的支持,以及更深入的去分析其实现原理,感兴趣的朋友请继续阅读RecyclerView之ItemDecoration详解(下) 。
好了,今天的讲解到此结束,有疑问的朋友请在下面留言。