001.Ubuntu下VSCode的安装与配置及Makefile编译HelloWorld
PS:新手学习,如有错误,欢迎指出
1,到页面https://code.visualstudio.com/Download下载VSCode的离线deb包
2,在ubuntu下使用“sudo dpkg -i 文件名.deb”安装
3,安装完毕后,用“code”打开编辑器
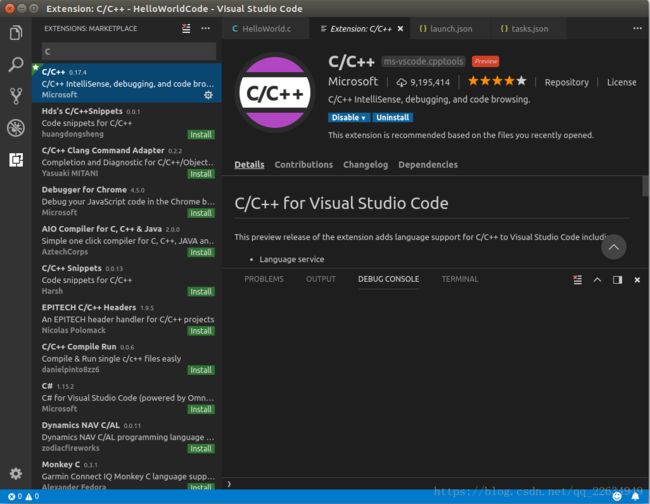
4,在左侧第五个图标下,搜索C,安装
5,新建文件HelloWorld.c保存,注意此时并不能开始Debug,因为VSCode是以文件夹作为工作目录的,所以需要载入文件夹OpenFolder,如图

6,点击Debug按钮,可以选择调试器,选择GCC,此时自动生成launch.json文件,暂时只需要修改两个地方,详细可参考https://code.visualstudio.com/docs/editor/debugging
{
    // Use IntelliSense to learn about possible attributes.
    // Hover to view descriptions of existing attributes.
    // For more information, visit: https://go.microsoft.com/fwlink/?linkid=830387
    "version": "0.2.0",
    "configurations": [
        {
            "name": "(gdb) Launch",
            "type": "cppdbg",
            "request": "launch",
            "program": "${workspaceFolder}/HelloWorld",   //改为要生成的可执行文件的名字
            "args": [],
            "stopAtEntry": false,
            "cwd": "${workspaceFolder}",
            "environment": [],
            "externalConsole": true,
            "preLaunchTask": "build",    //设定一个任务名称,会在tasks.json中用到,表示在执行可执行任务前,进行的工作,如编译等
            "MIMode": "gdb",
            "setupCommands": [
                {
                    "description": "Enable pretty-printing for gdb",
                    "text": "-enable-pretty-printing",
                    "ignoreFailures": true
                }
            ]
        }
    ]
}
7,在View下打开Command Pallette,搜索Task,选择Tasks:Configure Task,之后选择Others,生成tasks.json文件

8,将以下内容复制替换到tasks.json文件,详细参考https://code.visualstudio.com/docs/editor/tasks,这里完成的工作是,用Makefile编译连接HelloWorld.c
{
    // See https://go.microsoft.com/fwlink/?LinkId=733558
    // for the documentation about the tasks.json format
    "version": "2.0.0",
    "tasks":
    [
        {
            "label": "build",                        //任务名称,和launch.json中一致,即执行这个任务
            "type": "shell",
            "command": "make clean; make",           //执行命令是make clean和make,若直接使用gcc命令行,替换即可
            "args":[],
            "problemMatcher":                        //这个字段是发生错误时,信息的匹配
            {
                "owner":"cpp",
                "fileLocation":["relative","${workspaceFolder}"],
                "pattern": [
                    {
                        "regexp": "^([^\\s].*)$",
                        "file": 1
                    },
                    {
                        "regexp": "^\\s+(\\d+):(\\d+)\\s+(error|warning|info)\\s+(.*)\\s\\s+(.*)$",
                        "line": 1,
                        "column": 2,
                        "severity": 3,
                        "message": 4,
                        "code": 5,
                        "loop": true
                    }
                ]
            }
        }

    ]
}