SpringBoot瞎写的教程(包含逆向工程)
新建项目
-
打开ideal
-
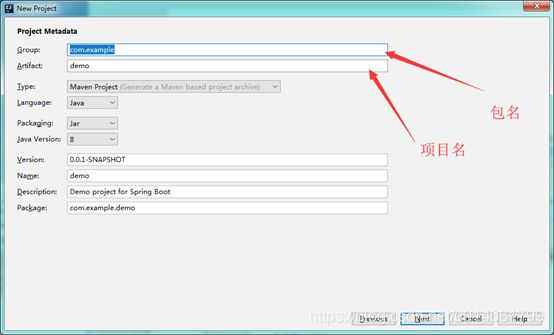
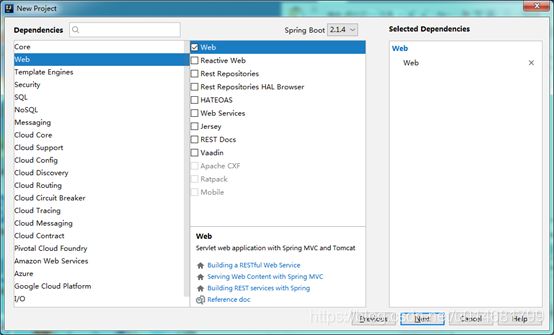
新建一个springboot项目 File-> new ->project 选择Spring Initializr
-
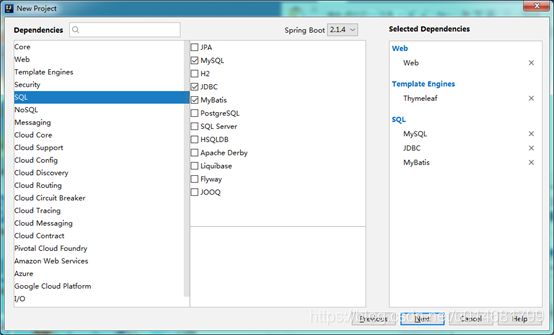
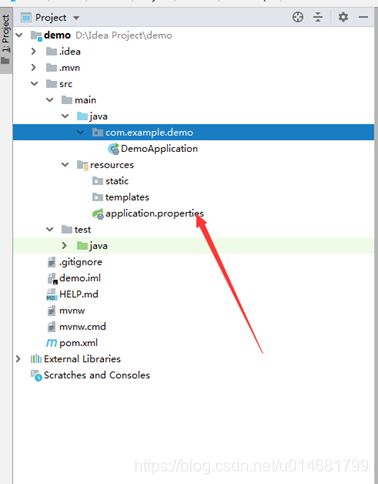
将Mysql四件套填写
spring.datasource.driver-class-name=com.mysql.cj.jdbc.Driver
spring.datasource.url=jdbc:mysql://localhost:3306/campusfood?characterEncoding=utf8&useSSL=false&serverTimezone=Asia/Shanghai
spring.datasource.username=root
spring.datasource.password=123456
- #设置静态文件路径 (这个加上是为了让templates里的网页正常运行) (必须)
spring.mvc.static-path-pattern=/static/**
- #关闭thymeleaf缓存 让网页修改实时显示 如果重启后样式修改还是不起作用 清除浏览器缓存即可
spring.thymeleaf.cache=false
- #设置端口 需要改变tomcat端口可加此(非必须) 不加默认8080
server.port=9090
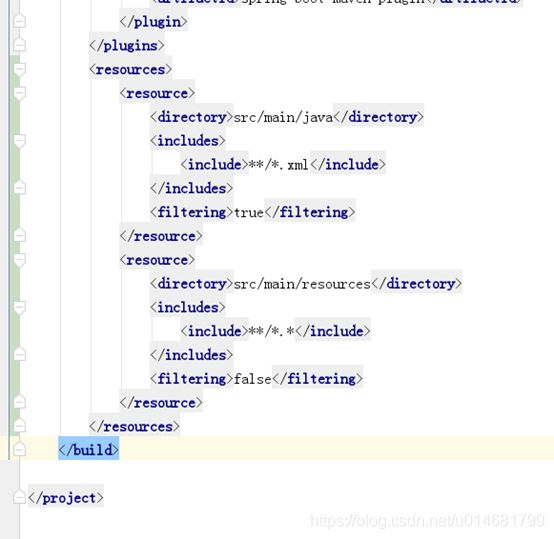
不要忘了往pom文件里加resources
<resources>
<resource>
<directory>src/main/java</directory>
<includes>
<include>**/*.xml
true
src/main/resources
**/ *.*</include>
</includes>
<filtering>false</filtering>
</resource>
</resources>
插入位置如下
16.将html网页代码全部复制到static下 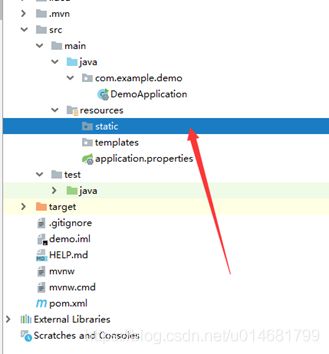
复制完毕后将所有html选中拖动进templates文件夹(不要将favicon.ico也拖进去)sao等片刻
17.完成后即这样 
18.接下来写个controller试试能不能访问register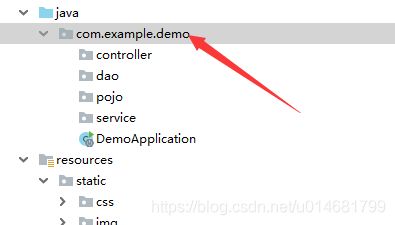
右键new->package 添加controller、dao、service、pojo
20. 右键controller –》 new-》javaclass 新建一个RegisterController 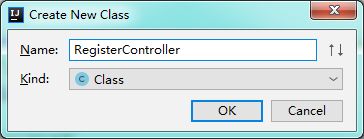 点击OK
点击OK
21. 在类上注解@Controller 注册

22.接下来写一个接口
@RequestMapping("/register")
public String showRegister(){
    return "register";
}
23可以尝试打开浏览器 如果端口没改 默认http://localhost:8080/register即可访问注册页面 
24.至此 程序都是正常 都是调通的。
25.接下来打开逆向工程生成项目
地址逆向工程
需要修改配置 打开generator.properties 
jdbc.driverLocation=E:\\Maven\\MavenLocalSpace\\mysql\\mysql-connector-java\\5.1.34\\mysql-connector-java-5.1.34.jar
jdbc.driverClass=com.mysql.jdbc.Driver
jdbc.connectionURL=jdbc:mysql://localhost:3306/compusfood
上面的第一个jar包选择自己对应mysql版本的jar包,(如果不存在说明你之前都没弄过项目。。那么去maven仓库https://mvnrepository.com/ 里面搜索mysql-connect) 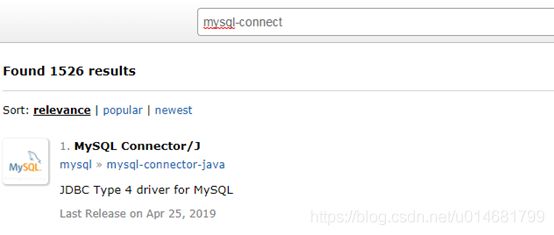
选择第一个 进入选择对应版本然后复制下面的dependency代码 粘贴进pom里的dependencys 里面 然后等下面的进度条下载完成即可在本地电脑的maven space中找到jar包
jdbc.userId=root
jdbc.password=123456
26.接下来修改生成配置generatorConfig.xml
将里面所有涉及到com.jsnu.XXX.dao之类的,中间的值改成自己项目的类名
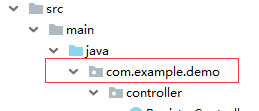
最后的后缀.pojo .dao 不用动

最后编辑最下面的需要逆向生成的数据库中的表

<table tableName="user" domainObjectName="User"
       enableCountByExample="true" enableUpdateByExample="true"
       enableDeleteByExample="true" enableSelectByExample="true"
       selectByExampleQueryId="true">
</table>
可以一次将所有需要生成的表都写上

最后点击运行 如果报错请检查数据库的属性是否都写正确,表名是否正确
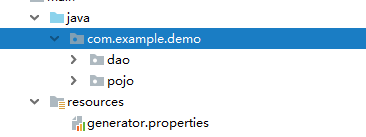
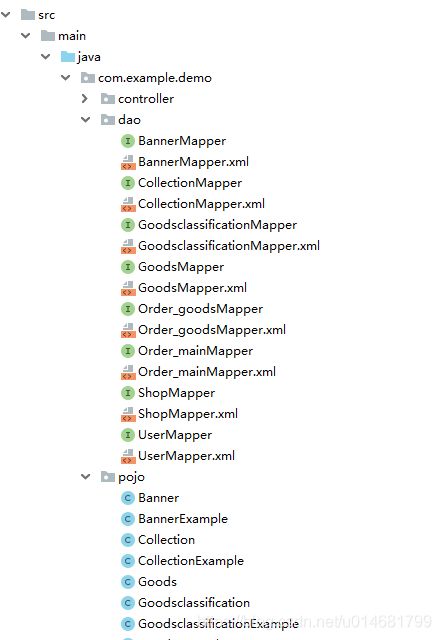
27.生成的dao和pojo全部选中复制到自己项目中
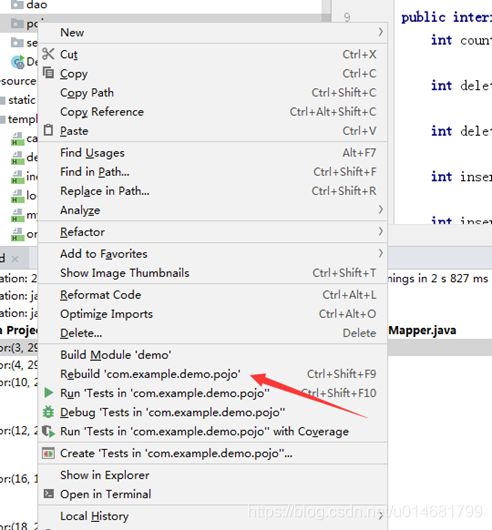
分别右键dao 和pojo Rebuild ‘com.example.demo.pojo(dao)’
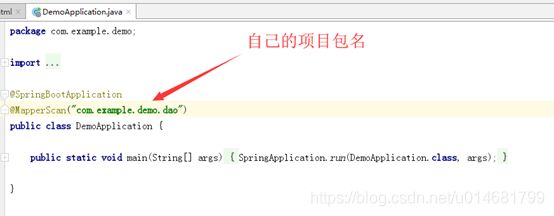
@MapperScan("com.example.demo.dao")
接下来实战一个Register的完整过程
先在register.html里加th的命名空间
<html xmlns:th="http://www.thymeleaf.org">
@RequestMapping("/userRegister")
@ResponseBody
public String userRegister(String userName,String password,String phone,String type){
    System.out.println(userName+" "+password+" "+phone+" "+type);
    return "success";
}
好了 接下来我们要正式向user表中插入该条用户记录
先new 一个User 用来封装所有属性 然后传给service再传给dao进行数据插入
User user=new User();
user.setUsername(username);
user.setPhone(phone);
user.setPassword(Md5Util.MD5Encode(password+Md5Util.salt));
user.setIdentity(type);
System.out.println(user);
其中密码加密用了一个util加密类,需要的可以去我的码云下载
https://gitee.com/SuDong007_admin/springbootDemo.git
接下来要编写Service 进行用户插入操作
右击Service

选择接口类型
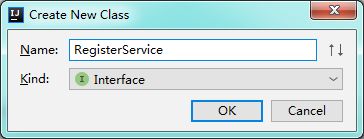
写一个方法 插入用户,因为插入操作返回int
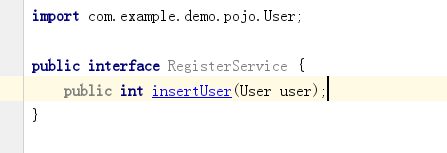
再右击Service新建一个实现类

写上注解@Service 同时实现刚刚RegisterService接口

在波浪线上同时按alt + enter 回车两下 自动重写方法
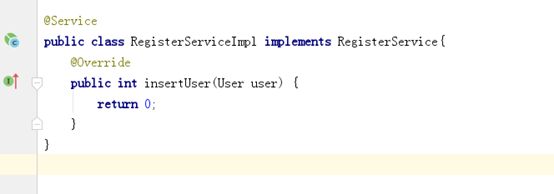
因为是要插入user表我们需要用到user的dao 所以注解引入UserMapper
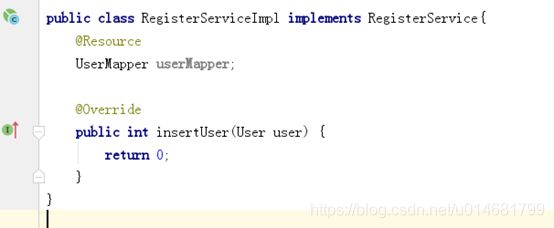
方法体中写userMapper的插入方法,并将User传入,这里输入userMapper.insert就会提示有两种方法

一般选择第二种,第二种是如果你的User对象中有的属性没有赋值它不会将它的值传入,举个栗子,我们看UserMapper.xml的源码
第一种是这样,它会将所有值都进行插入,特别是更新的时候,如果选这种有其他属性没有赋值,会使它变为空 
而第二种会判断该属性是否赋值,然后再执行插入
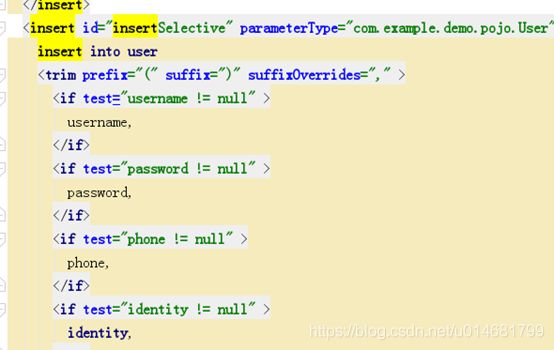
所以大部分情况下选择insertSelective就好
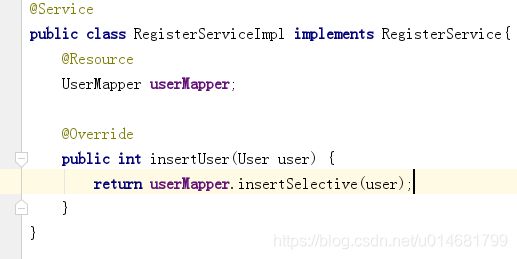
好了Service和Dao就写完了,似不似很简单~
我们回到Controller 调用Service 执行插入操作,由于要用到RegisterService我们在类下面注解实例化一下

然后直接调用该方法,并将User传入

测试一下,插入成功!
后续的其他Controller Service Dao 也可以仿照这样。
最后附该小项目完整源码:徐州小吃网

