jupyter notebook安装运行(anaconda虚拟环境)
自已安装运行
jupyter notebook
pip install jupyter notebook
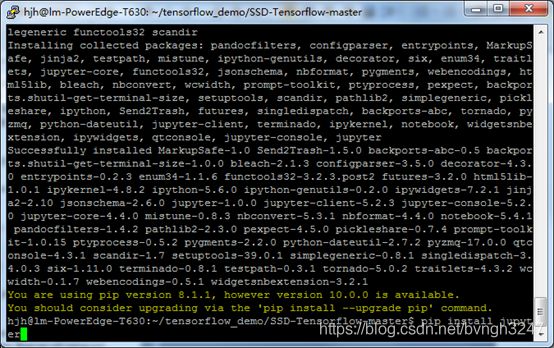
在venc图形界面窗口输入命令(jupyter notebook它打开了一个端口,并且会在你的浏览器中打开这个页面,主目录是图中的那个directory):
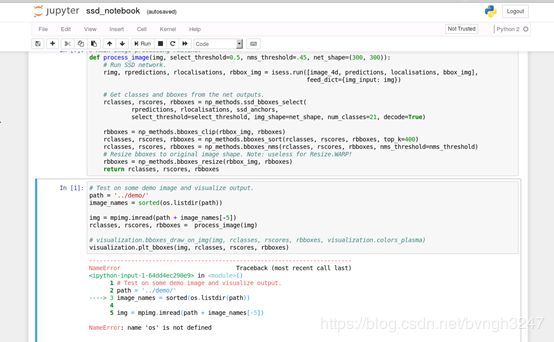
jupyter notebook notebooks/ssd_notebook.ipynb
#notebooks/ssd_notebook.ipynb表示文件中路径
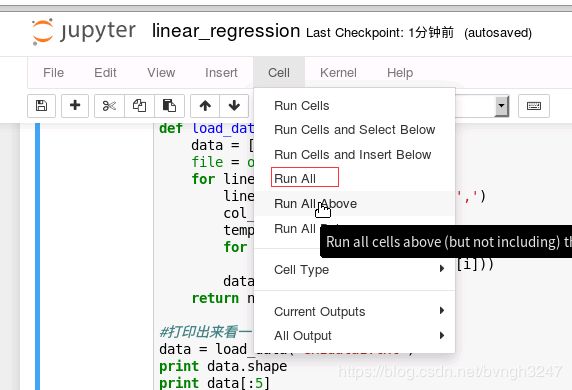
重新计算整个 notebook,只要点击Cell -> Run all即可。
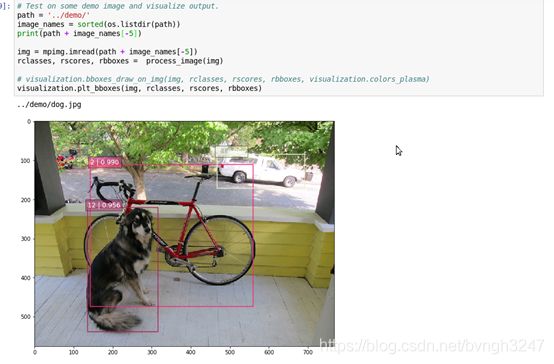
更新了图片。
如果要进行调试的话,只能使用python自带的。https://docs.python.org/3.5/library/pdb.html
使用anaconda虚拟环境运行Jupyter Notebook
得到虚拟环境前缀(qq),激活成功。
conda create -n py27 python=2.7
activate py27
这步是成功了,但是直接运行jupyter notebook的话,并没有使用(qq)环境里的python。
怎么才能让jupyter notebook使用/envs/XXX/环境下的python呢
用jupyter插件解决问题,执行下面步骤:
conda install ipykernel
python -m ipykernel install --name py27
怎么启动jupyter notebook
先进入你自己配置的环境 :
activate py27
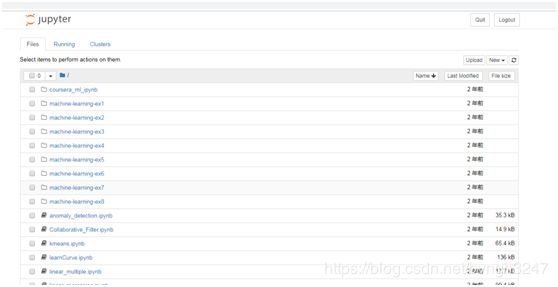
用 cd 命令选择你要的路径比如:cd E:\project\from_now\课程相关\机器学习\Coursera-ML-using-matlab-python-master\Coursera-ML-using-matlab-python-master
输入ipython.exe notebook或者jupyter notebook即可;
![]()
把ipynb转入py文件
在cmd中跳到ipynb文件路径下,运行jupyter notebook,运行后将打开一个网页
在网页下找打ipynb文件,然后选择file–download as–python file
如果在运行notebook时,发现报错。
那么在命令行界面
激活对应的环境,在其中安装模块,例:
pip install numpy
pip install matplotlib
pip install scipy
pip install sklearn