Canvas 中translate与rotate详解
首先说明:
画布的原点(0,0)在左上角
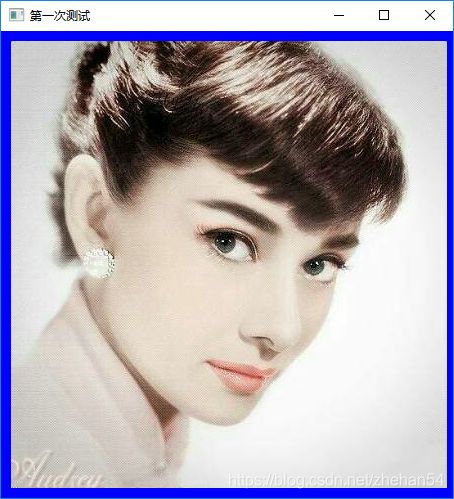
第一次测试,不做旋转,不做平移,图片放在画布原点
import QtQuick 2.2

Item {

    property string imgPath: ""


    Canvas{
        width: parent.width
        height: parent.height

        property int centerPosX: width/2
        property int centerPosY: height/2

        onPaint: {
            var ctx = getContext("2d");


            ctx.beginPath();
            ctx.rect(0,0,width, height);

            //此处平移画布的原点到画布的正中间
            //ctx.translate(centerPosX, centerPosY);

            ctx.stroke();

            //旋转指定角度
            //ctx.rotate(Math.PI/4);

            //将图片的左上角放置在画布的原点
            ctx.drawImage(imgPath, 0,0,width, height);
            //ctx.drawImage(imgPath, 0-width/2,0-height/2,width, height);
        }
    }
}
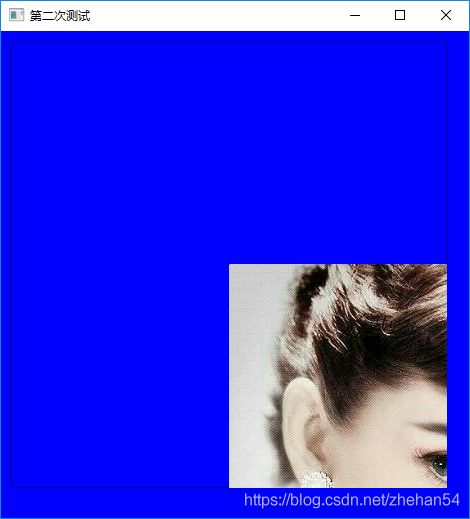
第二次测试:
画布原点平移到画布中心
import QtQuick 2.2

Item {

    property string imgPath: ""


    Canvas{
        width: parent.width
        height: parent.height

        property int centerPosX: width/2
        property int centerPosY: height/2

        onPaint: {
            var ctx = getContext("2d");


            ctx.beginPath();
            ctx.rect(0,0,width, height);

            //此处平移画布的原点到画布的正中间
            ctx.translate(centerPosX, centerPosY);

            ctx.stroke();

            //旋转指定角度
            //ctx.rotate(Math.PI/4);

            //将图片的左上角放置在画布的原点
            ctx.drawImage(imgPath, 0,0,width, height);
            //ctx.drawImage(imgPath, 0-width/2,0-height/2,width, height);
        }
    }
}
第三次测试:
在第二次的基础上,图片放置位置进行调整
ctx.drawImage(imgPath, 0-width/2,0-height/2,width, height);这样的结果就跟第一次的一样了
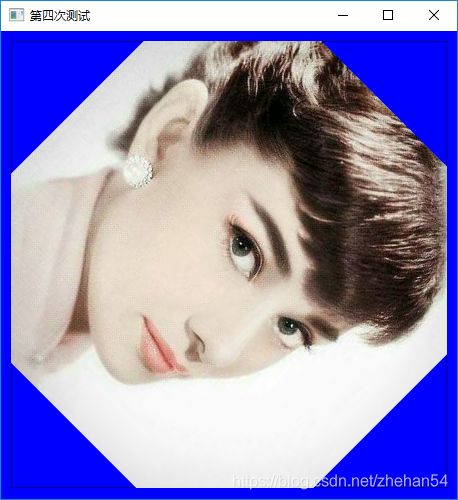
第四次测试:
旋转,先旋转,然后再画图,可以看到最终的结果图片就有了旋转效果
import QtQuick 2.2

Item {

    property string imgPath: ""


    Canvas{
        width: parent.width
        height: parent.height

        property int centerPosX: width/2
        property int centerPosY: height/2

        onPaint: {
            var ctx = getContext("2d");


            ctx.beginPath();
            ctx.rect(0,0,width, height);

            //此处平移画布的原点到画布的正中间
            ctx.translate(centerPosX, centerPosY);

            ctx.stroke();

            //旋转指定角度
            ctx.rotate(Math.PI/4);

            //将图片的左上角放置在画布的原点
            //ctx.drawImage(imgPath, 0,0,width, height);
            //图片的左上角调整
            ctx.drawImage(imgPath, 0-width/2,0-height/2,width, height);
        }
    }
}
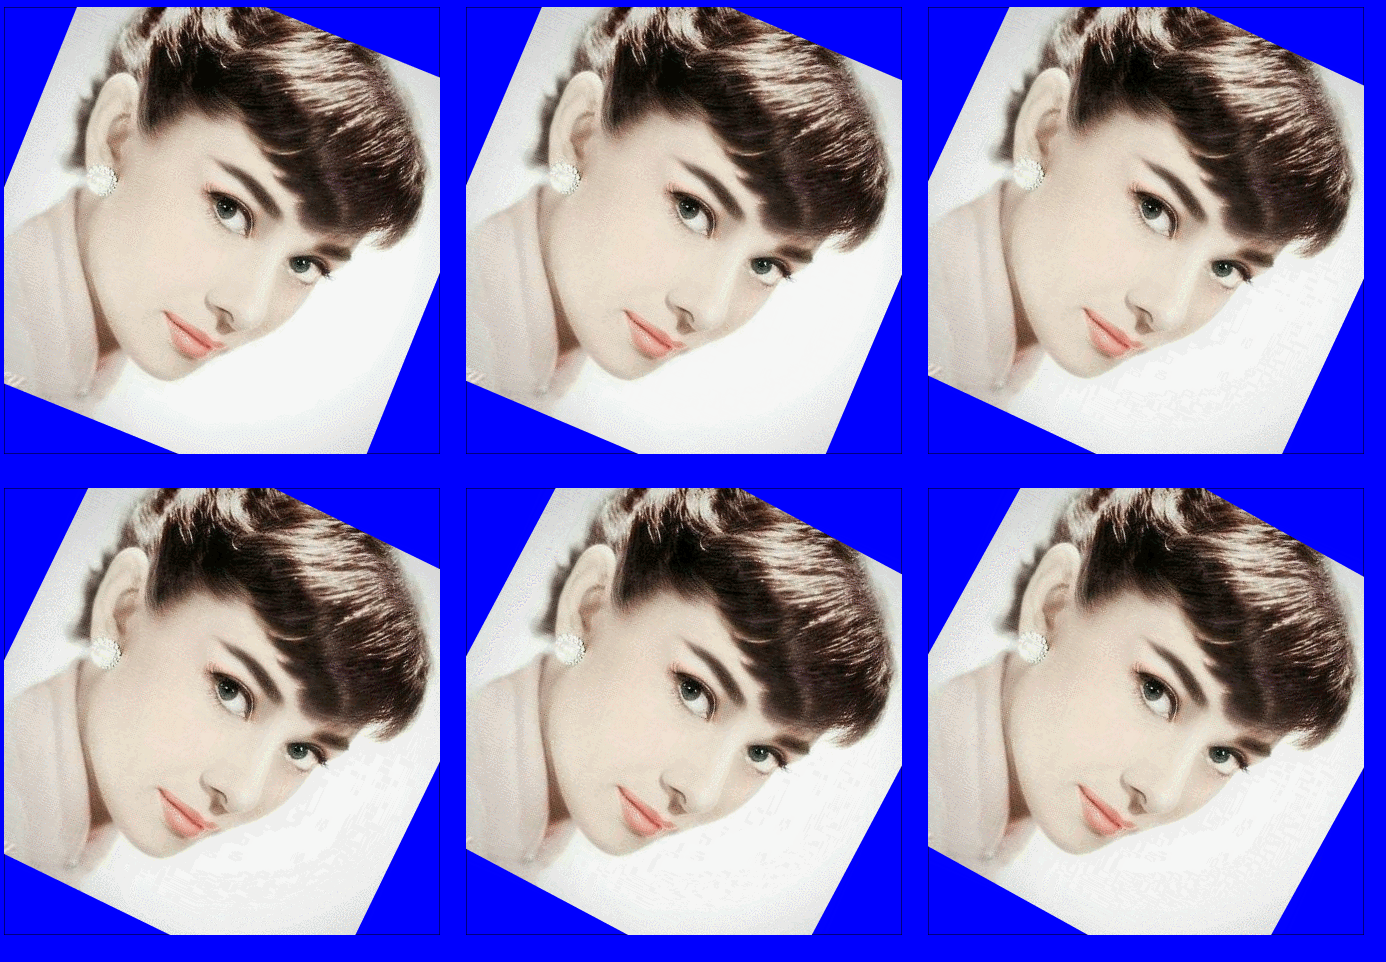
以上代码稍作修改后使用动画旋转图片:
import QtQuick 2.2

Item {

    property string imgPath: ""
    property int currentAngle: 0

    onCurrentAngleChanged: {
        canvasImg.requestPaint();
    }


    Canvas{
        id:canvasImg
        width: parent.width
        height: parent.height

        property int centerPosX: width/2
        property int centerPosY: height/2

        onPaint: {
            var ctx = getContext("2d");

            ctx.save();
            ctx.clearRect(0,0,width, height);

            ctx.beginPath();
            ctx.rect(0,0,width, height);

            //此处平移画布的原点到画布的正中间
            ctx.translate(centerPosX, centerPosY);

            ctx.stroke();


            //旋转指定角度
            console.log(currentAngle);

            ctx.rotate(currentAngle*Math.PI/180);

            //将图片的左上角放置在画布的原点
            //ctx.drawImage(imgPath, 0,0,width, height);
            //图片的左上角调整
            ctx.drawImage(imgPath, 0-width/2,0-height/2,width, height);

            ctx.restore();

        }
    }
}
使用如下:
MouseArea{
        anchors.fill: parent
        onClicked: {
            aniCurrentAngle.start();
        }
    }

    NumberAnimation{
                id:aniCurrentAngle
                target:canvaImgDraw
                property: "currentAngle"
                from:0
                to:360
                loops:Animation.Infinite
                duration: 360*1000
    }


    CanvasDrawImg{
        id:canvaImgDraw
        x:10
        y:10
        width:436
        height: 447
        currentAngle: 0
        imgPath:"qrc:/Image/18640020627547749.jpg"
    }
效果如下:


