Android 使用MotionLayout实现动画效果
之前的文章中,我们通过TransitionManager可以方便地实现过渡动画效果,但是TransitionManager存在一个问题,就是不能"跟手"。即不能手指移到到哪里,动画就到哪里,而通过MotionLayout,却可以很方便地解决这个问题。
而且,MotionLayout不仅仅可以解决这个问题,还可以动态改变动画路径,View属性,十分强大。
MotionLayout继承自ConstraintLayout,接下来我们就来看下MotionLayout如何使用。
MotionLayout最简单的使用
首先,我们新建动画开始时候的布局activity_motion_layout3_start.xml
<androidx.constraintlayout.widget.ConstraintLayout xmlns:android="http://schemas.android.com/apk/res/android"
    xmlns:app="http://schemas.android.com/apk/res-auto"
    android:layout_width="match_parent"
    android:layout_height="match_parent">

    <View
        android:id="@+id/button"
        android:layout_width="64dp"
        android:layout_height="64dp"
        android:background="@color/colorAccent"
        android:text="Button"
        android:layout_marginLeft="16dp"
        app:layout_constraintBottom_toBottomOf="parent"
        app:layout_constraintLeft_toLeftOf="parent"
        app:layout_constraintTop_toTopOf="parent" />

androidx.constraintlayout.widget.ConstraintLayout>
新建一个动画结束时候的布局activity_motion_layout3_end.xml
<androidx.constraintlayout.widget.ConstraintLayout xmlns:android="http://schemas.android.com/apk/res/android"
    xmlns:app="http://schemas.android.com/apk/res-auto"
    android:layout_width="match_parent"
    android:layout_height="match_parent">

    <View
        android:id="@+id/button"
        android:layout_width="64dp"
        android:layout_height="64dp"
        android:layout_marginRight="16dp"
        android:background="@color/colorAccent"
        android:text="Button"
        app:layout_constraintBottom_toBottomOf="parent"
        app:layout_constraintRight_toRightOf="parent"
        app:layout_constraintTop_toTopOf="parent" />

androidx.constraintlayout.widget.ConstraintLayout>

然后,在Activity的xml中,使用MotionLayout,注意,这几个布局中的id需要相同
<androidx.constraintlayout.motion.widget.MotionLayout
    xmlns:android="http://schemas.android.com/apk/res/android"
    xmlns:tools="http://schemas.android.com/tools"
    xmlns:app="http://schemas.android.com/apk/res-auto"
    android:id="@+id/motionLayout"
    app:layoutDescription="@xml/activity_main_scene3"
    android:layout_width="match_parent"
    android:layout_height="match_parent">

    <View
        android:id="@+id/button"
        android:background="@color/colorAccent"
        android:layout_width="64dp"
        android:layout_height="64dp"
        android:text="Button"
        tools:layout_editor_absoluteX="147dp"
        tools:layout_editor_absoluteY="230dp" />

androidx.constraintlayout.motion.widget.MotionLayout>
这里的重点app:layoutDescription,我们设置了activity_main_scene3.xml,这里文件就是具体设置动画的地方了
<MotionScene xmlns:android="http://schemas.android.com/apk/res/android"
    xmlns:app="http://schemas.android.com/apk/res-auto">
    <Transition
        app:constraintSetEnd="@layout/activity_motion_layout3_end"
        app:constraintSetStart="@layout/activity_motion_layout3_start" >

        <OnSwipe
            app:dragDirection="dragRight"
            app:touchAnchorId="@id/button"
            app:touchAnchorSide="right" />
    Transition>
MotionScene>
app:constraintSetStart设置动画开始时候的布局,app:constraintSetEnd设置动画结束时候的布局,而OnSwipe可以设置当向某个方向滑动的时候,触发该动画。
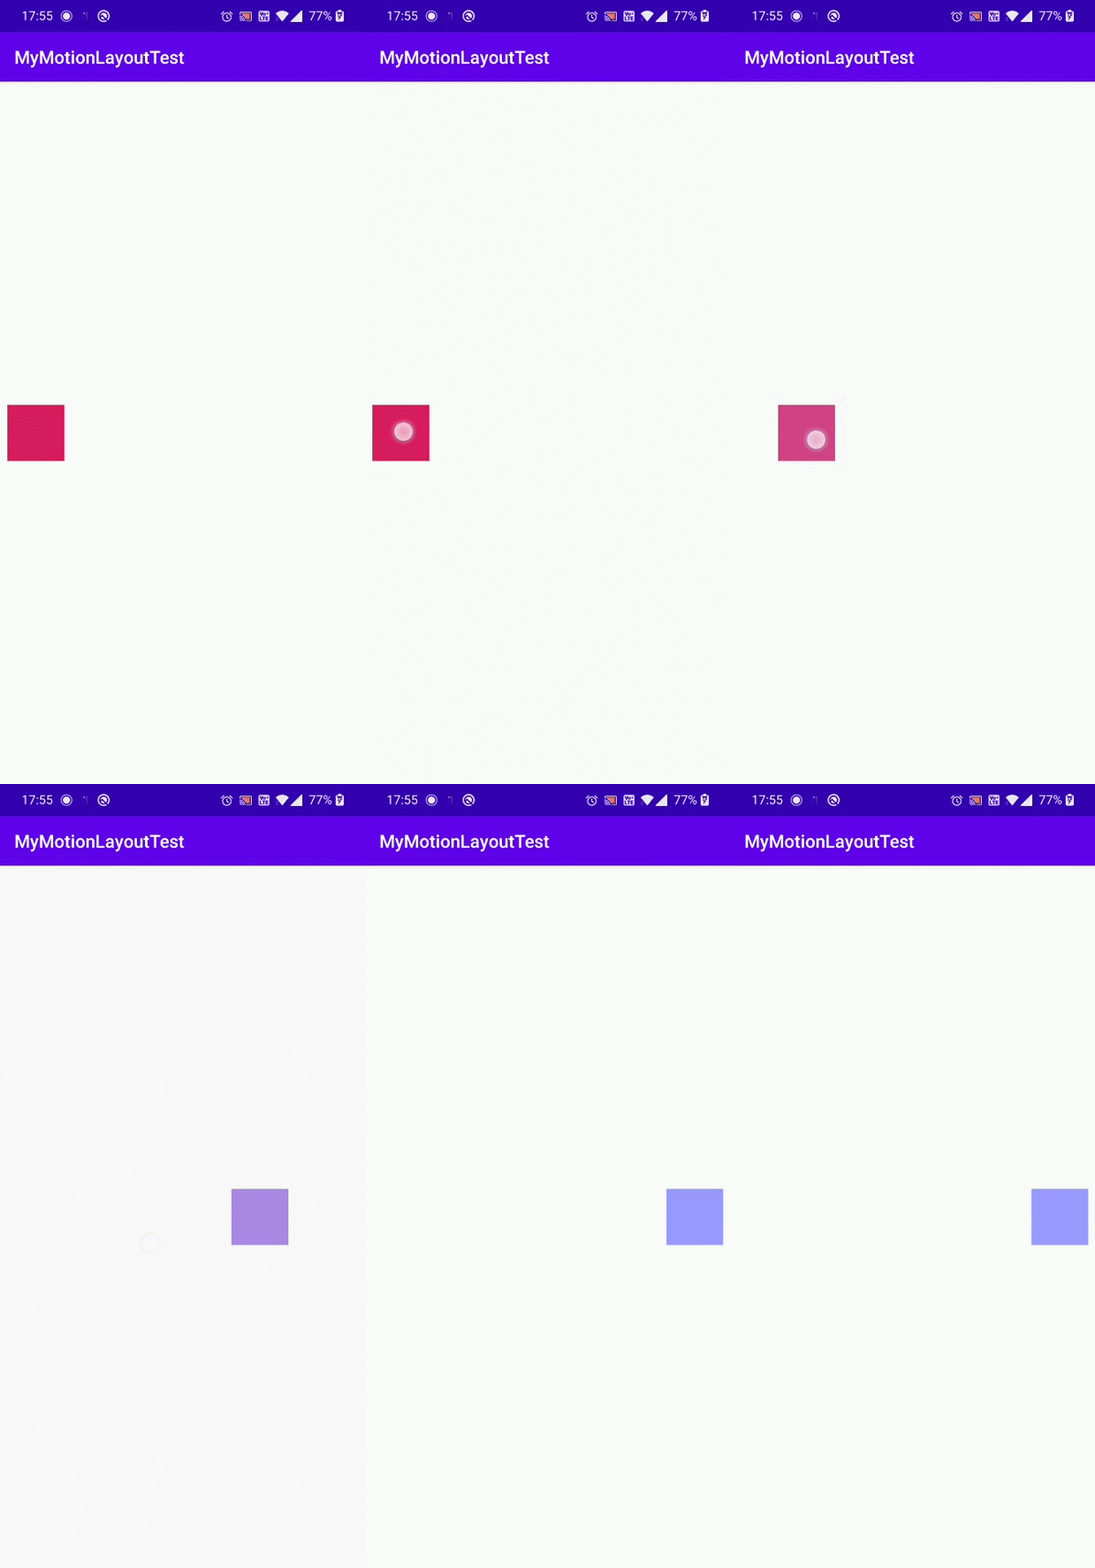
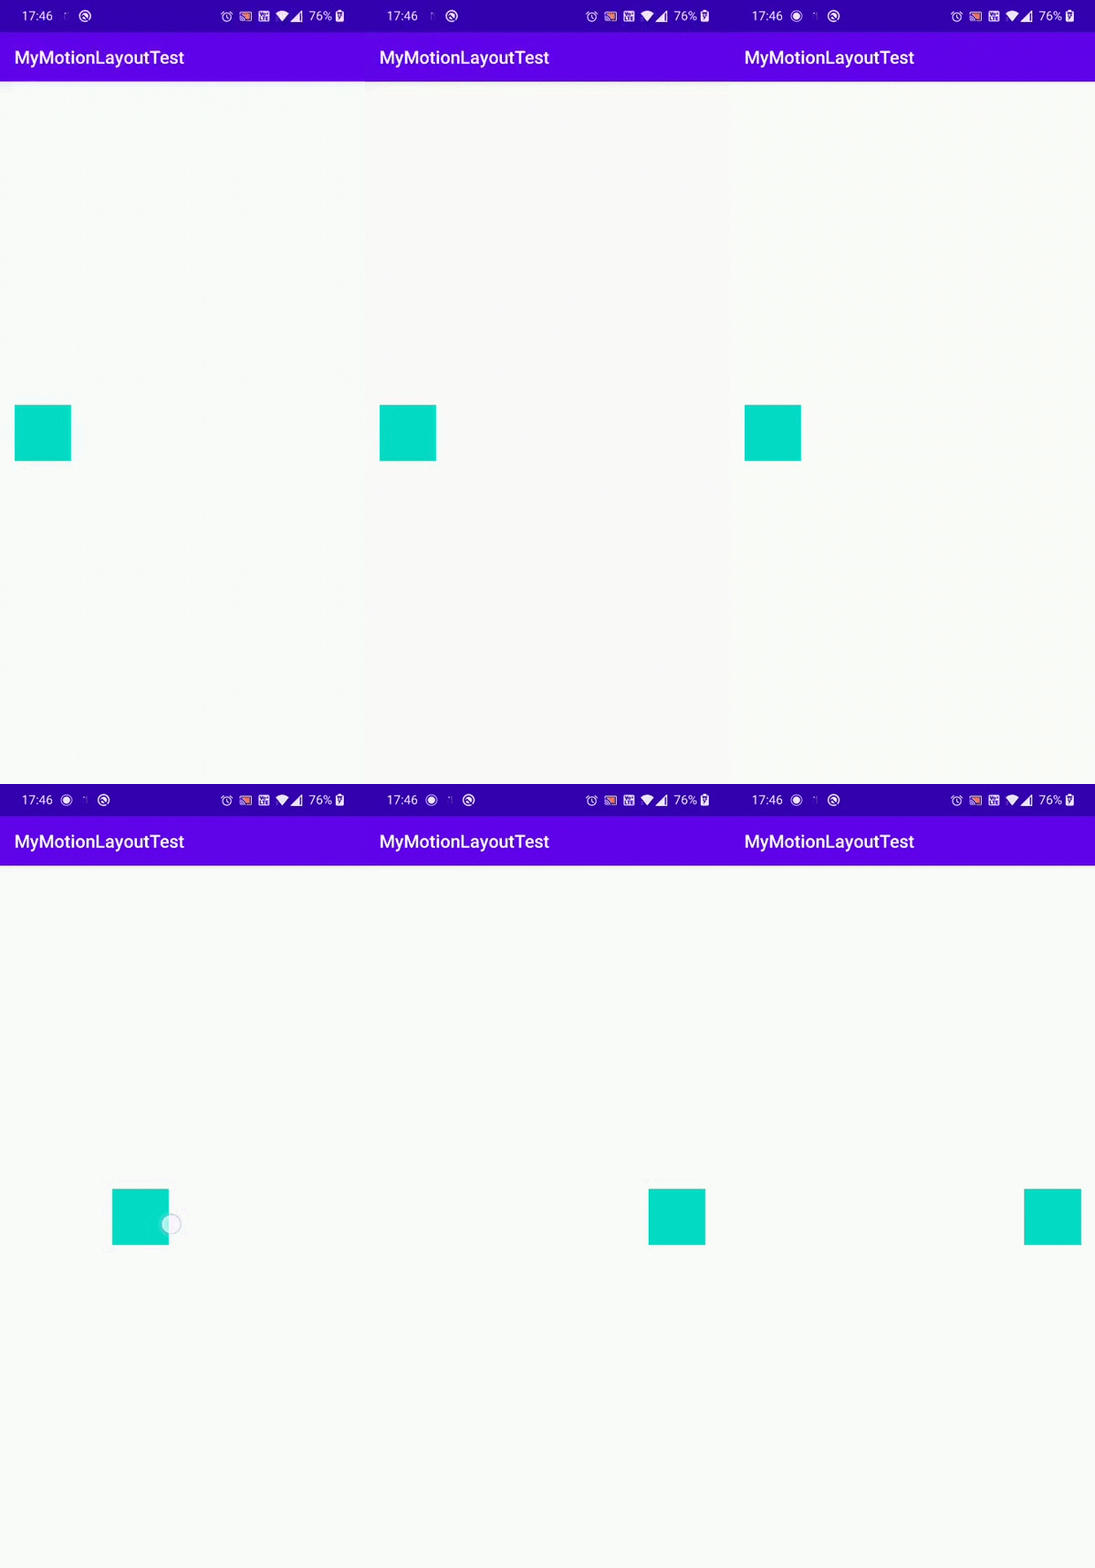
我们运行程序,来看下效果。
MotionLayout动态改变View属性
MotionLayout不仅可以实现动画效果,还可以动态改变View的属性。
这时候,我们就不能只使用activity_motion_layout3_start.xml和activity_motion_layout3_end.xml了。
我们删除这两个布局,完全用activity_main_scene3.xml来控制动画和布局位置。
修改activity_main_scene3.xml如下
<MotionScene xmlns:android="http://schemas.android.com/apk/res/android"
    xmlns:motion="http://schemas.android.com/apk/res-auto">

    <Transition
        motion:constraintSetEnd="@+id/end"
        motion:constraintSetStart="@+id/start"
        motion:duration="1000">
        <OnSwipe
            motion:dragDirection="dragRight"
            motion:touchAnchorId="@id/button"
            motion:touchAnchorSide="right" />
    Transition>

    <ConstraintSet android:id="@+id/start">
        <Constraint android:id="@id/button">
            <Layout
                android:layout_width="64dp"
                android:layout_height="64dp"
                android:layout_marginStart="8dp"
                motion:layout_constraintBottom_toBottomOf="parent"
                motion:layout_constraintStart_toStartOf="parent"
                motion:layout_constraintTop_toTopOf="parent" />

            <CustomAttribute
                motion:attributeName="BackgroundColor"
                motion:customColorValue="#D81B60" />
        Constraint>
    ConstraintSet>

    <ConstraintSet
        android:id="@+id/end"
        motion:deriveConstraintsFrom="@id/start">

        <Constraint android:id="@id/button">
            <Layout
                android:layout_width="64dp"
                android:layout_height="64dp"
                android:layout_marginEnd="8dp"
                motion:layout_constraintEnd_toEndOf="parent" />

            <CustomAttribute
                motion:attributeName="BackgroundColor"
                motion:customColorValue="#9999FF" />
        Constraint>
    ConstraintSet>

MotionScene>
我们再来运行下程序

可以看到,View的背景色动态的发生了改变,如果我们修改View的大小之类的属性,都是可以动态呈现出来的,这里就不演示了。
使用MotionLayout关键帧
我们在动画执行的过程中,还可以设置关键帧,让动画路径按照我们预期的执行。
我们在
<KeyFrameSet>
	<KeyPosition
	    motion:keyPositionType="pathRelative"
	    motion:percentY="-0.25"
	    motion:framePosition="50"
	    motion:motionTarget="@id/button"/>
KeyFrameSet>
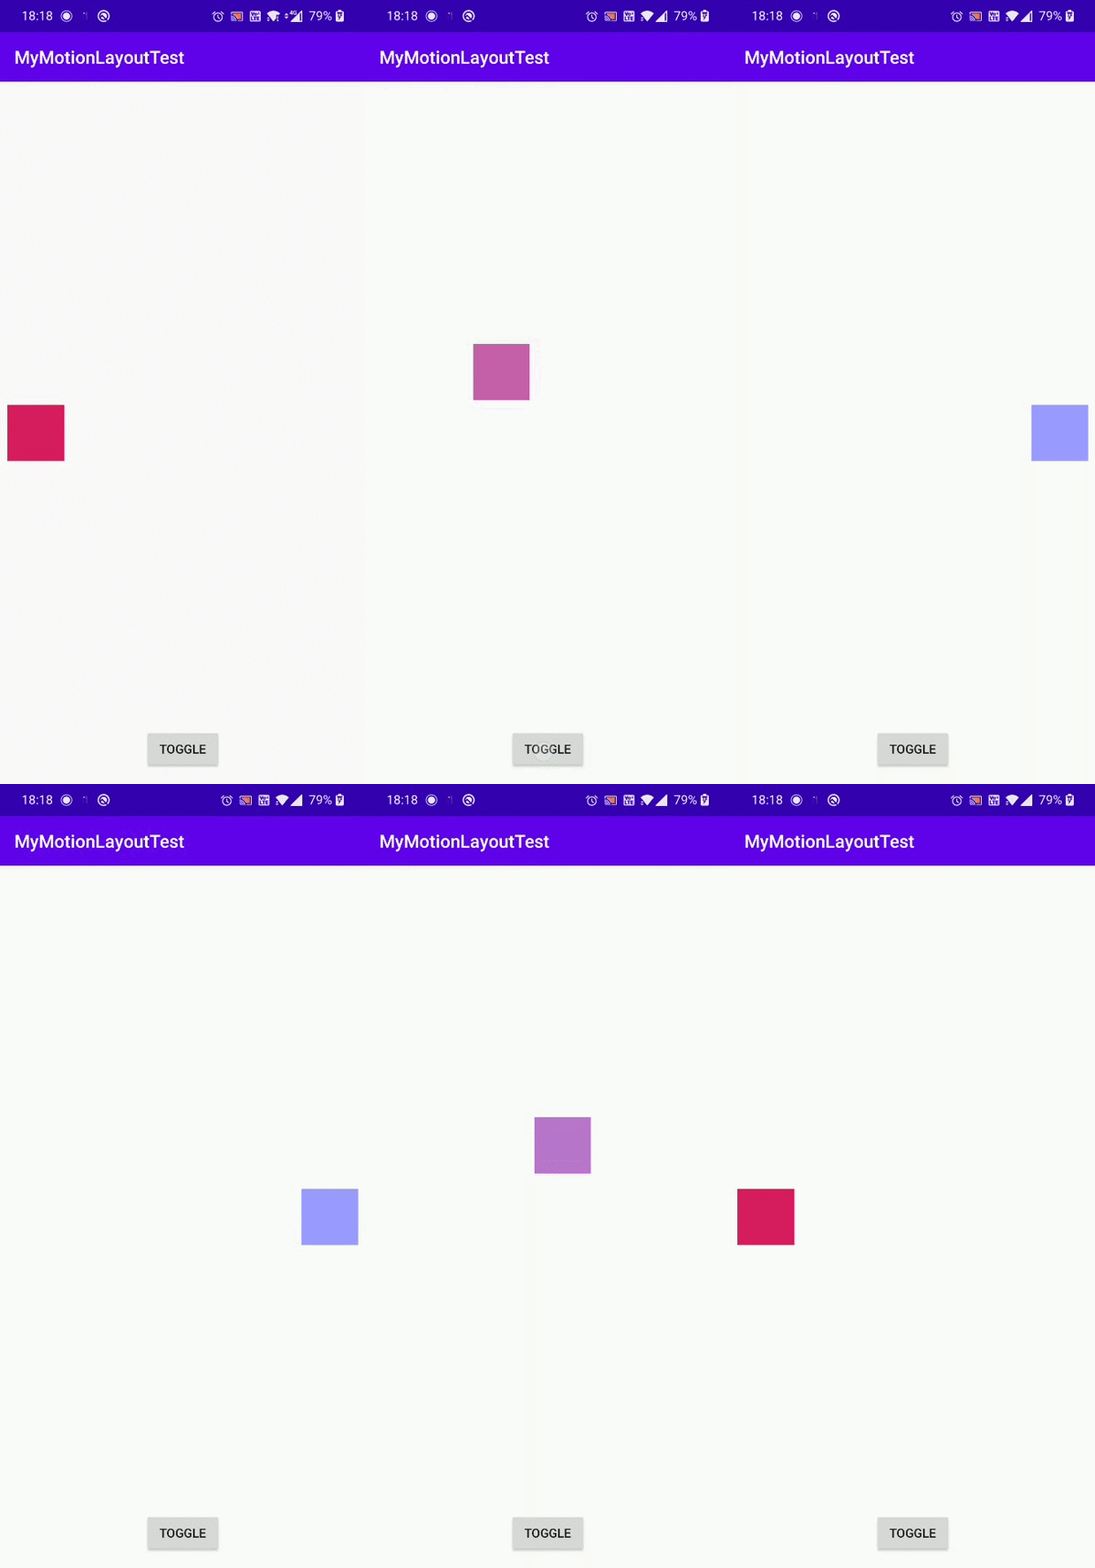
运行程序

可以看到,动画路径按照我们预期的设置运行了,具体更多的关键帧属性详见KeyFrameSet
使用代码来执行MotionLayout动画
我们不仅可以通过滑动等方式来触发MotionLayout动画,我们也可以在代码里去执行。
我们在activity_motion_layout3.xml中添加一个Button
<Button
        android:id="@+id/btn_toggle"
        android:text="toggle"
        android:layout_marginBottom="16dp"
        app:layout_constraintRight_toRightOf="parent"
        app:layout_constraintLeft_toLeftOf="parent"
        app:layout_constraintBottom_toBottomOf="parent"
        android:layout_width="wrap_content"
        android:layout_height="wrap_content" />
然后在Activity中,添加如下代码
var motionLayout = findViewById<MotionLayout>(R.id.motionLayout)
var btnToggle = findViewById<Button>(R.id.btn_toggle)
btnToggle.setOnClickListener {
    if (motionLayout.progress <= 0) {
        motionLayout.transitionToEnd()
    } else {
        motionLayout.transitionToStart()
    }
}
运行程序,我们点击Button按钮时候,动画也就会进行切换了

示例代码
文本相关代码及更多MotionLayout代码示例,详见 MotionLayout-Demo
参考
Developer | MotionLayout
Android新控件MotionLayout介绍(四)
Android MotionLayout动画:续写ConstraintLayout新篇章

