EasyX知识点之一
参考链接:
VC绘图/游戏简易教程--目录
1、设置背景色时,需要两条命令:
setbkcolor(YELLOW);
cleardevice();
cleardevice
这个函数用于清除屏幕内容。具体的,是用当前背景色清空屏幕,并将当前点移至 (0, 0)。
void cleardevice();示例代码:
#include
#include
#include
int main() {

	initgraph(640,480);
	setbkcolor(YELLOW);
	cleardevice();
	for (int y = 0; y <= 480;y+=48) {
		setcolor(RGB(255, 0, y));
		line(0, y, 640, y);
	}
	for (int x = 0; x <= 640; x+= 64) {
		setcolor(RGB(255, 0, x));
		line(x, 0, x,480);

	}
	getch();
	closegraph();
	return 0;
}
运行结果:
2、围棋棋盘
示例代码:
#include   //引用EasyX图形库
#include
#include
int main()
{
	int step = 30;
	initgraph(640, 480); //初始画布
	setbkcolor(YELLOW);
	cleardevice();
	setlinestyle(PS_SOLID, 2);
	setcolor(RGB(0, 0, 0));
	int i;
	for (i = 1;i <= 19; i++)
	{
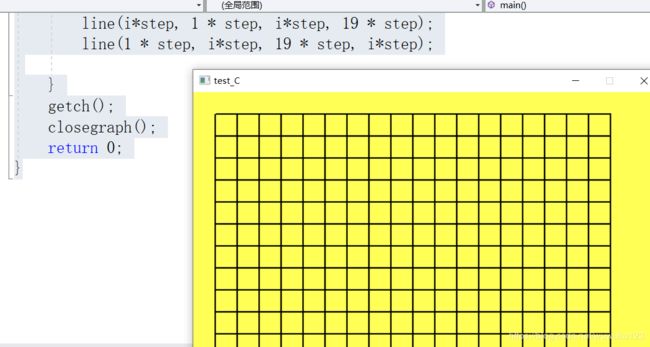
		line(i*step, 1 * step, i*step, 19 * step);
		line(1 * step, i*step, 19 * step, i*step);

	}
	getch();
	closegraph();
	return 0;
}
运行结果:
3、国际象棋棋盘
运行代码:
#include   //引用EasyX图形库
#include
int main()
{
	initgraph(500, 500); //初始画布
	int step = 50;

	setbkcolor(YELLOW);  //设置背景色为黄色
	cleardevice();  //用背景色清空屏幕
	int i, j;
	for (i = 1; i <= 8; i++)
	{
		for (j = 1; j <= 8; j++)
		{
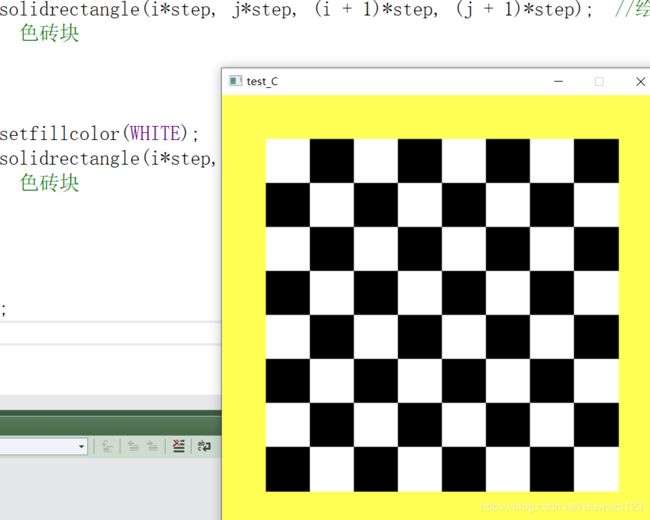
			if ((i + j) % 2 == 1)
			{
				setfillcolor(BLACK);
				solidrectangle(i*step, j*step, (i + 1)*step, (j + 1)*step);  //绘制黑色砖块
			}
			else
			{
				setfillcolor(WHITE);
				solidrectangle(i*step, j*step, (i + 1)*step, (j + 1)*step);  //绘制白色砖块
			}
		}
	}
	getch();
	closegraph();
	return 0;
}
运行结果:
4、画一个圆形的渐变色
解析:
首先,我们要用到圆形的基本公式:
x*x + y*y = r*r
让弧度从0~2*3.14,然后需要根据弧度和半径算出(x,y),
用pi表示圆周率
用r表示半径
用a表示弧度(小数)
用c表示颜色
于是:
x=r*cos(a)
y=r*sin(a)
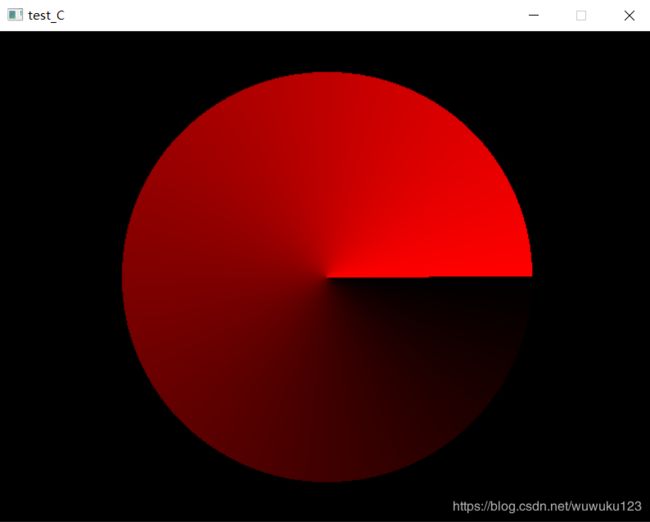
c=a*255/(2*pi)
代码:
#include
#include
#include

#define PI 3.14

void main()
{
	initgraph(640, 480);
	int c;
	double a;
	int x, y, r = 200;
	for (a = 0; a < PI * 2; a += 0.0001)
	{
		x = (int)(r * cos(a) + 320 + 0.5);
		y = (int)(r * sin(a) + 240 + 0.5);
		c = (int)(a * 255 / (2 * PI) + 0.5);
		setcolor(RGB(c, 0, 0));
		line(320, 240, x, y);
	}
	getch();
	closegraph();
}
运行结果:
5、 最简单的,来个全屏的渐变色吧,目的时理解怎么将数学当作工具
解析:
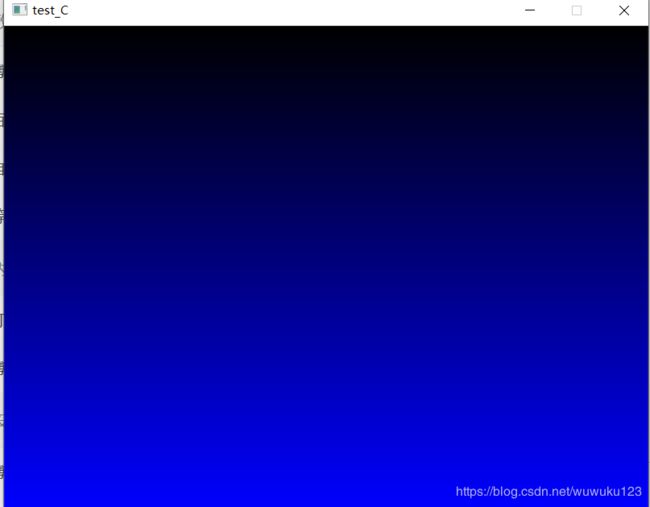
就是需要将0~255的颜色和0~479的y轴对应起来
c 表示颜色,范围0~255
y 表示y轴,范围0~479
于是:
c / 255 = y / 479
c = y / 479 * 255 = y * 255 / 479 (先算乘法再算除法可以提高精度)
代码:
 #include
#include
void main()
{
	initgraph(640, 480);
	int c;
	for (int y = 0; y < 480; y++)
	{
		c = y * 255 / 479;
		setcolor(RGB(0, 0, c));
		line(0, y, 639, y);
	}
	getch();
	closegraph();
}
运行结果:
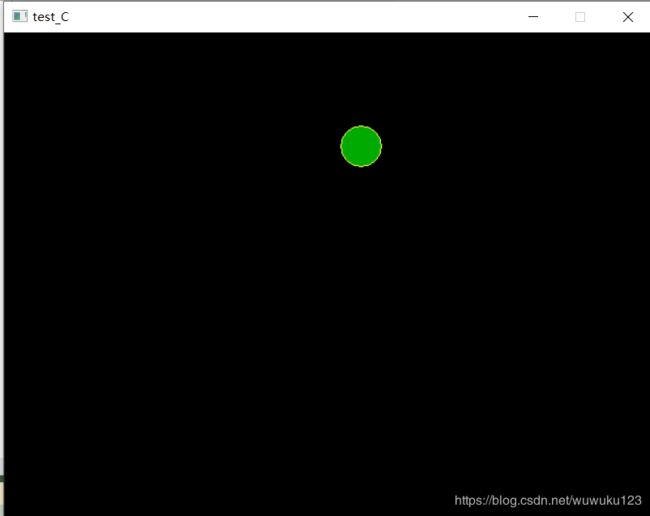
6、简单动画,小球在画布上面自由运动
代码:
#include
#include
#include

#define Width 640
#define High 480

int main()
{
	float ball_x, ball_y;
	float ball_vx, ball_vy;
	float radius;
	initgraph(Width,High);
	ball_x = Width / 2;
	ball_y = High / 2;
	ball_vx = 1;
	ball_vy = 1;
	radius = 20;

	BeginBatchDraw();
	while (1) {
		//绘制黑线、黑色填充的圆
		setcolor(BLACK);
		setfillcolor(BLACK);
		fillcircle(ball_x,ball_y,radius);
		//更新小球的坐标
		ball_x = ball_x + ball_vx;
		ball_y = ball_y + ball_vy;
		if (ball_x <= radius || ball_x >= (Width - radius))
		{
			ball_vx = -ball_vx;
		}
		if (ball_y <= radius || ball_y >= (High - radius))
		{
			ball_vy = -ball_vy;
		}
		//绘制黄线、绿色填充的圆
		setcolor(YELLOW);
		setfillcolor(GREEN);
		fillcircle(ball_x, ball_y, radius);
		FlushBatchDraw();
		//延时
		Sleep(3);

	}
	EndBatchDraw();
	closegraph();
	return 0;
}
运行结果:
7、使用XOR运算可以实现擦除图形后不破坏背景
XOR:
表示“异或”,两数的对应二进制位不同,结果的二进制位为1;相同,结果的二进制位为0。
C语言用符号 ^ 表示。
如:二进制:0101 ^ 1110 = 1011
XOR 运算,它有一个重要的特性:(a ^ b) ^ b = a
也就是说,a ^ b 之后可能是某些其它数字,但是只要再 ^b 一下,就又成了 a。
一些简单的加密就用的 XOR 的这个特性。
至于绘图,假如 a 是背景图案,b 是将要绘制的图案,只要用 XOR 方式绘图,连续绘两次,那么背景是不变的。
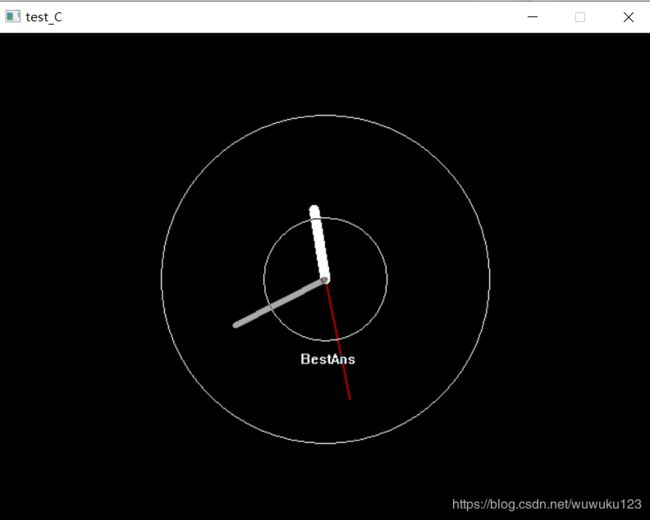
钟表示例代码:
#include
#include
#include

#define PI 3.14159265359

void Draw(int hour, int minute, int second)
{
	double a_hour, a_min, a_sec;					// 时、分、秒针的弧度值
	int x_hour, y_hour, x_min, y_min, x_sec, y_sec;	// 时、分、秒针的末端位置

	// 计算时、分、秒针的弧度值
	a_sec = second * 2 * PI / 60;
	a_min = minute * 2 * PI / 60 + a_sec / 60;
	a_hour = hour * 2 * PI / 12 + a_min / 12;

	// 计算时、分、秒针的末端位置
	x_sec = 320 + (int)(120 * sin(a_sec));
	y_sec = 240 - (int)(120 * cos(a_sec));
	x_min = 320 + (int)(100 * sin(a_min));
	y_min = 240 - (int)(100 * cos(a_min));
	x_hour = 320 + (int)(70 * sin(a_hour));
	y_hour = 240 - (int)(70 * cos(a_hour));

	// 画时针
	setlinestyle(PS_SOLID, 10, NULL);
	setlinecolor(WHITE); //设置画线颜色为白色
	line(320, 240, x_hour, y_hour);

	// 画分针
	setlinestyle(PS_SOLID, 6, NULL);
	setlinecolor(LIGHTGRAY);
	line(320, 240, x_min, y_min);

	// 画秒针
	setlinestyle(PS_SOLID, 2, NULL);
	setlinecolor(RED);
	line(320, 240, x_sec, y_sec);
}

void main()
{
	initgraph(640, 480);		// 初始化 640 x 480 的绘图窗口

	// 绘制一个简单的表盘
	circle(320, 240, 2);
	circle(320, 240, 60);
	circle(320, 240, 160);
	outtextxy(296, 310, _T("BestAns"));

	// 设置 XOR 绘图模式
	setwritemode(R2_XORPEN);	// 设置 XOR 绘图模式

	// 绘制表针
	SYSTEMTIME ti;				// 定义变量保存当前时间
	while (!kbhit())				// 按任意键退出钟表程序
	{
		GetLocalTime(&ti);		// 获取当前时间
		Draw(ti.wHour, ti.wMinute, ti.wSecond);	// 画表针
		Sleep(1000);							// 延时 1 秒
		Draw(ti.wHour, ti.wMinute, ti.wSecond);	// 擦表针(擦表针和画表针的过程是一样的)
	}

	closegraph();				// 关闭绘图窗口
}
运行结果:
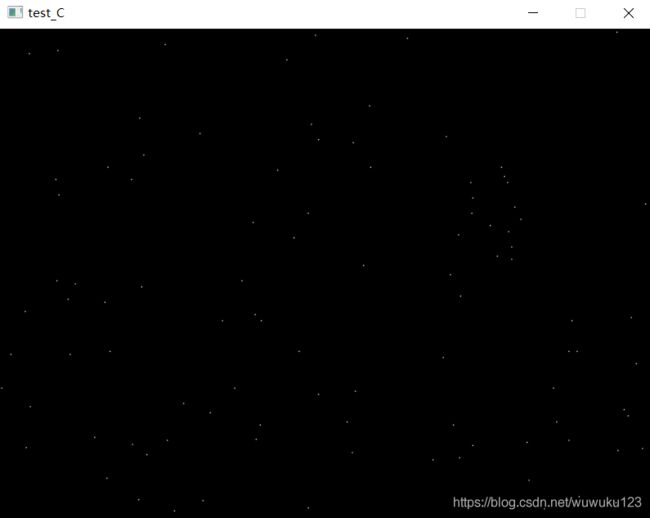
8、利用数组,来产生 100 个随机下落的点。并且每个点落到底部后,就回到顶部重新往下落
知识点:数组、if(!kbhit())
示例代码:
#include
#include
#include
#include

int main()
{
	srand((unsigned)time(NULL));
	initgraph(640, 480);
	// 定义点的坐标数组
	int x[100];			// 点的 x 坐标
	int y[100];			// 点的 y 坐标
	int i;
	// 初始化点的初始坐标
	for (i = 0; i < 100; i++)
	{
		x[i] = rand() % 640;
		y[i] = rand() % 480;
	}

	while (!_kbhit())
	{
		for (i = 0; i < 100; i++)
		{
			// 擦掉前一个点
			putpixel(x[i], y[i], BLACK);
			// 计算新坐标
			y[i] += 3;
			if (y[i] >= 480) y[i] = 0;
			// 绘制新点
			putpixel(x[i], y[i], WHITE);
		}
		Sleep(10);
	}
	closegraph();
	return 0;
}
运行结果:
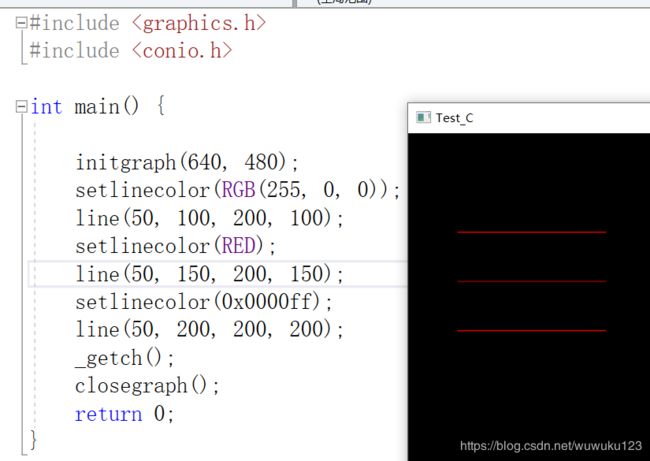
9、颜色的使用:
示例代码:
#include
#include

int main() {

	initgraph(640, 480);
	setlinecolor(RGB(255, 0, 0));
	line(50, 100, 200, 100);
	setlinecolor(RED);
	line(50, 150, 200, 150);
	setlinecolor(0x0000ff);
	line(50, 200, 200, 200);
	_getch();
	closegraph();
	return 0;
}
运行结果:
方式1:RED YELLOE GREEN BLUE 等
方式2:
COLORREF RGB(

    BYTE byRed,     // 颜色的红色部分

    BYTE byGreen,   // 颜色的绿色部分

    BYTE byBlue     // 颜色的蓝色部分

);
byRed: 颜色的红色部分,取值范围:0~255。
byGreen: 颜色的绿色部分,取值范围:0~255。
byBlue: 颜色的蓝色部分,取值范围:0~255。
返回值: 返回合成的颜色。
方式3:用 16 进制的颜色表示,形式为: 0xbbggrr (bb=蓝,gg=绿,rr=红)

