iOS-图片两边拉伸,中间保持不变
一般聊天气泡图片拉伸结果是这样的:
但是如果要求箭头再中间, 表示对某事物的说明, 就会很难实现:
我的实现方法如下, 需要两次拉伸, 第一次拉伸后需要保存图片. 需要注意的只是:
1.保存图片
2.计算第一次拉伸的宽度:第一次拉伸宽度=最终宽度/2+原图宽度/2
3.如果原图箭头不在正中间, 不适用这个计算公式, 我的原图就是偏的, 所以结果有点偏.
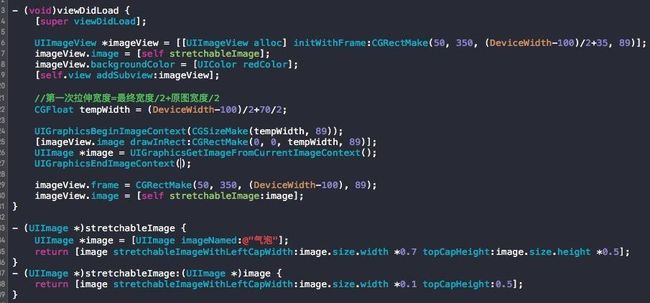
    UIImageView *imageView = [[UIImageView alloc] initWithFrame:CGRectMake(50, 350, (DeviceWidth-100)/2+35, 89)];
    imageView.image = [self stretchableImage];
    imageView.backgroundColor = [UIColor redColor];
    [self.view addSubview:imageView];

    //第一次拉伸宽度=最终宽度/2+原图宽度/2
    CGFloat tempWidth = (DeviceWidth-100)/2+70/2;
    UIGraphicsBeginImageContextWithOptions(CGSizeMake(tempWidth, 89), NO, [UIScreen mainScreen].scale);
    [imageView.image drawInRect:CGRectMake(0, 0, tempWidth, 89)];
    UIImage *image = UIGraphicsGetImageFromCurrentImageContext();
    UIGraphicsEndImageContext();

    imageView.frame = CGRectMake(50, 350, (DeviceWidth-100), 89);
    imageView.image = [self stretchableImage:image];

- (UIImage *)stretchableImage {
    UIImage *image = [UIImage imageNamed:@"气泡"];
    return [image stretchableImageWithLeftCapWidth:image.size.width *0.7 topCapHeight:image.size.height *0.5];
// 0.7大于0.5
}
- (UIImage *)stretchableImage:(UIImage *)image {
    return [image stretchableImageWithLeftCapWidth:image.size.width *0.3 topCapHeight:image.size.height*0.5];
// 0.3小于0.5
}

// 注意: 两次拉伸的参数0.7和0.3, 只要一个大于0.5一个小于0.5且不在尖角的和图片边角的位置
今天对一个图片进行拉伸控制, 不管怎么设置不没有效果, 最后才发现是图片太大了, 显示的时候根本就没有对图片进行拉伸, 反而压扁了...谨记
/**
* 图片左右拉伸
* fLeftCapWidth: 第一次拉伸的left点
* fTopCapHeight: 第一次拉伸的top点
* tempWidth: 图片最后要展示的宽度
* sLeftCapWidth: 第二次拉伸的left点
* sTopCapHeight: 第二次拉伸的top点
*/
- (UIImage *)stretchImageWithFLeftCapWidth:(CGFloat)fLeftCapWidth
fTopCapHeight:(CGFloat)fTopCapHeight
tempWidth:(CGFloat)tempWidth
sLeftCapWidth:(CGFloat)sLeftCapWidth
sTopCapHeight:(CGFloat)sTopCapHeight;
- (UIImage *)stretchImageWithFLeftCapWidth:(CGFloat)fLeftCapWidth
fTopCapHeight:(CGFloat)fTopCapHeight
tempWidth:(CGFloat)tempWidth
sLeftCapWidth:(CGFloat)sLeftCapWidth
sTopCapHeight:(CGFloat)sTopCapHeight
{
UIImage *image1 = [self stretchableImageWithLeftCapWidth:fLeftCapWidth topCapHeight:fTopCapHeight];
CGSize imageSize = self.size;
CGFloat tw = tempWidth / 2.0 + imageSize.width / 2.0;
UIGraphicsBeginImageContextWithOptions(CGSizeMake(tw, imageSize.height), NO, [UIScreen mainScreen].scale);
[image1 drawInRect:CGRectMake(0, 0, tw, imageSize.height)];
UIImage *image2 = UIGraphicsGetImageFromCurrentImageContext();
UIGraphicsEndImageContext();
return [image2 stretchableImageWithLeftCapWidth:sLeftCapWidth topCapHeight:sTopCapHeight];
}


