如何使用阿里云服务器公网IP访问自己的网页?
一.服务器的初步配置
1.配置安全组:
如果你有条件或者有需求注册域名,那么你可以直接在阿里云中申请并且跳过第一步,如果你还不想申请域名,那么也可以通过公网IP访问你的服务器。
首先在云服务器管理控制台左边栏找到网络与安全——安全组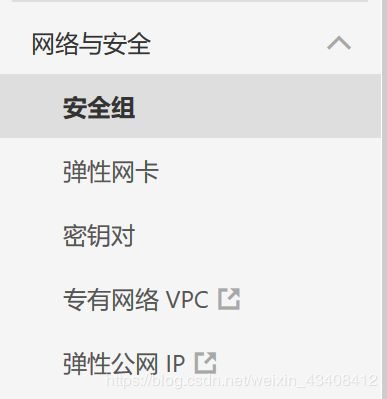
进入后选择配置规则,将安全组规则配置成如下图: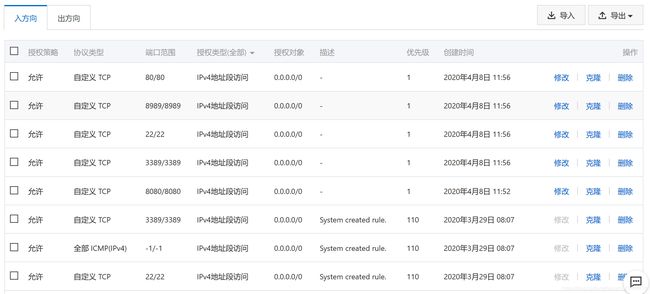 具体应用可以参见《阿里云官方文档》:
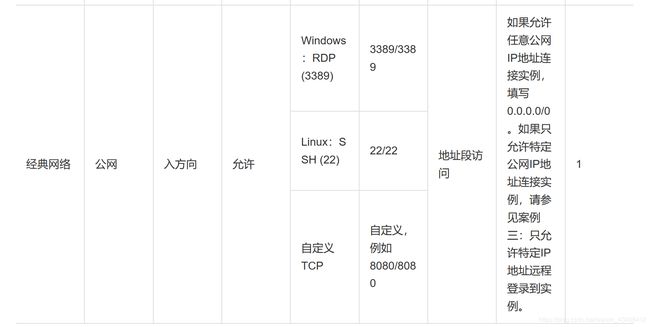 完成配置后即可通过公网ip访问你的服务器了!
2.下载安装Nginx
Nginx (engine x) 是一个高性能的HTTP和反向代理web服务器,同时也提供了IMAP/POP3/SMTP服务。
首先需要通过远程链接到服务器终端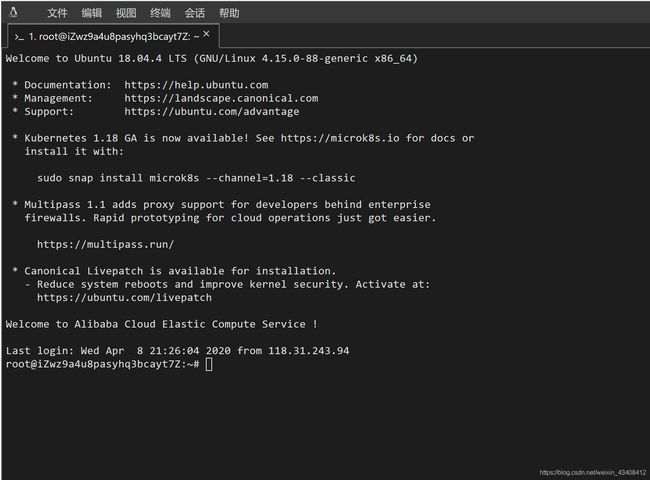
终端下输入sudo apt-get update及sudo apt-get -y install nginx下载Nginx。
此时即可通过公网IP访问储存在/usr/share/nginx/html文件夹中的index.html文件。在浏览器中输入http://公网ip得到如下结果:
 访问成功!
访问成功!
3.隐藏错误
此时虽然已经可以通过公网ip访问服务器,但可能存在一个问题:无论如何修改index.html中代码,浏览器中却依然不发生改变,仍然显示为: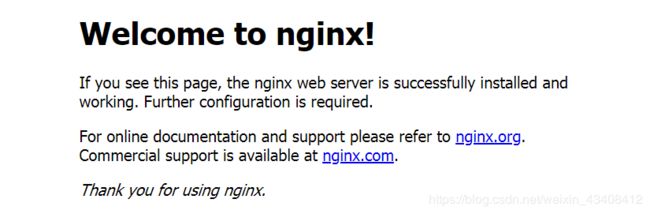 这个问题的原因在于安装Nginx后未进行配置。
此时我们需要找到nginx.conf配置文件,这个文件一般在/etc/nginx目录下: 输入
输入vim nginx.conf进入编辑,将配置文件改为如下:
#user  nobody;
worker_processes  1;

#error_log  logs/error.log;
#error_log  logs/error.log  notice;
#error_log  logs/error.log  info;

#pid        logs/nginx.pid;


events {
    worker_connections  1024;
}


http {
    include       mime.types;
    default_type  application/octet-stream;

    #log_format  main  '$remote_addr - $remote_user [$time_local] "$request" '
    #                  '$status $body_bytes_sent "$http_referer" '
    #                  '"$http_user_agent" "$http_x_forwarded_for"';

    #access_log  logs/access.log  main;

    sendfile        on;
    #tcp_nopush     on;

    #keepalive_timeout  0;
    keepalive_timeout  65;

    #gzip  on;

    server {
        listen       80;
        server_name  localhost;

        #charset koi8-r;

        #access_log  logs/host.access.log  main;

        location / {
            root   html;
            index  index.html index.htm;
        }

        #error_page  404              /404.html;

        # redirect server error pages to the static page /50x.html
        #
        error_page   500 502 503 504  /50x.html;
        location = /50x.html {
            root   html;
        }

        # proxy the PHP scripts to Apache listening on 127.0.0.1:80
        #
        #location ~ \.php$ {
        #    proxy_pass   http://127.0.0.1;
        #}

        # pass the PHP scripts to FastCGI server listening on 127.0.0.1:9000
        #
        #location ~ \.php$ {
        #    root           html;
        #    fastcgi_pass   127.0.0.1:9000;
        #    fastcgi_index  index.php;
        #    fastcgi_param  SCRIPT_FILENAME  /scripts$fastcgi_script_name;
        #    include        fastcgi_params;
        #}

        # deny access to .htaccess files, if Apache's document root
        # concurs with nginx's one
        #
        #location ~ /\.ht {
        #    deny  all;
        #}
    }


    # another virtual host using mix of IP-, name-, and port-based configuration
    #
    #server {
    #    listen       8000;
    #    listen       somename:8080;
    #    server_name  somename  alias  another.alias;

    #    location / {
    #        root   html;
    #        index  index.html index.htm;
    #    }
    #}


    # HTTPS server
    #
    #server {
    #    listen       443 ssl;
    #    server_name  localhost;

    #    ssl_certificate      cert.pem;
    #    ssl_certificate_key  cert.key;

    #    ssl_session_cache    shared:SSL:1m;
    #    ssl_session_timeout  5m;

    #    ssl_ciphers  HIGH:!aNULL:!MD5;
    #    ssl_prefer_server_ciphers  on;

    #    location / {
    #        root   html;
    #        index  index.html index.htm;
    #    }
    #}

}
代码参考自:Nginx(二)------nginx.conf
配置文件(侵删)
此时返回/usr/share/nginx/html目录下,尝试修改index.html文件: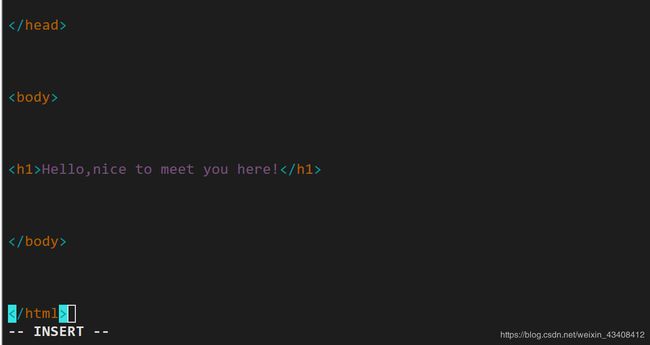 访问公网IP:
 修改成功!
修改成功!
这里做一点说明:当你通过公网IP访问服务器时,修改后的Nginx将会优先找到
index.html文件运行。(具体细节参见代码来源)
//update 2020.4.8
//喜欢别忘了点赞呀