Zabbix 5.0.2源码包在线安装
Zabbix架构及原理
参见:https://blog.csdn.net/ximenjianxue/article/details/96479839
安装过程
1、下载zabbix源码包:
https://cdn.zabbix.com/zabbix/sources/stable/5.0/

2、安装开发环境依赖包:
yum -y install net-snmp-devel libevent-devel

yum install php php-mysql php-gd libjpeg* php-ldap php-odbc php-pear php-xml php-xmlrpc php-mhash -y //php安装

3、创建zabbix用户和组,禁止本地登录
useradd -r -M -s /sbin/nologin zabbix //-M 不创建用户的HOME目录,r 创建系统账户
4、安装配置MySQL
进入MySQL社区下载:https://dev.mysql.com/downloads/mysql/
因我的环境是CentOS Linux release 7.1.1503 (Core),这里选linux7,我们选rpm二进制集成包(里面包含了编译好的常用软件和工具)
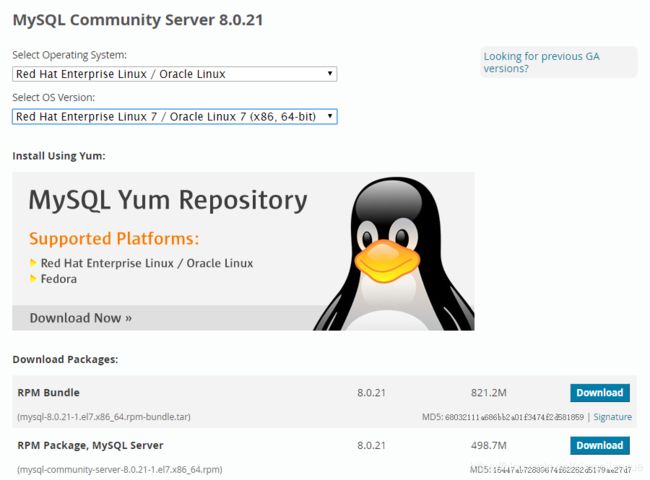
wget https://cdn.mysql.com//Downloads/MySQL-8.0/mysql-8.0.21-1.el7.x86_64.rpm-bundle.tar


【安装先后顺序】
1)rpm -Uvh mysql-community-common-8.0.21-1.el7.x86_64.rpm
2)rpm -Uvh mysql-community-libs-8.0.21-1.el7.x86_64.rpm
报错如下:

相关网络资料验证是因为:mariadb-libs

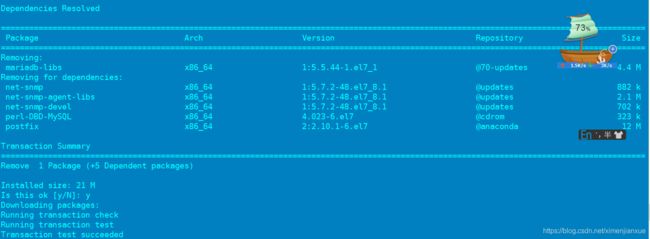
这样,总共将删除6个包
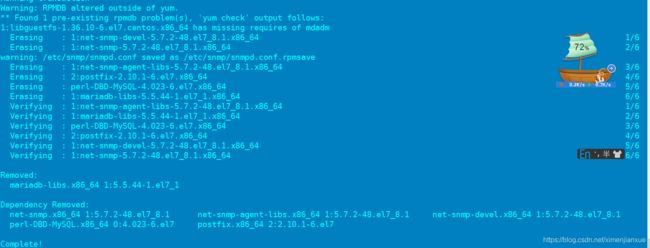
卸载后再次安装就可成功:

3)rpm -Uvh mysql-community-client-8.0.21-1.el7.x86_64.rpm

4)rpm -Uvh mysql-community-server-8.0.21-1.el7.x86_64.rpm


5)或者直接可以:
yum localinstall mysql-community-common-5.7.28-1.el7.x86_64.rpm mysql-community-libs-5.7.28-1.el7.x86_64.rpm mysql-community-client-5.7.28-1.el7.x86_64.rpm mysql-community-server-5.7.28-1.el7.x86_64.rpm


6)验证:systemctl list-unit-files --type=service |grep mysql

7)启动服务:systemctl start mysqld
/usr/bin/mysqld --user=root //进行强制使用root账号启动,使用一个普通用户进行启动mysqld 。这个用户必须是属于mysqld用户组,且在my.cnf文件中指定user=mysql;
8)修改MySQL配置文件my.cnf
vim /etc/my.cnf
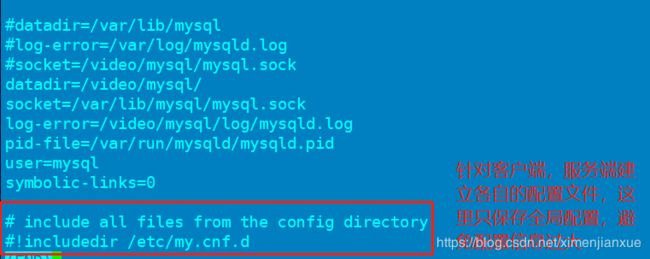
如果启动服务过程中,提示权限不足,删掉mysqld.pid文件后,重启服务让其自动生成新的pid文件,因进程号变了。
注:修改MySQL默认数据目录,需将MySQL系统的数据文件复制到新目录,必须要复制,否则在新目录因为找不到系统数据,而启动不了数据库。

# cat >/etc/my.cnf.d/client.cnf < [client]
> socket=/video/mysql/mysql.sock    //这里的socket是指mysqld的socket,需与my.cnf文件里的一致
> EOF
cat >/etc/my.cnf.d/server.cnf <chown -R mysql:mysql /etc/my.cnf.d

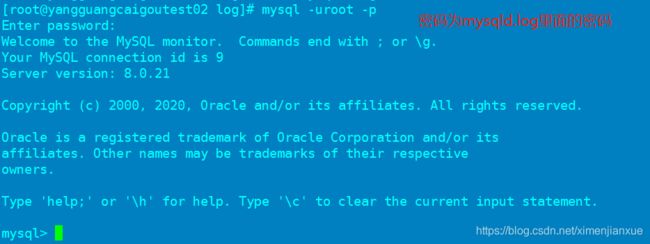
9)修改密码和配置zabbix数据库:
set password for 用户名@localhost = password(‘新密码’);
或mysqladmin -u用户名 -p旧密码 password 新密码
或
mysql> use mysql;
mysql> update user set password=password(‘123’) where user=‘root’ and host=‘localhost’;
mysql> flush privileges; //忘记密码,musql登录是,加mysqld –skip-grant-tables选项,登录进去后进行修改
alter user test identified by ‘123456’;
实际中,必须先用:alter user ‘root’@‘localhost’ identified by ‘Root@123’;
初始设置密码,必须满足复杂性,因受参数validate_password_policy影响限制,默认其值为1,即MEDIUM,所以刚开始设置的密码必须符合长度,且必须含有数字,小写或大写字母,特殊字符。
mysql> show variables like ‘validate_password_policy%’;

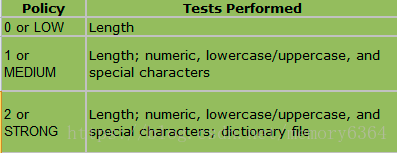
如不想麻烦可修改:mysql> set global validate_password_policy=0;
授权zabbix数据库,这是报授权语法错误:

注:mysql8.0以前的版本可以使用grant在授权的时候隐式的创建用户,8.0以后已经不支持,所以必须先创建用户,然后再授权,执行,


其他数据库操作:
ysql> select user(); //user() 方法将返回当前用户信息
±---------------+
| user() |
±---------------+
| test@localhost |
±---------------+
1 row in set (0.00 sec)
mysql> alter user user() identified by ‘aaaaaa’;
mysql> alter user test identified by ‘123456’ password expire; //使密码过期
mysql> alter user test identified by ‘123456’ password expire never;
mysql> alter user test identified by ‘123456’ password expire default; //默认过期时间
mysql> alter user test identified by ‘123456’ password expire interval 90 day; //过期提醒间隔
10、导zabbix入初始架构和数据
cd home/cmcc/zabbix-5.0.2/database/mysql //源码包模板目录

执行:
mysql -uzabbix -p zabbix < schema.sql
mysql -uzabbix -p zabbix < images.sql
mysql -uzabbix -p zabbix < data.sql

11、编译安装zabbix
执行:
./configure --enable-server \
--enable-agent \
--with-mysql \
--with-net-snmp \
--with-libcurl \
--with-libxml2
libxml2包安装:
wget http://mirror.centos.org/centos/7/os/x86_64/Packages/libxml2-2.9.1-6.el7.4.x86_64.rpm
wget http://xmlsoft.org/sources/libxml2-2.9.2.tar.gz
然后
./configure --prefix=/usr --disable-static --with-history
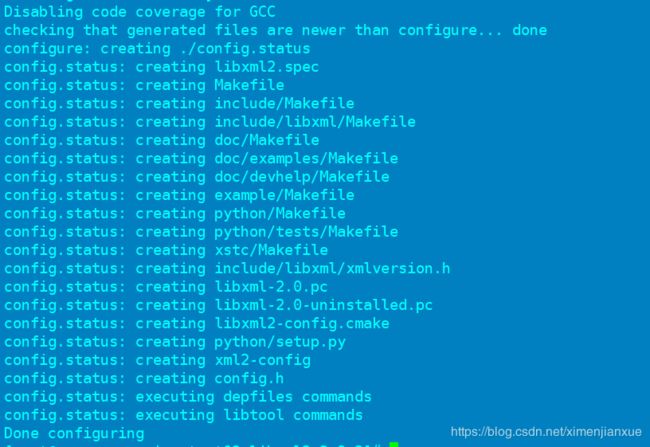
参数说明:
–disable-static: This switch prevents installation of static versions of the libraries.
–with-history: This switch enables Readline support when running xmlcatalog or xmllint in shell mode.
–with-python=/usr/bin/python3: Add this switch if you want libxml2 to use Python3 instead of Python2.
继续执行:
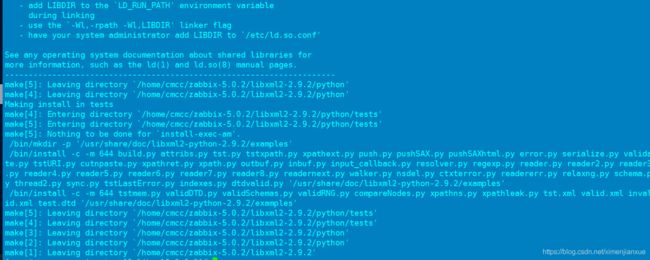
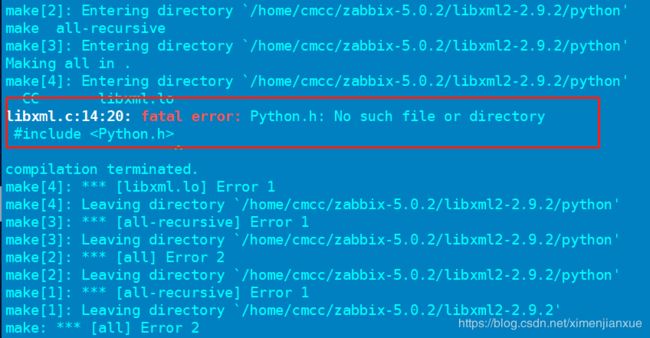
make //如果编译时,提示libxml.c:14:20: fatal error: Python.h: No such file or directory,请安装yum install python-dev

验证:
![]()
再次编译:
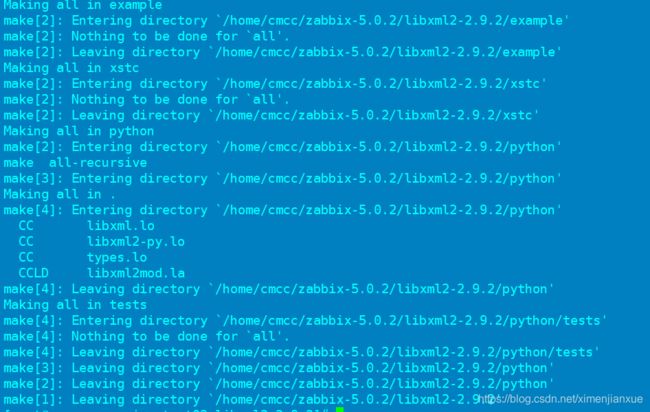
至此执行zabbix的编译安装:
验证:find / -name ‘libxml-2.0*’

find / -name pkgconfig //找到默认pkgconfig路径
cd /usr/lib64/pkgconfig 发现里面确实没有libxml-2.0.pc,应该是路径修改后失效了

cd /usr/lib64/pkgconfig/
ln -s /video/zabbix/libxml2-2.9.2/libxml-2.0.pc ./libxml-2.0.pc
安装:yum install -y net-snmp-devel
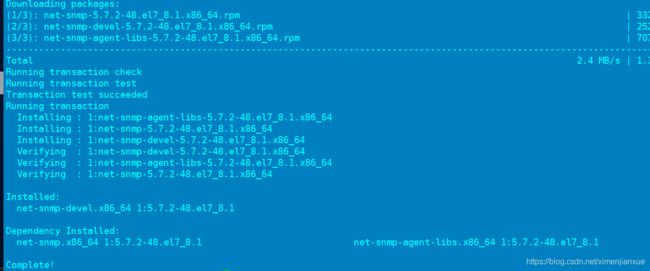
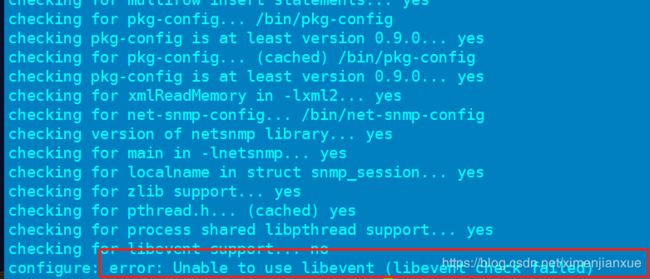
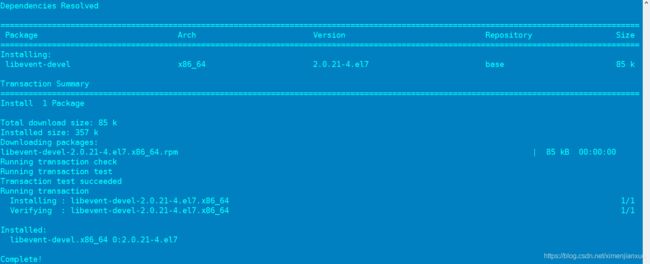
安装:yum install libevent-devel -y

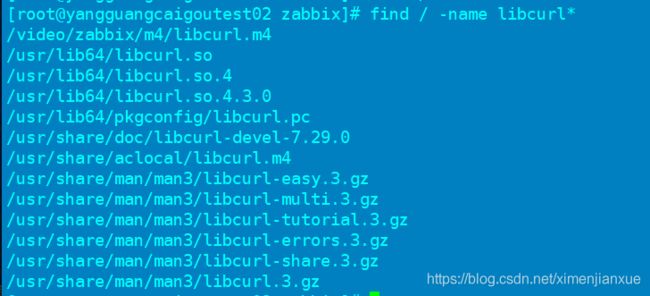
安装: yum install libcurl-devel curl-devel -y

configure: error: SSH2 library not found
安装:yum install libssh2-devel
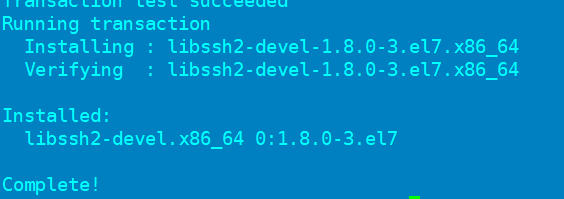
执行zabbix编译,成功:
./configure --prefix=/usr/local/zabbix/ --enable-server --enable-agent --with-mysql --enable-ipv6 --with-net-snmp --with-libcurl --with-libxml2 --with-ssh2
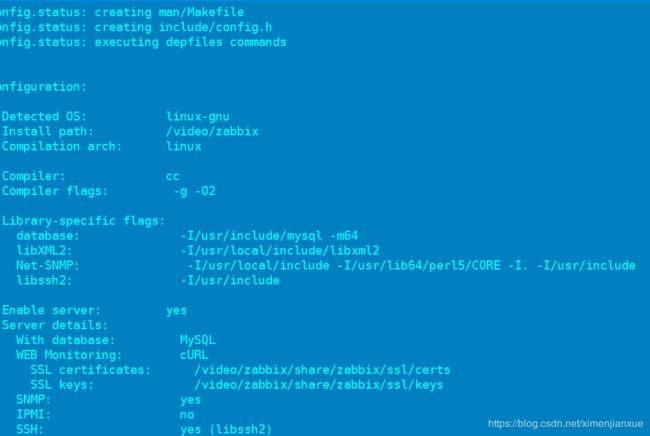
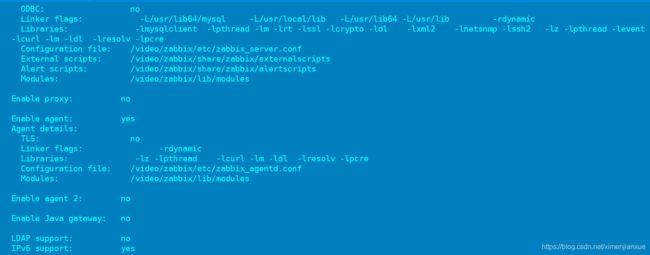
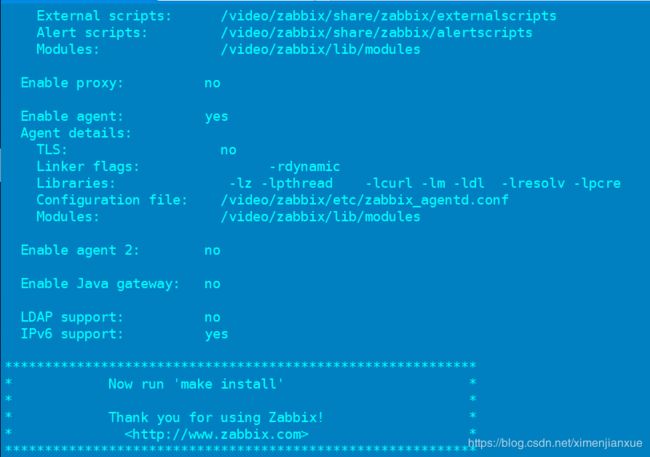
**注意:**出现提示运行“make isntall”的才表明编译成功
执行安装: make install
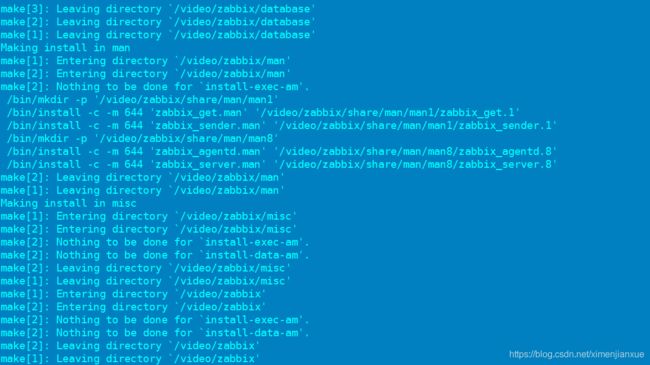
注: 不指定文件夹,默认会安装在编译所在目录,即编译安装时的目录。

zabbix-5.0/misc/init.d // 启动脚本可以在该目录下拷贝,有不同平台的启动脚本

cp /zabbix-5.0.0/misc/init.d/fedora/core/zabbix_agentd /etc/init.d/
cp /zabbix-5.0.0/misc/init.d/fedora/core/zabbix_server /etc/init.d/
然后修改脚本的 BASEDIR:
BASEDIR=/usr/local/zabbi
12、zabbix服务端配置
vim /etc/zabbix_server.conf
DBPassword=longnian123. //设置zabbix数据库连接密码
创建日志目录:mkdir -p /video/zabbix/logs
配置zabbix_agentd:vi zabbix_agentd.conf
LogFile=/data/zabbix/logs/zabbix_agentd.log
Server=127.0.0.1
ServerActive=127.0.0.1
Hostname=zabbix
13、验证安装效果:
1)查看zabbix_server的版本


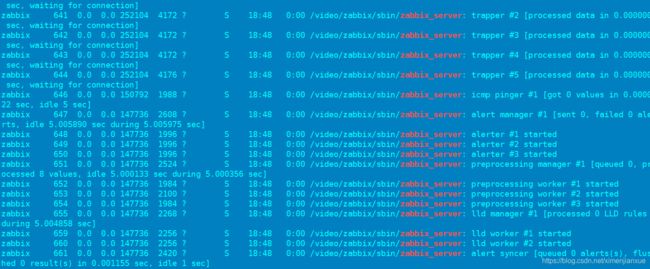
2)启动zabbix_server
/sbin/zabbix_server
3)为nginx配置zabbix用来做web管理
cp -pr /video/zabbix/ui/* /usr/local/app/nginx/zabbix/

4)配置php:

发现没有安装:php-fpm.x86_64 0:5.4.16-48.el7

上图说明php安装成功。如果出不来,编辑~/.bashrc,然后在文件末尾添加export PATH=$PATH:/usr/local/php/bin后,执行source ~/.bashrc,
配置php:etc/php-fpm.conf,


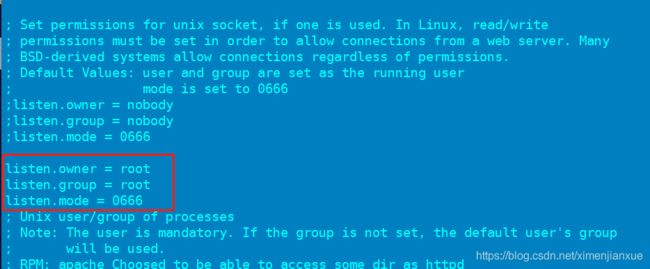
完成后执行:php-fpm &


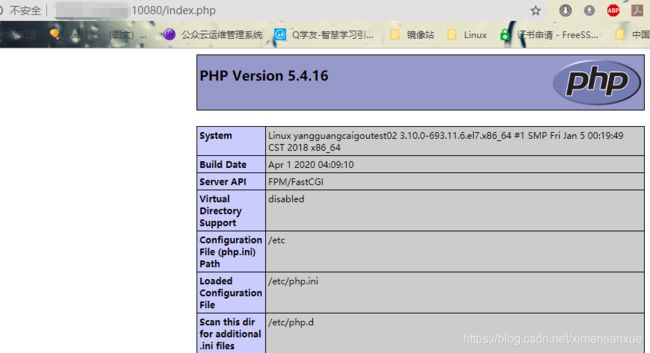
创建测试文件:
cat >index.php <  phpinfo()
> ?>
> EOF
server {
        listen xxx;
        server_name xxx.test.com;

        location / {

        root  /Downloads/Dokcers/b1/downloads;
        autoindex on;       # <----罪魁祸首,添加这个以后不再出现403错误
        #index  index.php index.html;

        # auth
        auth_basic "Please input B1 password";     # 设置加密登陆的提示
        auth_basic_user_file /etc/nginx/xxx/.htpasswd;  # 设置加密的账号密码文件
       }

        # log
        access_log /Downloads/Dokcers/b1/web/access.log;
        error_log /Downloads/Dokcers/b1/web/error.log info;  # 打开这个模式有助于排错

        # IP access
        allow 192.168.x.x/24;  # 限制IP段登陆
        deny all;
        location / {
          proxy_pass http://10.10.254.25/;
          proxy_set_header  Host    $host;
          proxy_set_header  X-Real-IP  $remote_addr;
          proxy_set_header  X-Forwarded-For $proxy_add_x_forwarded_for;
      }
    }
php测试数据库连接失败:

/var/lib/mysql/mysql.sock

卡在php连接数据库异常:
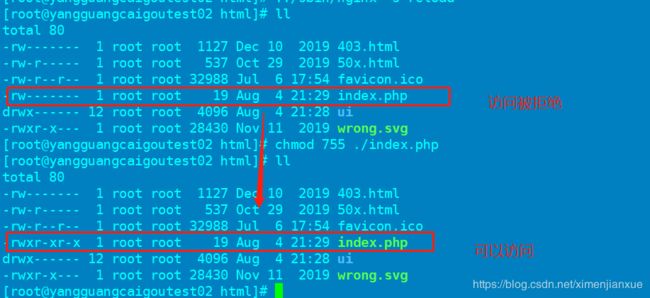
FastCGI sent in stderr: “Unable to open primary script: /usr/local/app/nginx//html/test.php (Permission denied)” while reading response header from upstream,
