Python——dlib库学习:人脸特征点的标定
最近模式识别课程的上机课中,老师给了人脸识别的Python程序让我们自己学习,目前研究到了人脸检测程序中的人脸特征点的标定,和如何用Opencv中的rectangle函数和circle函数来标记人脸的特征信息。
其中所用到的模块主要是dlib、和cv2。
先对程序中的一些陌生代码做一个总结:
一.程序中所涉及到的OpenCV的常用函数:
1.读入图片——cv2.imread(filepath,flags)
- filepath: 要读入图片的完整路径
- flags: 读入图片的标志
- cv2.IMREAD_COLOR:默认参数,读入一副彩色图片,忽略alpha通道
- cv2.IMREAD_GRAYSCALE:读入灰度图片
- cv2.IMREAD_UNCHANGED:顾名思义,读入完整图片,包括alpha通道
例如:
imgpath = './image/wsdgd.jpg'
img = cv2.imread(imgpath,cv2.IMREAD_COLOR)
2.通道拆分和合并——cv2.split()、cv2.merge()
先解释一下为什么要进行通道的拆分和合并,因为opencv读取图片的默认像素排列是BGR,和很多其他软件不一致,需要转换。
使用方法如下:
b, g, r = cv2.split(img)
img2 = cv2.merge([r, g, b])
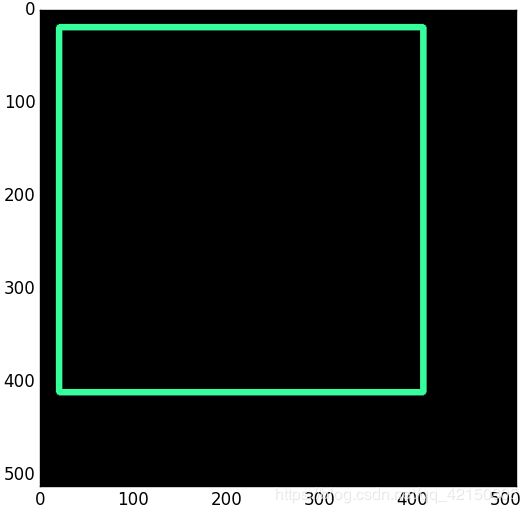
3.画矩形cv2.rectangle()
cv2.rectangle(img, pt1, pt2, color, thickness=None, lineType=None, shift=None),需要确定的就是矩形的两个点(左上角与右下角),颜色,线的类型(不设置就默认)。
其中各个参数为:
- img:在img上绘图
- pt1:起点; (left, top)
- pt2:终点; (right, bottom)
- color:线的颜色;例如:(0,255,0)(绿色)
- thickness:线的粗细程度,例如:-1,1,2,3…
例子:
import cv2
import numpy as np
from matplotlib import pyplot as plt
img = np.zeros((512,512,3),np.uint8)#生成一个空彩色图像
cv2.rectangle(img,(20,20),(411,411),(55,255,155),5)
plt.imshow(img,'brg')
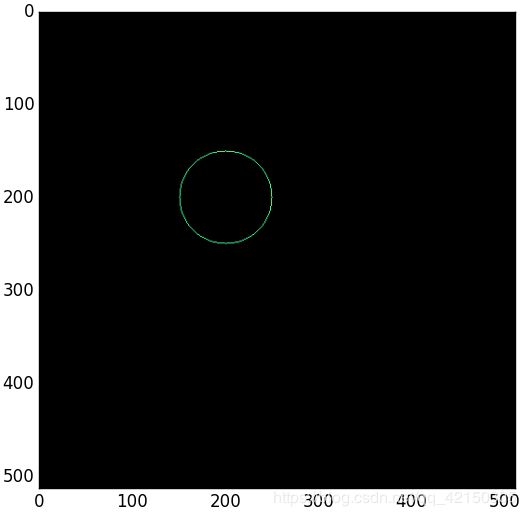
4.画圆框cv2.circle()
cv2.circle(img, center, radius, color, thickness=None, lineType=None, shift=None)
- img:在img上绘图;
- center:圆心;例如:(0,0)
- radius:半径;例如:20
- color:线的颜色;例如:(0,255,0)(绿色)
- thickness:线的粗细程度,例如:-1,1,2,3…
例子:
import cv2
import numpy as np
from matplotlib import pyplot as plt
img = np.zeros((512,512,3),np.uint8)#生成一个空彩色图像
cv2.circle(img,(200,200),50,(55,255,155),1)#修改最后一个参数
plt.imshow(img,'brg')
以上两个例子来自于 https://blog.csdn.net/on2way/article/details/46793911
5.cv2.waitKey(delay)
查看此博文:https://blog.csdn.net/Young__Fan/article/details/80022860
下面就具体程序来学习:
from sys import argv
import dlib
import cv2
import numpy

script, imgpath = argv

shape_predictor_path = './model/shape_predictor_68_face_landmarks.dat'  #这是人脸68点特征检测器模型
detector = dlib.get_frontal_face_detector()        #获取人脸分类器
predictor = dlib.shape_predictor(shape_predictor_path)   #获取人脸 68 点特征检测器,进行人脸面部轮廓特征提取:
img = cv2.imread(imgpath, cv2.IMREAD_COLOR)            #读图片,cv.imread()共两个参数,第二个为如何读取图片,
													#包括cv2.IMREAD_COLOR: 读入一个彩色图片
b, g, r = cv2.split(img)
img2 = cv2.merge([r, g, b])
dets = detector(img2, 1)

print(f'the number of face is {len(dets)}')

for index, face in enumerate(dets):
    print(f'face{index}; left:{face.left()}; top:{face.top()}; right:{face.right()}; bottom:{face.bottom()}')
    left = face.left()
    top = face.top()
    right = face.right()
    bottom = face.bottom()
    cv2.rectangle(img,(left, top),(right, bottom),(0, 255, 0), 1)
    shape = predictor(img, face)

    for index, pt in enumerate(shape.parts()):
        pt_pos = (pt.x, pt.y)
        cv2.circle(img, pt_pos, 1, (255, 0, 0), 1)

cv2.imshow(imgpath,img)
cv2.namedWindow(imgpath,cv2.WINDOW_AUTOSIZE)

k = cv2.waitKey(0)
cv2.destroyAllWindows()
下面是效果图:

