MacOS系统实现React-Native跨平台开发(IOS和Android)
一、React-Native环境搭建
(1)参考官网地址:https://reactnative.cn/docs/getting-started.html
1》安装相应的node环境、(npm、yarn)包管理器、(watchman)文件检测服务、
(react-native-cli)脚手架、(CocoaPods)第三方包依赖管理器
(注:具体安装的cmd就不贴了,不会的网上搜吧)
appledeMacBook-Pro:~ apple$ node -v
v12.11.1

appledeMacBook-Pro:~ apple$ npm -v
6.11.3

appledeMacBook-Pro:~ apple$ yarn -v
1.19.1

appledeMacBook-Pro:~ apple$ react-native -v
react-native-cli: 2.0.1
react-native: n/a - not inside a React Native project directory

appledeMacBook-Pro:~ apple$ brew -v
Homebrew 2.2.0
Homebrew/homebrew-core (git revision fd693a; last commit 2019-11-21)

appledeMacBook-Pro:~ apple$ watchman -v
4.9.0

appledeMacBook-Pro:~ apple$ pod --version
1.8.4
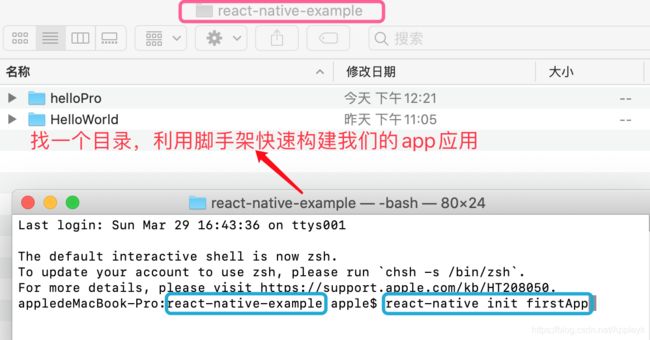
2》使用cli脚手架初始化项目
安装过程中,会卡在这一步(不会太久,因环境而异,不超过60s)
随后会蹦出来:
(node:62939) UnhandledPromiseRejectionWarning: Error: Failed to install CocoaPods dependencies for iOS project, which is required by this template.
Please try again manually: "cd ./firstApp/ios && pod install".
CocoaPods documentation: https://cocoapods.org/
    at runPodInstall (/Users/apple/Appleyk/github/react/react-native-example/firstApp/node_modules/@react-native-community/cli/build/tools/installPods.js:99:13)
    at processTicksAndRejections (internal/process/task_queues.js:93:5)
(node:62939) UnhandledPromiseRejectionWarning: Unhandled promise rejection. This error originated either by throwing inside of an async function without a catch block, or by rejecting a promise which was not handled with .catch(). (rejection id: 2)
(node:62939) [DEP0018] DeprecationWarning: Unhandled promise rejections are deprecated. In the future, promise rejections that are not handled will terminate the Node.js process with a non-zero exit code.
注意这个:
Please try again manually: "cd ./firstApp/ios && pod install".
莫慌,往下看
3》注意Native官网友情提示
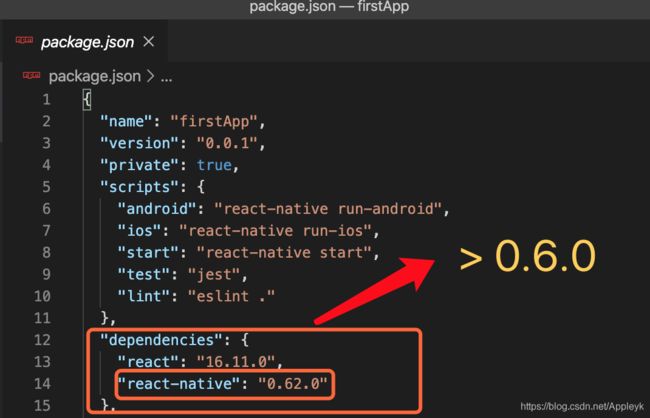
我们看下我们的版本是多少,vscode打开项目,看下package.json 的依赖如下:
ok,正好符合官网说的第二条,我们点进去看一下:
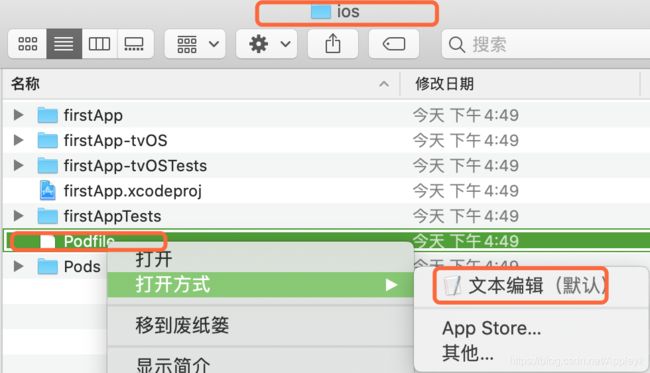
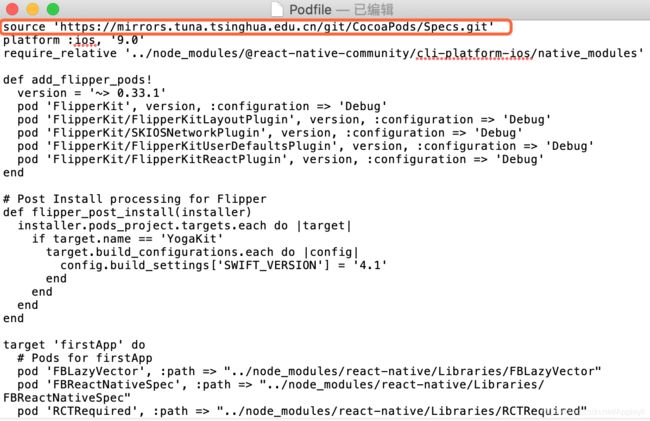
第二部分操作完后(需要一些时间),我们将以下的内容复制粘贴到ios文件夹下的Podfile文件中的第一行
source 'https://mirrors.tuna.tsinghua.edu.cn/git/CocoaPods/Specs.git'
保存后,我们在当前目录下,执行命令(下载第三方依赖包):pod install
由于博主之前装过了(时间比较久,大概15分钟左右),所以,再次install的时候,走的本地缓存就比较快了(5s不到)
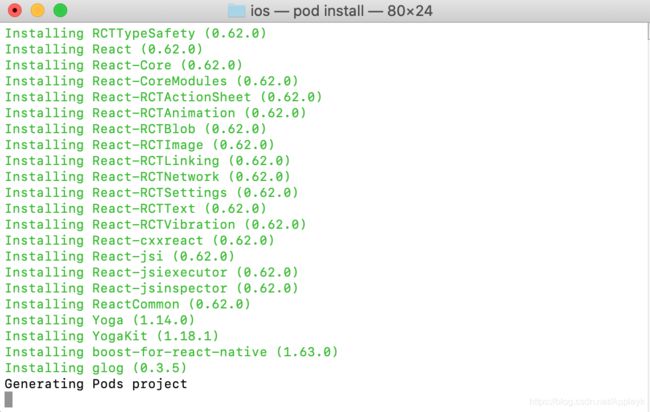
安装完成后,提示这样就算OK了:
Generating Pods project
Integrating client project

[!] Please close any current Xcode sessions and use `firstApp.xcworkspace` for this project from now on.
Pod installation complete! There are 33 dependencies from the Podfile and 37 total pods installed.
appledeMacBook-Pro:ios apple$
二、安装XCode
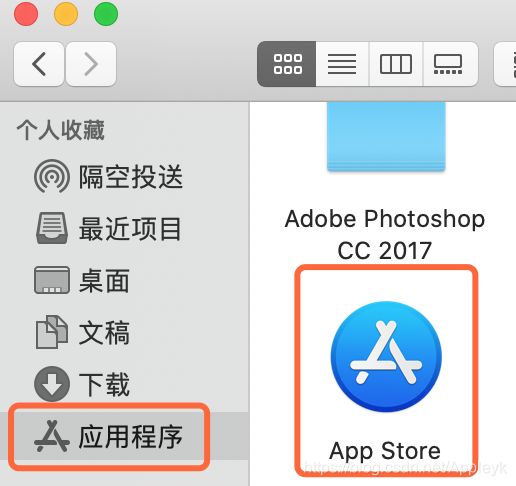
直接在App Store中搜索,下载或更新即可:
(1)找到App Store
(2)搜&下载|更新
下载下来的App信息如下:
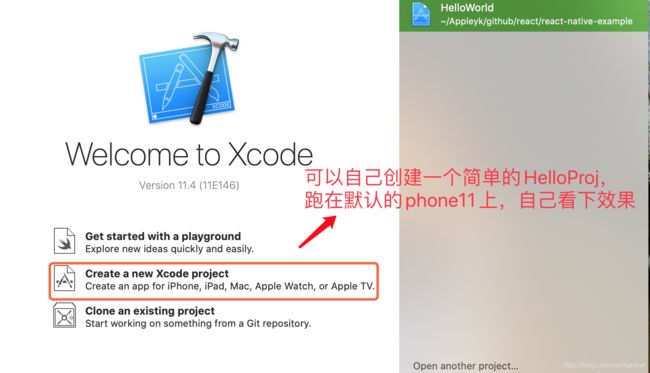
(3)打开XCode,目睹芳容
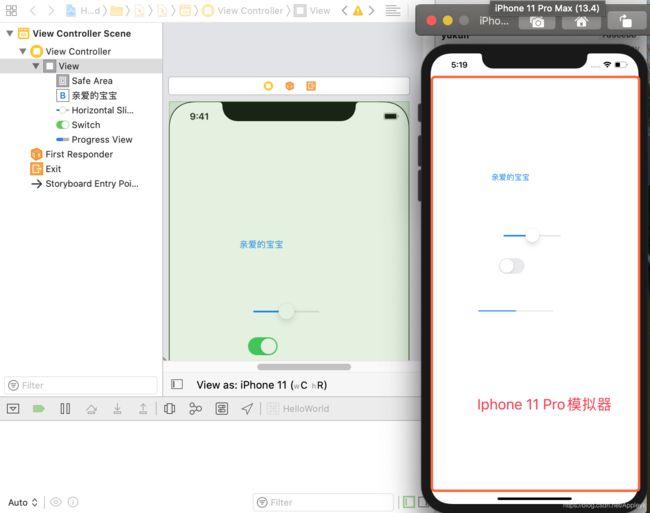
(4)创建一个(打开)Helloworld的项目,如下
点击左上角的开始按钮,运行在模拟器上的效果如下:
三、安装Andriod Studio&配置SDK
(1)官网说,下载、配置AS时要
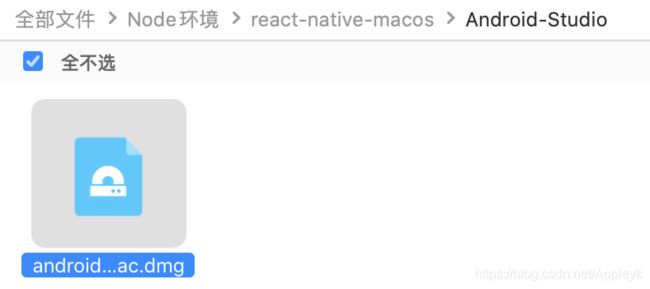
其实,真实走下来,博主这边时没有的,下面提供百度网盘的AS(MacOS版)下载地址:
链接:https://pan.baidu.com/s/149T66JtVs74nisuUioOZ5A 密码:sdyq
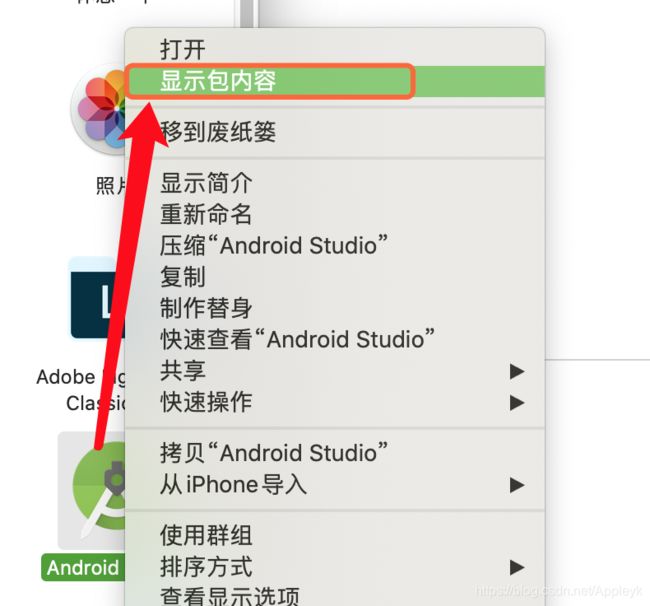
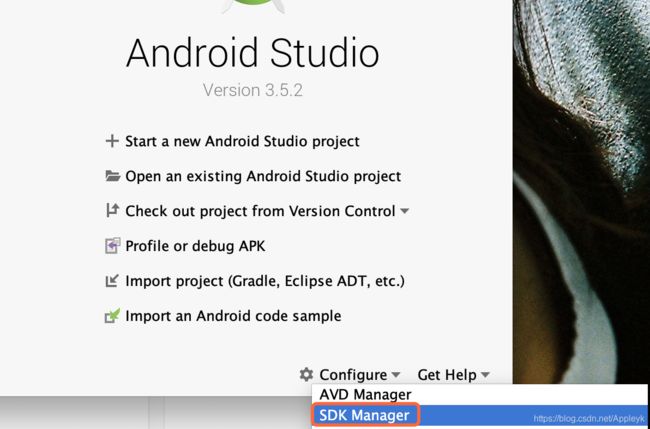
(2)安装as应用后,直接打开(注意,第一次打开时,会提示你没有找到sdk,你需要找到AS安装的位置,配置一下)
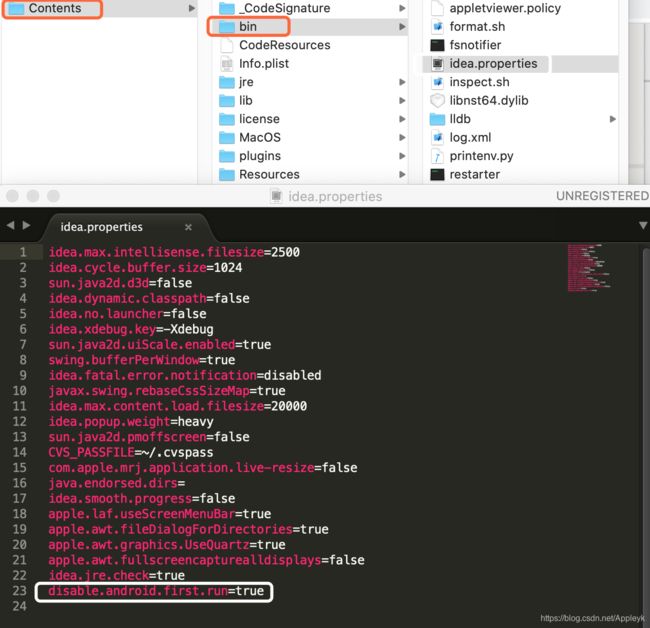
编辑Contents/bin/idea.properties内容,再最后一行添加内容:disable.android.first.run=false
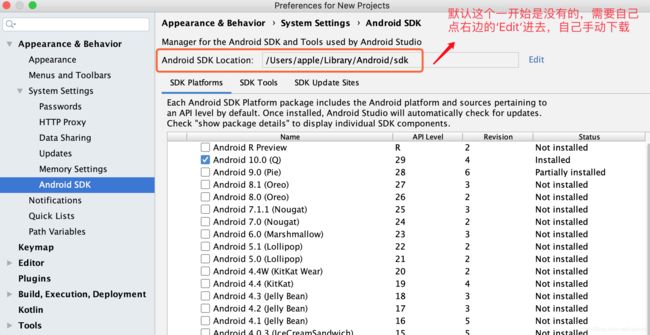
配置SDK
至于SDK PlatForms 、 SDK TooLs 里面够需要勾选哪些,参考官网就行了,不做过多说明
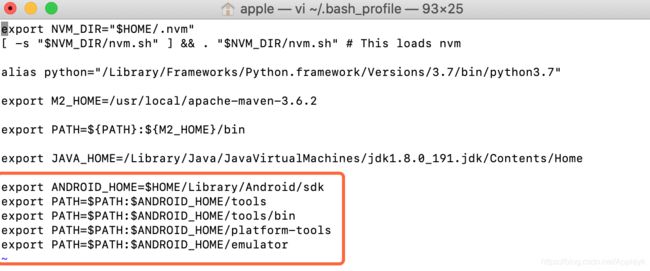
(3)安装完SDK后,我们还需要配置下ANDROID_HOME都环境变量
配置很简单,直接参考官网都来就行,不再做过多说明
配完后,记得source以下,使配置文件立即生效!!!,如我机器上配置的内容如下:
然后保存,随即source一下:
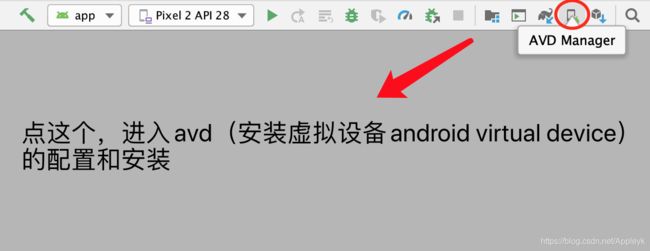
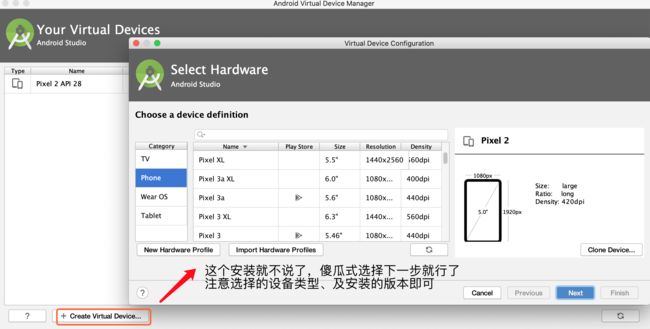
(4)创建第一个安装模拟器(如果用外挂的,请自行配置,如夜神安卓模拟器等)
博主安装的虚拟(仿真)模拟器如下:
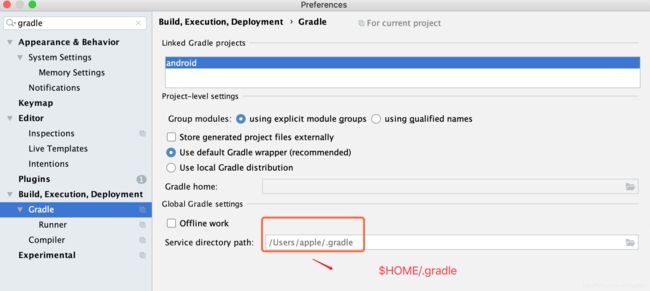
(5)还有一个地方要交代以下,android studio用到了grandle构建工具,其默认位置在:
一般来说,基于系统默认指定的位置我们不动就行了,如果想动的话,自行搞定吧,不是多难的事情了。
四、运行ios和androd
(1)运行ios应用
使用react-native run-ios 或 yarn ios 即可,这里我们选择后者,走一波看看
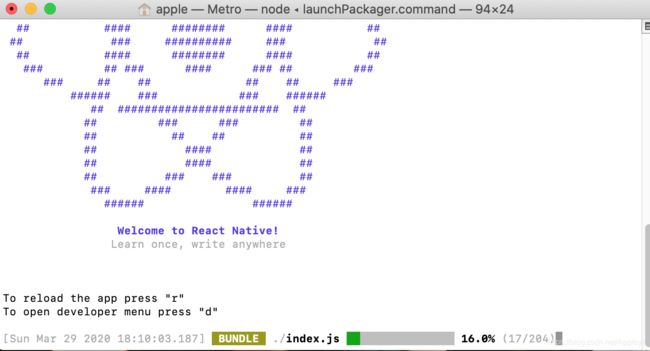
稍等片刻后,我们便可以看到本地启动了一个server,如下:
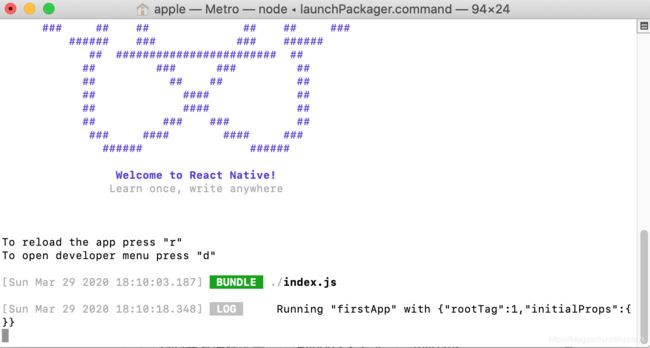
其目的,是通过bundle把本地react-native中的index.js(就是我们写的移动端的代码)传输(安装)到我们的模拟器上,如下:
百分百后,我们就可以在仿真器上看到我们的demo(当然是初始化项目的时候,脚手架默认给我们创建好的demo示例)效果了
(2)运行android应用
注意,这个不要关!!!
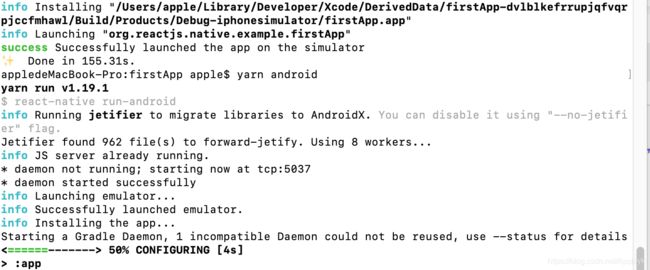
终端中,再次输入 yarn android
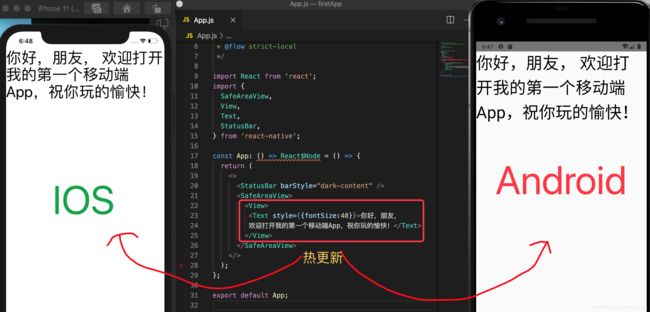
稍等片刻,便可看到android模拟器运行的效果,来个整体的对比,看一下:
五、编写代码,定制我们的App内容
(1)vscode打开firstApp项目,将App.js中的内容删改后,如下:
import React from 'react';
import {
  SafeAreaView,
  View,
  Text,
  StatusBar,
} from 'react-native';

const App: () => React$Node = () => {
  return (
    <>


         你好,朋友,
         欢迎打开我的第一个移动端App,祝你玩的愉快!


  );
};

export default App;
(2)保存后,效果如下
六、关于Android打包(apk)& IOS打包(ipa)
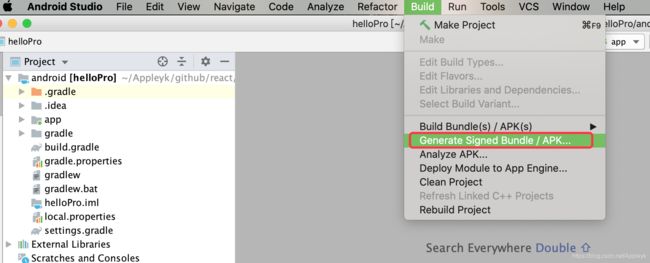
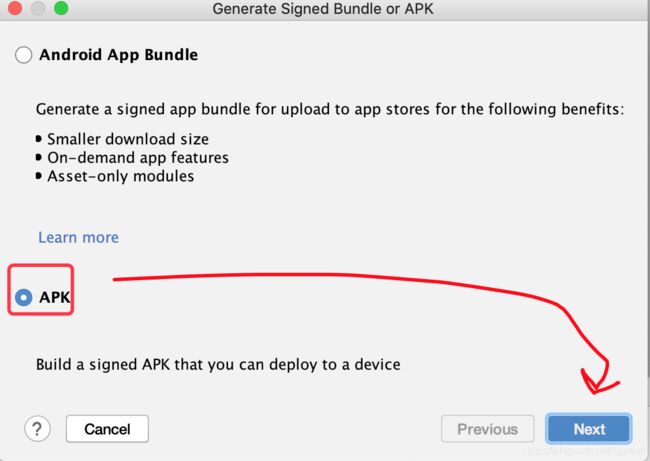
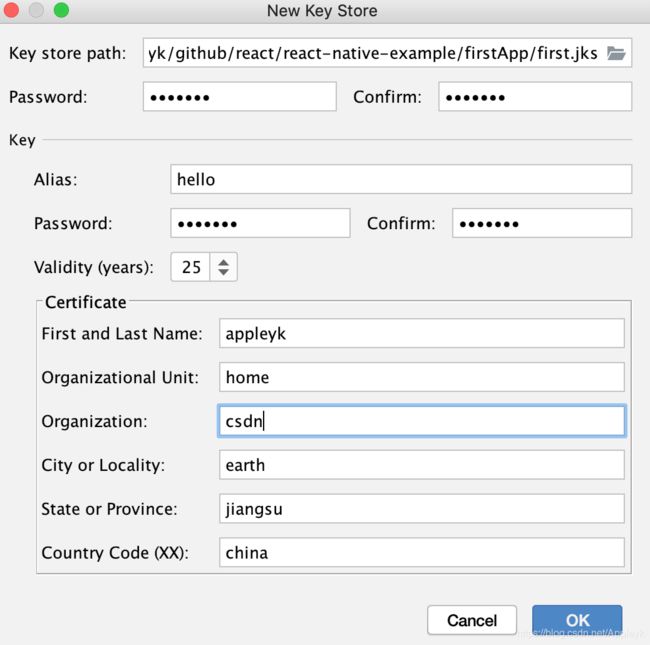
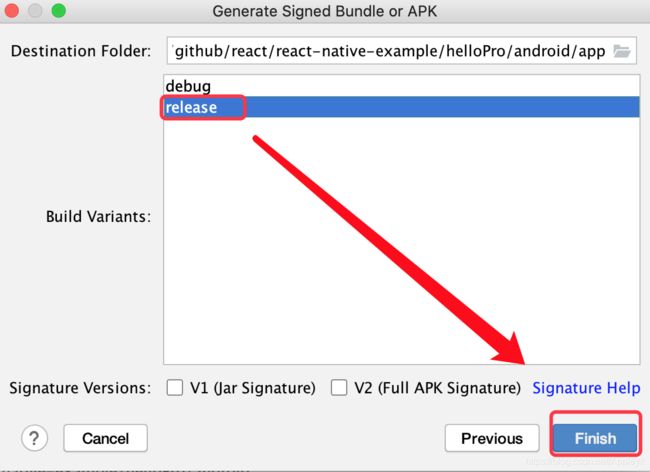
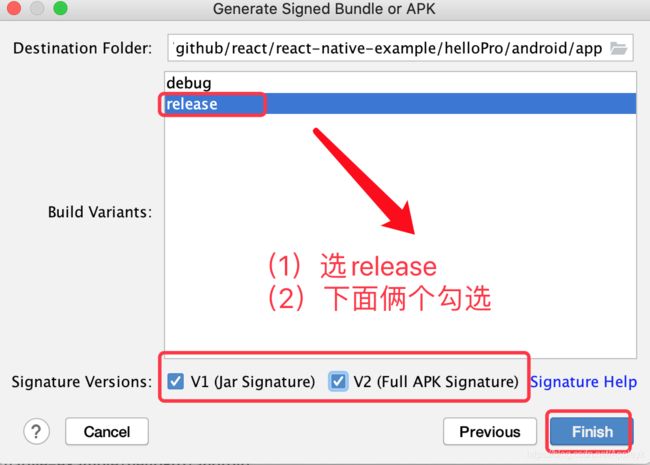
(1) Android Studio 打包
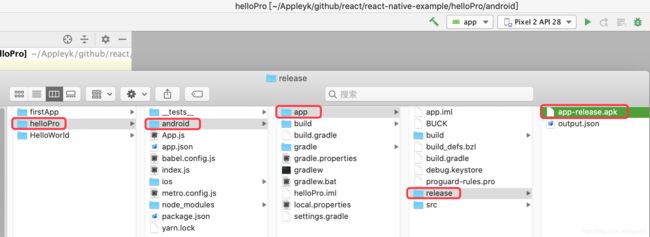
最后,我们定位到目录~/android/app/release/,找到我们的apk如下:
此apk,就可以在安卓手机上下载、安装、使用了
