deepin15.8配置深度显卡驱动
#以deepin15.8为例,电脑为联想的y7000
刚开始以网上下载×run文件的方式进行安装显卡驱动,后来在下载cmake等一下工具的时候,总会提示与显卡驱动某个模块版本冲突,所以索性放弃了这种办法,尝试了别的方法,并踩坑一天,然后终于配置好了。
具体操作如下:
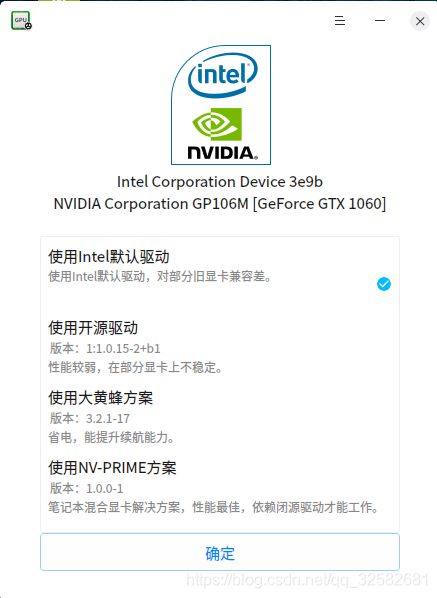
1.更改显卡驱动方式为intel默认显卡驱动
2.首先创建stretch-backports.list,并添加添加backports源
touch stretch-backports.list
然后将下面源添加到stretch-backports.list文件中
deb https://mirrors.tuna.tsinghua.edu.cn/debian/ stretch-backports main contrib non-free
sudo cp stretch-backports.list /etc/apt/source.list.d/
3.安装nvidia驱动
sudo apt update -y && sudo apt-get install -t stretch-backports nvidia-driver nvidia-smi libcuda1
4.通过lspci | egrep ‘VGA|3D’,获取设备BusID,
lspci | egrep 'VGA|3D'
显示如下

5.然后编辑 /etc/X11/xorg.conf
sudo gedit /etc/X11/xorg.conf
将下面的 BusID “PCI:X:X:X” 替换为上图查到的例子 01:00.0 填写BusID “PCI:0:2:0”,然后复制到/etc/X11/xorg.conf
Section "Module"
    Load "modesetting"
EndSection

Section "Device"
    Identifier "nvidia"
    Driver "nvidia"
    BusID "PCI:X:X:X"
    Option "AllowEmptyInitialConfiguration"
EndSection
6.编辑~/.xinitrc
sudo gedit ~/.xinitrc
键入
xrandr --setprovideroutputsource modesetting NVIDIA-0
xrandr --auto
xrandr --dpi 96
7.编辑/etc/lightdm/display_setup.sh
sudo gedit /etc/lightdm/display_setup.sh
输入
#!/bin/sh
xrandr --setprovideroutputsource modesetting NVIDIA-0
xrandr --auto
xrandr --dpi 96
然后给文件赋权限
sudo chmod +x /etc/lightdm/display_setup.sh
8.编辑编辑/etc/lightdm/lightdm.conf
sudo gedit /etc/lightdm/lightdm.conf
在[Seat:*]行下添加
display-setup-script=/etc/lightdm/display_setup.sh
这样应该就可以重启了,如果没成功请检查一下配置是否正确,如果要使用cuda的,请键入nvidia-smi确认显卡驱动是否正常.