zlmediakit+WVP+kkkkk5G-MediaServerUI-master+obs 桌面视频直播
本文章介绍 zlmediakit+WVP+kkkkk5G-MediaServerUI-master+obs 软件集合测试使用方案的安装和体验。
zlmediakit安装在docker中。
WVP需要java环境,需要redis或mysql存储影子数据。
kkkkk5G-MediaServerUI-需要node环境。
obs使用win10系统或者deepin系统
如上项目地址:
zlmediakit:https://github.com/xiongziliang/ZLMediaKit
wvp:https://github.com/swwheihei/wvp-GB28181
界面:https://gitee.com/kkkkk5G/MediaServerUI
OBS:https://obsproject.com/welcome
安装步骤:
1.安装流媒体服务器
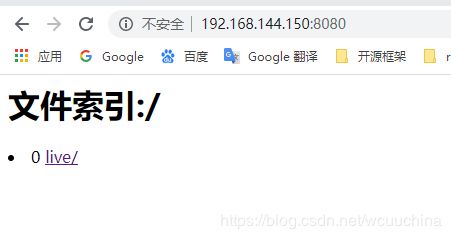
docker run -id -p 1935:1935 -p 8080:80 gemfield/zlmediakit:20.04-runtime-ubuntu18.04测试是否安装成功,访问8080
http://192.168.144.150:8080/2.安装WVP
下载 https://github.com/swwheihei/wvp-GB28181 master
修改配置文件,配置 影子存储在redis或mysql,media配置为安装的zlmedia中。
spring:
    application:
        name: iot-vmp-vmanager
        # 影子数据存储方式,支持redis、jdbc 修改为自己存在的存储库支持 redis 和 mysql 选1
        database: redis
        # 通信方式,支持kafka、http
        communicate: http
    redis:
        # Redis服务器IP
        # host: 10.24.20.63
        # host: 127.0.0.1
        host: 192.168.144.150
        #端口号
        port: 6379
        datebase: 0
        #访问密码,若你的redis服务器没有设置密码,就不需要用密码去连接
        password:
        #超时时间
        timeout: 10000
    datasource:
        name: eiot
        #url: jdbc:mysql://10.24.20.63:3306/eiot?useUnicode=true&characterEncoding=UTF8&rewriteBatchedStatements=true
        url: jdbc:mysql://127.0.0.1:3306/eiot?useUnicode=true&characterEncoding=UTF8&rewriteBatchedStatements=true
        username: root
        password: 123456
        type: com.alibaba.druid.pool.DruidDataSource
        driver-class-name: com.mysql.jdbc.Driver
server:
    port: 8086
sip:
#   ip: 10.200.64.63
#    ip: 192.168.0.102
    ip: 127.0.0.1 # 127.0.0.1 39.98.57.187
    port: 5060
    # 根据国标6.1.2中规定,domain宜采用ID统一编码的前十位编码。国标附录D中定义前8位为中心编码(由省级、市级、区级、基层编号组成,参照GB/T 2260-2007)
    # 后两位为行业编码,定义参照附录D.3
    # 3701020049标识山东济南历下区 信息行业接入
    domain: 3701020049 # 3701020049 3402000000
    id: 37010200492000000001 # 37010200492000000001 34020000002000000001
    # 默认设备认证密码,后续扩展使用设备单独密码
    password: admin123 # admin123 12345678
media:
#   ip: 10.200.64.88
#    ip: 192.168.0.102
#    ip: 127.0.0.1
    ip: 192.168.144.150 # 修改为自己的ZLMedialit的IP
    port: 10000
是否成功,查看
http://127.0.0.1:8086/
3.启动前端界面
下载前端代码GB28181
https://gitee.com/kkkkk5G/MediaServerUI
运行命令下载依赖包
npm installnpm run serve启动成功后配置文件:global.js 修改为MVP的IP和端口,修改为ZLMedia的IP和端口
/**---------------GB28181服务器信息配置-------------------**/
// const serverip="218.59.173.214:8081"
// 修改为MVP服务IP
const serverip="127.0.0.1"

const host = 'http://' + serverip + ":8086"; // 修改端口
/**------------------------------------------------------**/


/**---------------ZLMediaKit流媒体服务器配置---------------**/
// const ZLServerIp="218.59.173.214:801";
// 修改为ZLMediakit 服务IP
const ZLServerIp="192.168.144.150";// 127.0.0.1
const ZLSecret="035c73f7-bb6b-4889-a715-d9eb2d1925cc";

const ZLHost='http://' + ZLServerIp+":8080/index/api";
const baseMediaUrl='ws://' + ZLServerIp + ':8080/'; // 修改端口
/**------------------------------------------------------**/
根据界面的http地址进入界面,查看效果。
4. 安装obs
下载地址: https://obsproject.com/welcome
根据提示进行下载,windows直接安装。deepin安装如下:
sudo apt update
sudo apt install obs-studio
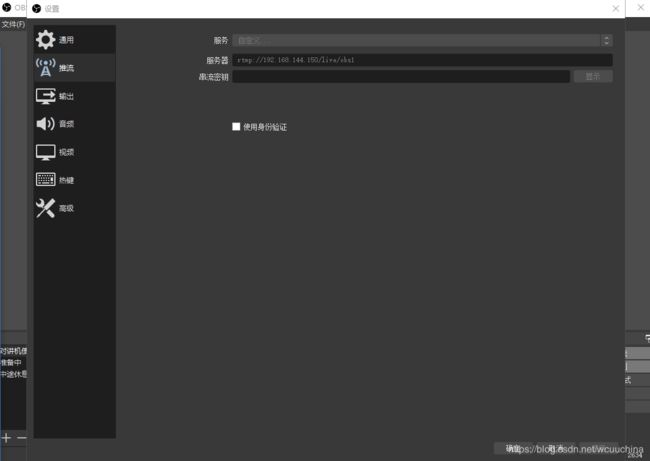
obs 在 windows桌面推流方式。 设置-推流 输入服务器的退出地址
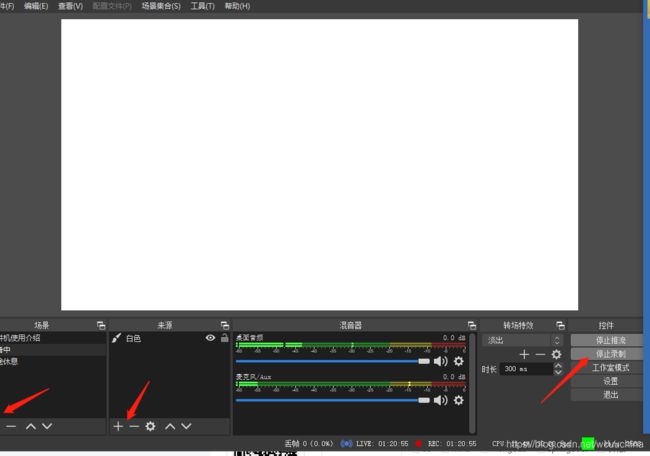
根据设置场景等,点击开始推流。
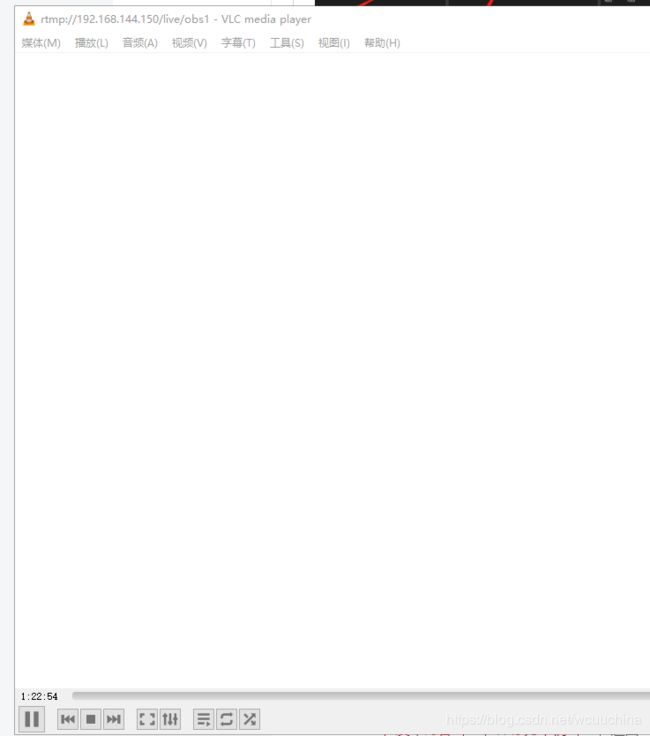
验证推流,使用vlc工具,在界面中,打开网络串流。
输入rtmp地址:rtmp://192.168.144.150/live/obs1, 出现如下界面说明推流成功。
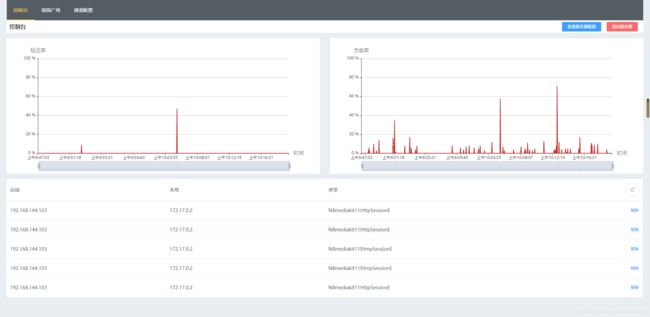
在 前端界面中查看。
出现如上图,说明成功。
