docker部署typecho
不用写dockerfile,利用已有的typecho镜像进行部署
下载镜像
docker pull 80x86/typecho
实例化容器
docker run -d --name=typecho-blog --restart always -e PHP_TZ=Asia/Shanghai -e PHP_MAX_EXECUTION_TIME=600 -p 80:80 80x86/typecho:latest
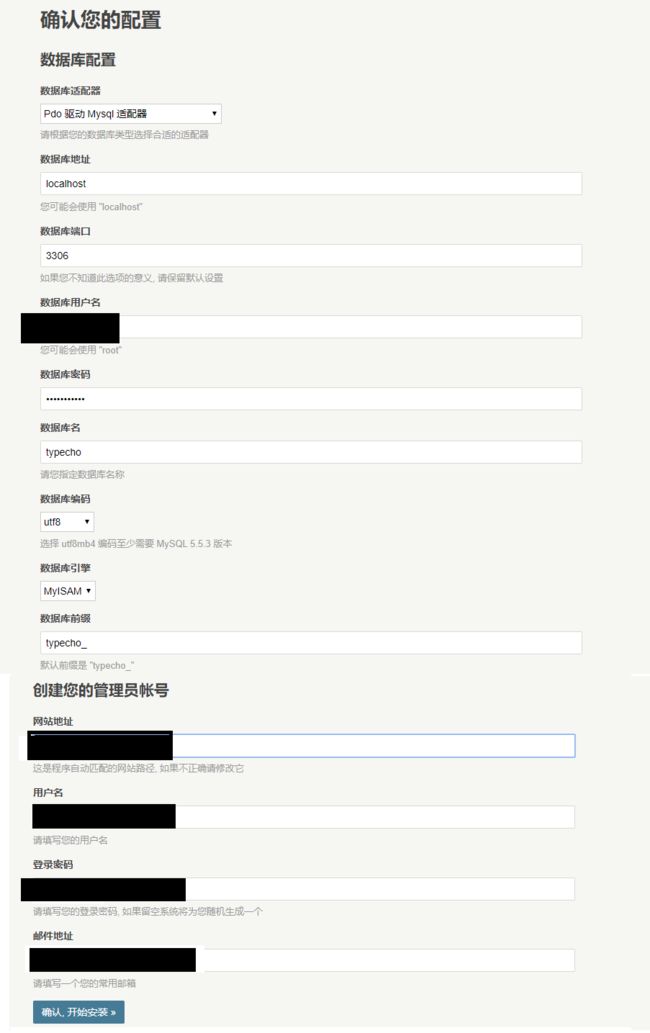
由于,我希望使用mysql,所以我还需要在容器里面安装mysql服务
安装 mysql服务
alpine系统中安装mysql实际是开源的MariaDB,MariaDB数据库是MySQL的一个分支/衍生版,完全兼容MySQL,并在扩展功能、存储引擎以及一些新的功能改进方面都强过MySQL,安装参考
进入容器
docker exec -ti typecho-blog sh
安装服务
# 安装数据库及客户端
$ apk add mysql mysql-client

# 初始化数据库
$ mysql_install_db --user=mysql --datadir=/var/lib/mysql

# 启动服务
$ rc-service mariadb start  # 若没有rc,安装:apk add openrc
$ mysqld_safe &
设置密码
mysql_secure_installation
按照以下方式配置
/ #  mysql_secure_installation

NOTE: RUNNING ALL PARTS OF THIS SCRIPT IS RECOMMENDED FOR ALL MariaDB
      SERVERS IN PRODUCTION USE!  PLEASE READ EACH STEP CAREFULLY!

In order to log into MariaDB to secure it, we'll need the current
password for the root user.  If you've just installed MariaDB, and
you haven't set the root password yet, the password will be blank,
so you should just press enter here.

Enter current password for root (enter for none):
OK, successfully used password, moving on...

Setting the root password ensures that nobody can log into the MariaDB
root user without the proper authorisation.

Set root password? [Y/n] Y
New password:
Re-enter new password:
Password updated successfully!
Reloading privilege tables..
 ... Success!


By default, a MariaDB installation has an anonymous user, allowing anyone
to log into MariaDB without having to have a user account created for
them.  This is intended only for testing, and to make the installation
go a bit smoother.  You should remove them before moving into a
production environment.

Remove anonymous users? [Y/n] Y
 ... Success!

Normally, root should only be allowed to connect from 'localhost'.  This
ensures that someone cannot guess at the root password from the network.

Disallow root login remotely? [Y/n] Y
 ... Success!

By default, MariaDB comes with a database named 'test' that anyone can
access.  This is also intended only for testing, and should be removed
before moving into a production environment.

Remove test database and access to it? [Y/n] Y
 - Dropping test database...
 ... Success!
 - Removing privileges on test database...
 ... Success!

Reloading the privilege tables will ensure that all changes made so far
will take effect immediately.

Reload privilege tables now? [Y/n] Y
 ... Success!

Cleaning up...

All done!  If you've completed all of the above steps, your MariaDB
installation should now be secure.

Thanks for using MariaDB!
/ #
创建数据库
/ # mysql -u root -p
Enter password:
Welcome to the MariaDB monitor.  Commands end with ; or \g.
Your MariaDB connection id is 16
Server version: 10.3.20-MariaDB MariaDB Server

Copyright (c) 2000, 2018, Oracle, MariaDB Corporation Ab and others.

Type 'help;' or '\h' for help. Type '\c' to clear the current input statement.

MariaDB [(none)]> create database typecho;
Query OK, 1 row affected (0.002 sec)

MariaDB [(none)]>
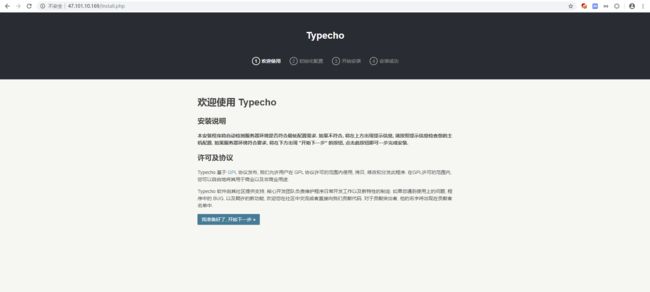
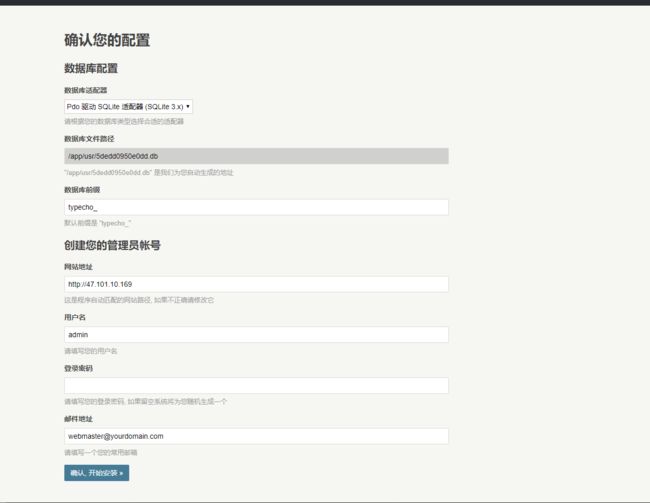
配置typecho
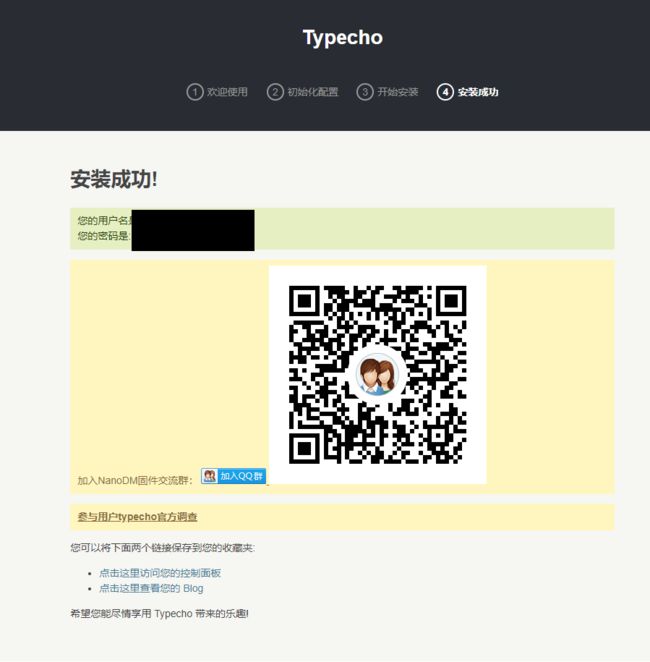
配置成功
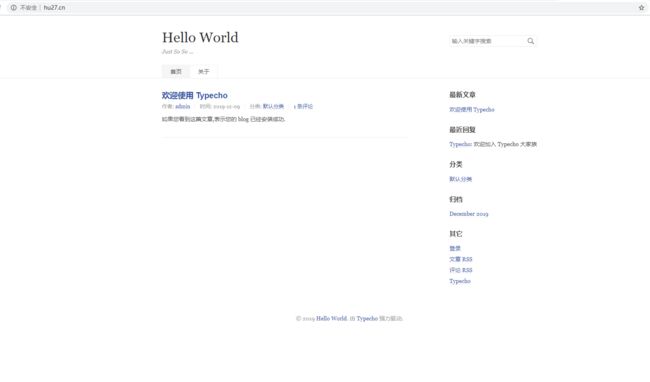
查看网站
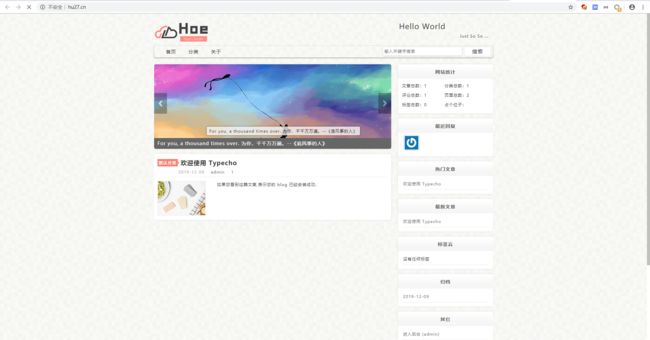
替换主题
下载主题
root@hu27:/home/admin# git clone https://gitee.com/HoeXhe/PureLoveForTypecho.git
Cloning into 'PureLoveForTypecho'...
remote: Enumerating objects: 624, done.
remote: Counting objects: 100% (624/624), done.
remote: Compressing objects: 100% (571/571), done.
remote: Total 624 (delta 329), reused 8 (delta 4)
Receiving objects: 100% (624/624), 4.91 MiB | 1.16 MiB/s, done.
Resolving deltas: 100% (329/329), done.
Checking connectivity... done.
root@hu27:/home/admin# docker cp PureLoveForTypecho typecho-blog:/data/themes
root@hu27:/home/admin#
推荐的插件
总结
虽然docker的初衷是一个服务,一个容器。但是对于我而言,以整个博客服务为一个容器,反而会更加方便,所以我选择了将博客与数据库放入同一个容器中。使用docker部署typecho也非常快,我整个过程也就花了5分钟。并且这个容器占用的存储不过也就300兆。
![]()
