树莓派入门笔记(四)安装配置LNMP(Nginx+PHP7+MySQL)和phpMyAdmin
一、开工前准备
本次笔记用到的命令有:
sudo apt-get update							#更新软件源列表
sudo apt-get install 软件名1 软件名2 ....	#安装软件,可以同时安装几个
sudo service 服务名称 start					#启动服务
sudo service 服务名称 stop					#停止服务
sudo service 服务名称 restart				#重启服务
nano test.cnf								#用系统自带的nano编辑器编辑文本;Ctrl + O 保存再 Ctrl + X 退出
二、开始安装
安装前习惯先更新一下软件源列表,减少安装出现的各种问题
sudo apt-get update
1.安装Nginx,输入下面的命令
sudo apt-get install -y nginx
安装完毕后启动nginx服务:
sudo service nginx restart
2.安装PHP7.0,输入下面的命令
sudo apt-get install -y nginx php7.0-fpm php7.0-cli php7.0-curl php7.0-gd php7.0-mcrypt php7.0-cgi php7.0-mysql php7.0-mbstring
安装完毕后启动php7.0服务
sudo service php7.0-fpm restart
3.安装MySQL(MariaDb),输入下面的命令
sudo apt-get install -y mysql-server mysql-client
安装完毕后启动mysql服务
sudo service mysql restart
如果安装成功,可通过 http:// 树莓派IP 访问到 Nginx 的默认页。Nginx 的根目录在 /var/www/html。
到这里,就已经安装完毕了,下面就开始配置Nginx+PHP7+MySQL(MariaDB)了。
三、配置Nginx+PHP7+MySQL(MariaDB)
1.配置Nginx让它能处理 PHP
sudo nano /etc/nginx/sites-available/default
找到下面这段代码:
location / {
       # First attempt to serve request as file, then
       # as directory, then fall back to displaying a 404.
       try_files $uri $uri/ =404;
}
在这段代码的{}里面,添加一行代码:index index.html index.htm index.php;
location / {
       # First attempt to serve request as file, then
       # as directory, then fall back to displaying a 404.
       try_files $uri $uri/ =404;
       index index.html index.htm index.php;
}
再找到下面的代码:
 		#location ~ \.php$ {
        #       include snippets/fastcgi-php.conf;
        #
        #       # With php-fpm (or other unix sockets):
        #       fastcgi_pass unix:/var/run/php/php7.0-fpm.sock;
        #       # With php-cgi (or other tcp sockets):
        #       fastcgi_pass 127.0.0.1:9000;
        #}
改为:(注意要去掉location 和 }前面的“#”号)
        location ~ \.php$ {
        #       include snippets/fastcgi-php.conf;
        #
        #       # With php-fpm (or other unix sockets):
                fastcgi_pass unix:/run/php/php7.0-fpm.sock;
                fastcgi_param SCRIPT_FILENAME $document_root$fastcgi_script_name;
                include fastcgi_params;
        #       # With php-cgi (or other tcp sockets):
        #       fastcgi_pass 127.0.0.1:9000;
        }
Ctrl + O 保存再 Ctrl + X 退出。
最后重启 Nginx 即可:
sudo service nginx restart
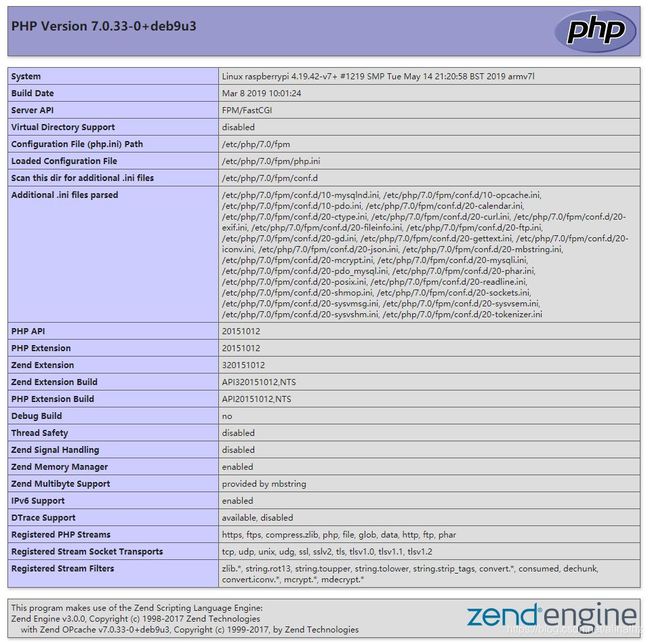
测试运行php文件,在/var/www/html/目录下新建一个index.php文件,这里直接su获取最高权限来完成:
pi@raspberrypi:~ $ su
密码:《输入你的root密码》
root@raspberrypi:/home/pi# cat >/var/www/html/index.php		#回车进入编辑状态
															#按ctrl+c退出编辑
好了,用浏览器打开http:// 树莓派的IP你就可以看到熟悉的页面啦!

2.配置MySQL(MariaDB),允许远程连接
用shell登录mysql:
#默认无密码,直接回车
mysql -u root -p

#设置允许远程连接并修改root密码,123456为root用户的新密码,%代表所有主机
UPDATE mysql.user SET host='%',authentication_string=PASSWORD('123456'), PLUGIN='mysql_native_password' WHERE USER='root';

#刷新权限
FLUSH PRIVILEGES;

#退出myslq
exit

#重启mysql服务
sudo service mysql restart
如果远程连接提示“100061”错误,那就继续修改/etc/mysql/mariadb.conf.d文件夹中的50-server.cnf文件
#用nano打开50-server.cnf
sudo nano /etc/mysql/mariadb.conf.d/50-server.cnf

#修改其中的bind-address为
bind-address = 0.0.0.0

#Ctrl + O 保存再 Ctrl + X 退出,并重启mysql服务即可生效。
sudo service mysql restart
到这里,我的Navicat已经成功连接上了mysql了。
四、安装phpMyAdmin
开始安装phpMyAdmin,输入:
sudo apt-get install phpmyadmin
注意会提示你选择Apache或者lighttpd服务器,我们用的是Nginx,所以这里按Esc退出选择
安装完毕后,再把phpmyadmin链接到/var/www/html目录下
sudo ln -s /usr/share/phpmyadmin /var/www/html
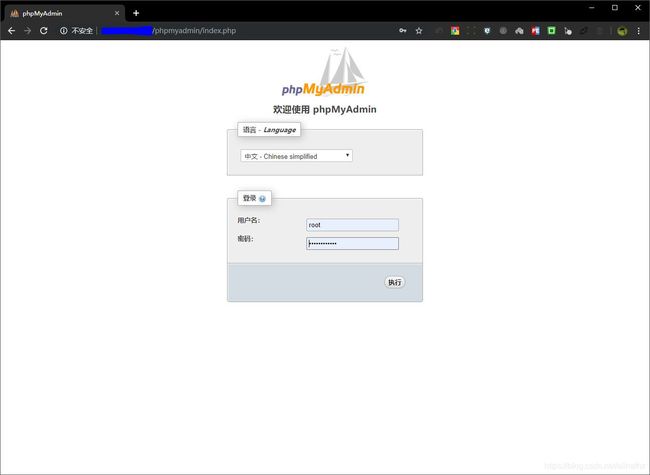
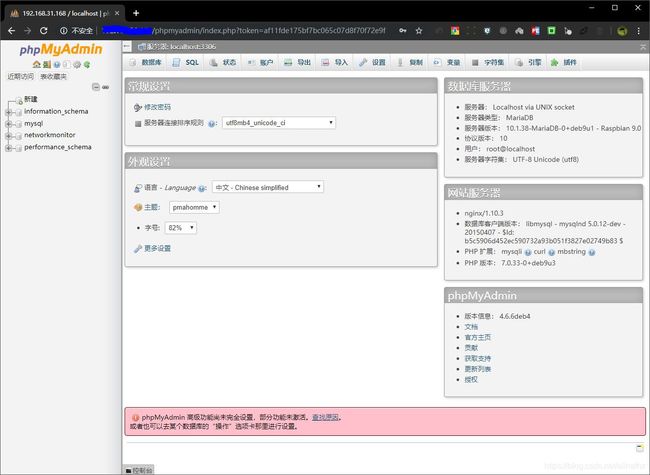
浏览器打开 http:// 树莓派ip/phpmyadmin 就可以用root和新密码登录管理mysql数据库了!!


到此为止,今天全部的任务完成了,哈哈~~~~~学习进度满意!!!