Linux操作系统实验三:为系统添加系统调用
Linux实验三 编译Linux内核并添加系统调用
Already successed in build and runLinux-3.9.2,then I append my own systemcall as follows:
/usr/src/linux-3.9.2/arch/x86/syscalls/ syscall_32.tbl
Append:
351 i386 sunny sys_sunny
/usr/src/linux-3.9.2/include/linux/syscalls.h
Append:
asmlinkage int sys_sunny(void);
/kernel sys.c
Append:
//add by sunnypig
asmlinkage int sys_sunny()
{
printk(“SA12226210,Sunny!!”)
return0;
}
Test Code:
1. #include
2. #include
3. int main()
4. {
5. syscall(351,1);
6. return 0;
7. }
Now,come back to remake Linux3.9.2,source code is in /usr/src already
#cd /usr/src/linux-3.9.2
#make mrproper //to remove former .config and .o,but is it necessary?void this time
install ncurses,finished already
copy former .config
root@ubuntu:/usr/src/linux-headers-3.5.0-23-generic#cp .config ../linux-3.9.2
#make menuconfig
root@ubuntu:/usr/src/linux-3.9.2# make dep
scripts/kconfig/conf --silentoldconfigKconfig
*** Warning: make dep is unnecessary now.
Reference:
二、配置内核。
1. 进入内核文件所在目录。
# cd /usr/src/linux-2.6
2. 编辑/usr/src/linux-2.6/Makefile 文件的 EXTRAVERSION 的值。
EXTRAVERSION = No_Power_Management_Support # 以此标识内核
3. 运行命令 makemrproper ,以确保源文件处于一致、干净的状态。这个命令会删除内核配置文件.config(如果有的话)。
4. 保存默认的配置文件(/usr/src/linux-2.6/arch/x86/i386_defconfig)到安全位置,比如软盘,以便必要时恢复默认配置。
5. 使用配置工具设置内核选项。
# make config (基于文本的最为传统的配置界面,由于有几百个问题要回答,一般使用其它的配置工具。)
# make menuconfig (基于文本选单的配置界面)
# make xconfig (基于图形窗口模式的配置界面)
# make oldconfig (使用已有的内核配置文件,仅提示一些新的特性。)
选择相应的配置时,有三种选择:
“Y”- 将该功能编译进内核
“N”- 不将该功能编译进内核
“M”- 将该功能编译成可以在需要时动态插入到内核中的模块。
参考:Linux 2.6.19.x内核编译配置选项简介
设置完选项后,保存更改。上述配置工具会生成配置文件 /usr/src/linux-2.6.26/.config 。
如果要使用现有的配置文件(比如默认的配置文件),首先将该配置文件拷贝为/usr/src/linux-2.6/.config,然后执行命令 make oldconfig。
#make clean // is it necessary?void this time
#make bzImage
Error turn out:

viarch/x86/include/generated/asm/syscalls_32.h

modify last column to:
__SYSCALL_I386(351, sys_sunny, sys_sunny)
#make bzImage //why this error happened?
Successed!!!
#make modules //take avery very long time!!!! Now C:\ still has 4.47GB?What about finished?
/*
When the modulesare building, remove old image 3.5.0
#apt-get remove linux-image-3.5.0-24*

#apt-get remove linux-headers-3.5.0-24*not finished yet, do it tomorrow
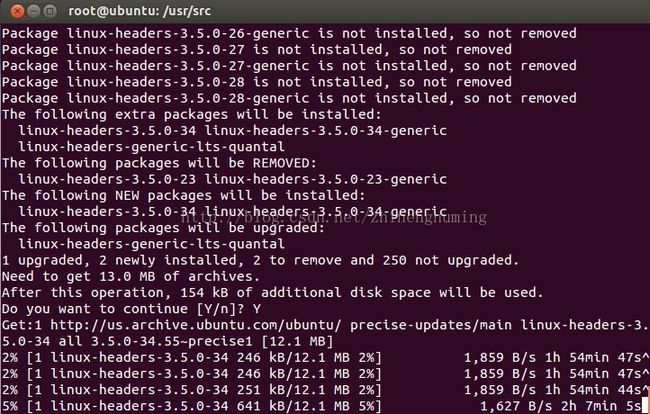
or (删除当前版本之外的所有内核)sudo apt-getpurge ~ilinux-image-.*\(\!`uname -r`\) //they seem didn’t work!!!!
Then
#sudo aptitude purge~ilinux-image-*\(\!'uname -r'\) //nottested yet
*/
But what does this step do actually?
Answer:
4. makemodules 编译生成相应的模块。
5. makemodules_install
一旦模块被编译,它们须被拷贝到相应的子目录/lib/modules下,make modules_install 命令执行这一任务。
模块在系统中的标准目录位于/lib/modules/x.y.z,后面的x.y.z是版本号,为安全起见,在运行make modules_install之前最好对/lib/modules进行备份。
Successed!!
#mkinitramfs -o /boot/initrd-linux3.9.2.img //建立要载入ramdisk的映像文件
# make install
Successed!!!
Compiler testSyscall.cpp and test
#g++ -o testSyscall testSyscall.cpp
#./testSyscall
#dmesg –c
At first time, the OS print so many dumps.

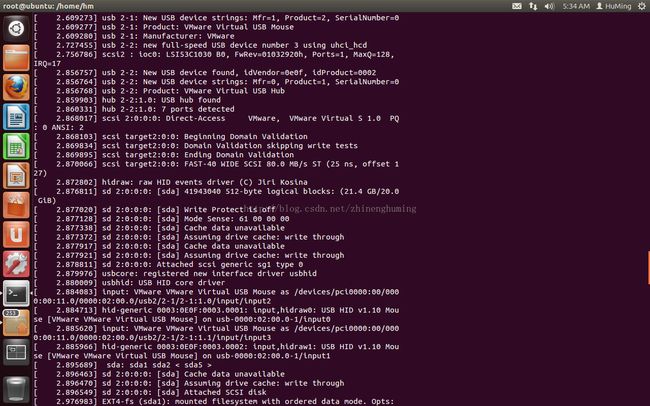


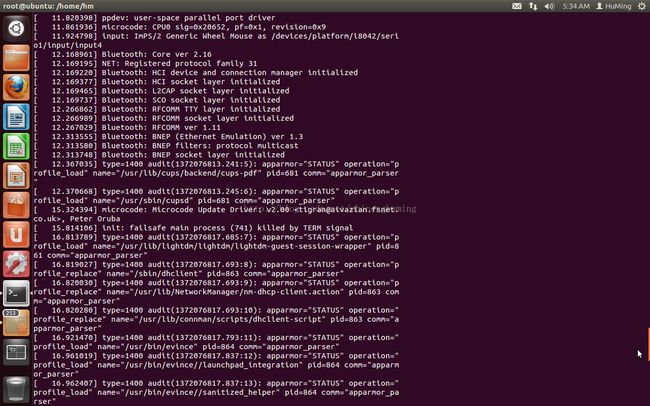
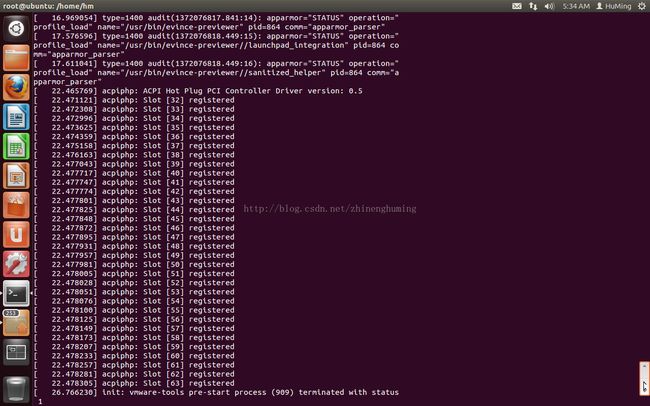
Then it print what I needed as following pngs~
Successed!!!!!

Reference:
三、编译内核。
1. make clean
清除前面过程中make后遗留下的文件。
2. make dep
读取配置过程生成的配置文件,来创建对应于配置的依赖关系树,从而决定哪些需要编译而那些不需要。2.6内核不需要执行此步骤。
3. make zImage
make bzImage
这两个命令会在/usr/src/linux-2.6下创建文件vmlinux,这是未压缩的内核。
make zImage 和 makebzImage 会各自在/usr/src/linux/arch/i386/boot/下创建文件zImage和bzImage,这是已经压缩的内核。zImage是用gzip压缩的,适合存储在软盘上的内核。bzImage是更大的超过软盘空间限制的压缩内核。
4. make modules 编译生成相应的模块。
5. make modules_install
一旦模块被编译,它们须被拷贝到相应的子目录/lib/modules下,make modules_install 命令执行这一任务。
模块在系统中的标准目录位于/lib/modules/x.y.z,后面的x.y.z是版本号,为安全起见,在运行make modules_install之前最好对/lib/modules进行备份。
6. make install 通过执行以下步骤完成安装。
(1)把压缩内核映象拷贝到/boot目录下, 并创建相应的System.map符号链接;
(2)修改bootloader的配置文件;
(3)调用mkinitrd程序创建内核的initrd映象. 对于GRUB而言, 将在/boot/grub/grub.conf配置文件增加如下类似的配置行:
title Red Hat Linux (2.***)
root(hd0, 1)
kernel /boot/vmlinuz-2.*** ro root=LABEL=/
initrd /boot/initrd-2.***.img