iOS开发之进阶篇(12)—— 屏幕适配
目录
- 1. layoutSubviews
- 2. Constrain to margins
- 3. Constraints
- 4. safeAreaLayoutGuide
- 5. Masonry
- 6. SnapKit
1. layoutSubviews
如果我们在viewDidLoad里加载一个view, 可能最终呈现的frame与我们所设置的不一致. 又或者我们旋转了屏幕, 界面没有被适配. 这些情况下, 我们就需要在layoutSubviews中重新指明frame布局.
为了验证调用顺序, 我们将重写viewController的self.view的layoutSubviews方法:
KKView.m
#import "KKView.h"

@implementation KKView

- (instancetype)initWithFrame:(CGRect)frame
{
    self = [super initWithFrame:frame];
    if (self) {
        self.backgroundColor = [UIColor redColor];
    }
    return self;
}

- (void)drawRect:(CGRect)rect {

    NSLog(@"%s", __func__);
}

- (void)layoutSubviews {

    NSLog(@"%s", __func__);
}

@end
viewController.m
#import "ViewController.h"
#import "KKView.h"

@interface ViewController ()

@end

@implementation ViewController

- (void)viewDidLoad {
    [super viewDidLoad];

    NSLog(@"%s", __func__);

    KKView *aView = [[KKView alloc] initWithFrame:self.view.bounds];
    self.view = aView;
}

- (void)viewWillAppear:(BOOL)animated {
    [super viewWillAppear:animated];

    NSLog(@"%s", __func__);
}

- (void)viewDidAppear:(BOOL)animated {
    [super viewDidAppear:animated];

    NSLog(@"%s", __func__);
}

- (void)viewWillLayoutSubviews {
    [super viewWillLayoutSubviews];

    NSLog(@"%s", __func__);
}

- (void)viewDidLayoutSubviews {
    [super viewDidLayoutSubviews];

    NSLog(@"%s", __func__);
}

@end
log:
2020-08-19 09:43:27.303328+0800 KKLayoutDemo[4069:80574] -[ViewController viewDidLoad]
2020-08-19 09:43:27.315342+0800 KKLayoutDemo[4069:80574] -[ViewController viewWillAppear:]
2020-08-19 09:43:27.320344+0800 KKLayoutDemo[4069:80574] -[ViewController viewWillLayoutSubviews]
2020-08-19 09:43:27.320512+0800 KKLayoutDemo[4069:80574] -[KKView layoutSubviews]
2020-08-19 09:43:27.320634+0800 KKLayoutDemo[4069:80574] -[ViewController viewDidLayoutSubviews]
2020-08-19 09:43:27.321131+0800 KKLayoutDemo[4069:80574] -[KKView drawRect:]
2020-08-19 09:43:27.361760+0800 KKLayoutDemo[4069:80574] -[ViewController viewDidAppear:]
在log顺序中, KKView的frame在layoutSubviews或者viewDidLayoutSubviews中确定. 其中layoutSubviews是UIView的方法, viewDidLayoutSubviews是UIViewController的方法.
如果我们使用代码或者xib来加载一个view, 那么最好在viewDidLayoutSubviews中重新设置一下frame, 而如果是storyboard加载的view, 则无需重新设置, 前提是设置了约束.
2. Constrain to margins
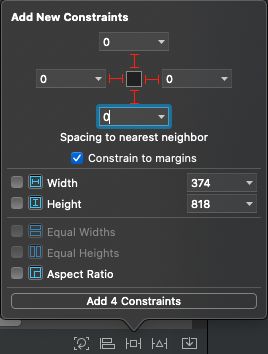
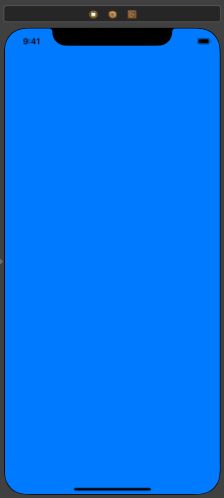
在使用storyboard布局的时候, 经常会看到Constrain to margins这个选项:
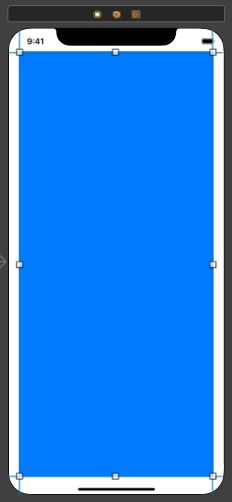
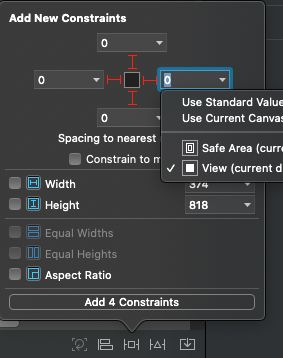
它的作用是在子view上添加一个边界限制, 使其布局相对于父view有一个边距. 如图:
如果我们取消勾选, 使之上下左右约束为0, 则会铺满父视图.
3. Constraints
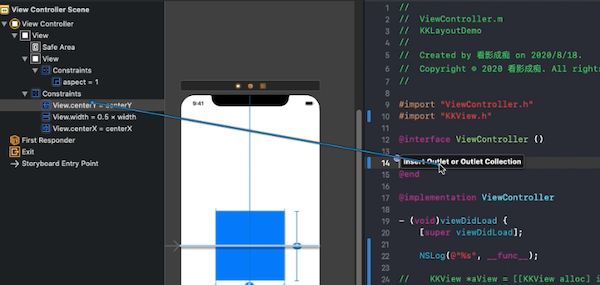
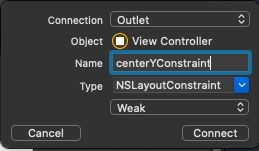
Constraints约束决定了视图的frame布局, 然而我们可以在代码中动态修改Constraints的constant.
例如:
- (void)viewDidLayoutSubviews {
    [super viewDidLayoutSubviews];

    self.centerYConstraint.constant = 100;  // Y 下调100

    NSLog(@"%s", __func__);
}
注
@property (readonly) CGFloat multiplier; // 比例只读, 不可调
@property CGFloat constant;
4. safeAreaLayoutGuide
iOS11之后UIView引入的一个新属性
@property(nonatomic,readonly,strong) UILayoutGuide *safeAreaLayoutGuide API_AVAILABLE(ios(11.0),tvos(11.0));
    CGRect rect;
    AppDelegate *appDelegate = (AppDelegate *)[UIApplication sharedApplication].delegate;
    if (@available(iOS 11.0, *)) {
        rect = appDelegate.window.safeAreaLayoutGuide.layoutFrame;
    } else {
        rect = self.view.bounds;
    }

    KKView *aView = [[KKView alloc] initWithFrame:rect];
    [self.view addSubview:aView];
5. Masonry
GitHub: https://github.com/SnapKit/Masonry
添加一个UIImageView, 设置边界:
#import "Masonry.h"

- (void)viewDidLoad {
    [super viewDidLoad];

    UIImageView *imageView = [[UIImageView alloc] initWithImage:[UIImage imageNamed:@"Catalina"]];
    [self.view addSubview:imageView];

    UIEdgeInsets padding = UIEdgeInsetsMake(20, 20, 20, 20);

    [imageView mas_makeConstraints:^(MASConstraintMaker *make) {
        make.edges.equalTo(self.view).with.insets(padding);
    }];
}
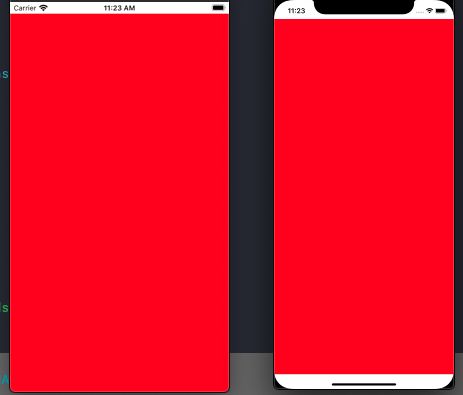
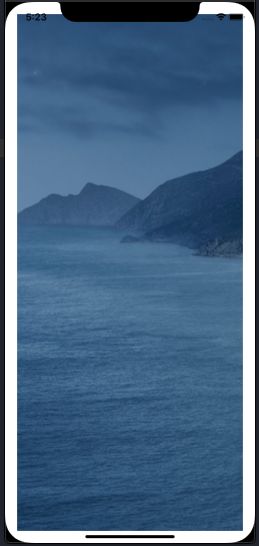
如果是刘海屏, 会有如下效果:
于是我们开始适配:
- (void)viewDidLoad {
    [super viewDidLoad];

    UIImageView *imageView = [[UIImageView alloc] initWithImage:[UIImage imageNamed:@"Catalina"]];
    [self.view addSubview:imageView];

    UIEdgeInsets padding = UIEdgeInsetsMake(20, 20, 20, 20);

//    [imageView mas_makeConstraints:^(MASConstraintMaker *make) {
//        make.edges.equalTo(self.view).with.insets(padding);
//    }];

    if (@available(iOS 11.0, *)) {

        [imageView mas_makeConstraints:^(MASConstraintMaker *make) {
            make.top.equalTo(self.view.mas_safeAreaLayoutGuideTop).with.offset(padding.top);
            make.left.equalTo(self.view.mas_safeAreaLayoutGuideLeft).with.offset(padding.left);
            make.bottom.equalTo(self.view.mas_safeAreaLayoutGuideBottom).with.offset(-padding.bottom);
            make.right.equalTo(self.view.mas_safeAreaLayoutGuideRight).with.offset(-padding.right);
        }];

    } else {

        [imageView mas_makeConstraints:^(MASConstraintMaker *make) {
            make.top.equalTo(self.view.mas_top).with.offset(padding.top);
            make.left.equalTo(self.view.mas_left).with.offset(padding.left);
            make.bottom.equalTo(self.view.mas_bottom).with.offset(-padding.bottom);
            make.right.equalTo(self.view.mas_right).with.offset(-padding.right);
        }];

    }
}
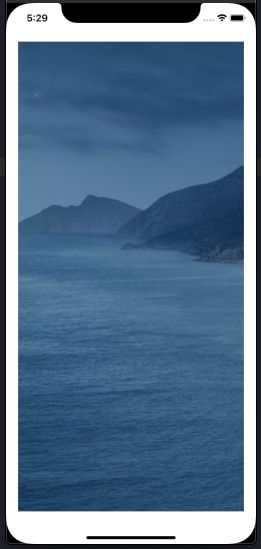
效果:
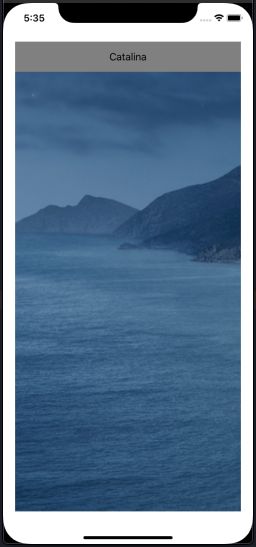
添加图片title:
    UILabel *label = [UILabel new];
    label.text = @"Catalina";
    label.textAlignment = NSTextAlignmentCenter;
    label.backgroundColor = [UIColor grayColor];
    [self.view addSubview:label];
    [label mas_makeConstraints:^(MASConstraintMaker *make) {
        make.left.equalTo(imageView);
        make.right.equalTo(imageView);
        make.top.equalTo(imageView);
        make.height.equalTo(@50);
    }];
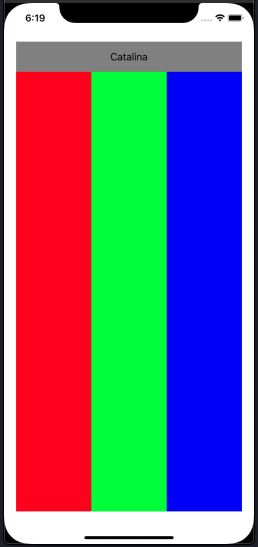
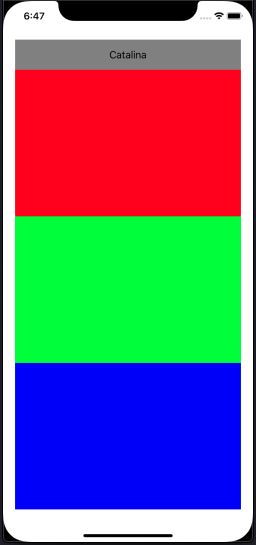
添加红绿蓝子view:
    UIView *redView = [UIView new];
    redView.backgroundColor = [UIColor redColor];
    [imageView addSubview:redView];

    UIView *greenView = [UIView new];
    greenView.backgroundColor = [UIColor greenColor];
    [imageView addSubview:greenView];

    UIView *blueView = [UIView new];
    blueView.backgroundColor = [UIColor blueColor];
    [imageView addSubview:blueView];

    [redView mas_makeConstraints:^(MASConstraintMaker *make) {
        make.top.equalTo(label.mas_bottom);
        make.bottom.equalTo(imageView);
        make.left.equalTo(imageView);
        make.width.equalTo(imageView).multipliedBy(1.0/3.0);
    }];

    [greenView mas_makeConstraints:^(MASConstraintMaker *make) {
        make.top.bottom.and.width.equalTo(redView);
        make.left.equalTo(redView.mas_right);
    }];


    [blueView mas_makeConstraints:^(MASConstraintMaker *make) {
        make.top.bottom.and.width.equalTo(greenView);
        make.left.equalTo(greenView.mas_right);
    }];
重新添加约束, 使红绿蓝竖排且高度相等:
    [redView mas_remakeConstraints:^(MASConstraintMaker *make) {
        make.top.equalTo(label.mas_bottom);
        make.left.right.equalTo(imageView);
        make.bottom.equalTo(greenView.mas_top);
    }];

    [greenView mas_remakeConstraints:^(MASConstraintMaker *make) {
        make.left.right.equalTo(imageView);
        make.bottom.equalTo(blueView.mas_top);
    }];

    [blueView mas_remakeConstraints:^(MASConstraintMaker *make) {
        make.left.right.and.bottom.equalTo(imageView);
        make.height.equalTo(@[redView, greenView]);
    }];
PS
mas_makeConstraints() 添加约束
mas_remakeConstraints() 移除之前的约束,重新添加新的约束
mas_updateConstraints() 更新约束,写哪条更新哪条,其他约束不变equalTo() 参数是对象类型,一般是视图对象或者mas_width这样的坐标系对象
mas_equalTo() 和上面功能相同,参数可以传递基础数据类型对象,可以理解为比上面的API更强大width() 用来表示宽度,例如代表view的宽度
mas_width() 用来获取宽度的值。和上面的区别在于,一个代表某个坐标系对象,一个用来获取坐标系对象的值
6. SnapKit
Masonry 的Swift 版本.
GitHub: https://github.com/SnapKit/SnapKit
