头部均为:
方法一: Input File - Popover Preview Image 原文
Browse
CSS
.container{
    margin-top:20px;
}
.image-preview-input {
    position: relative;
	overflow: hidden;
	margin: 0px;
    color: #333;
    background-color: #fff;
    border-color: #ccc;
}
.image-preview-input input[type=file] {
	position: absolute;
	top: 0;
	right: 0;
	margin: 0;
	padding: 0;
	font-size: 20px;
	cursor: pointer;
	opacity: 0;
	filter: alpha(opacity=0);
}
.image-preview-input-title {
    margin-left:2px;
}
JS
$(document).on('click', '#close-preview', function(){
$('.image-preview').popover('hide');
// Hover befor close the preview
$('.image-preview').hover(
function () {
$('.image-preview').popover('show');
},
function () {
$('.image-preview').popover('hide');
}
);
});
$(function() {
// Create the close button
var closebtn = $('', {
type:"button",
text: 'x',
id: 'close-preview',
style: 'font-size: initial;',
});
closebtn.attr("class","close pull-right");
// Set the popover default content
$('.image-preview').popover({
trigger:'manual',
html:true,
title: "Preview"+$(closebtn)[0].outerHTML,
content: "There's no image",
placement:'bottom'
});
// Clear event
$('.image-preview-clear').click(function(){
$('.image-preview').attr("data-content","").popover('hide');
$('.image-preview-filename').val("");
$('.image-preview-clear').hide();
$('.image-preview-input input:file').val("");
$(".image-preview-input-title").text("Browse");
});
// Create the preview image
$(".image-preview-input input:file").change(function (){
var img = $('![]() ', {
id: 'dynamic',
width:250,
height:200
});
var file = this.files[0];
var reader = new FileReader();
// Set preview image into the popover data-content
reader.onload = function (e) {
$(".image-preview-input-title").text("Change");
$(".image-preview-clear").show();
$(".image-preview-filename").val(file.name);
img.attr('src', e.target.result);
$(".image-preview").attr("data-content",$(img)[0].outerHTML).popover("show");
}
reader.readAsDataURL(file);
});
});
', {
id: 'dynamic',
width:250,
height:200
});
var file = this.files[0];
var reader = new FileReader();
// Set preview image into the popover data-content
reader.onload = function (e) {
$(".image-preview-input-title").text("Change");
$(".image-preview-clear").show();
$(".image-preview-filename").val(file.name);
img.attr('src', e.target.result);
$(".image-preview").attr("data-content",$(img)[0].outerHTML).popover("show");
}
reader.readAsDataURL(file);
});
});
方法二:Beautiful jQuery File Upload Plugin with Bootstrap 下载
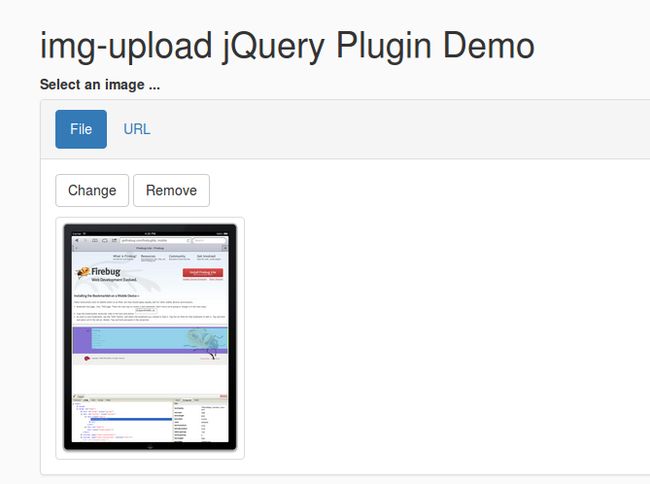
方法三: Image Upload Preview Plugin With jQuery And Bootstrap - img-upload 下载
How to use it:
1. Load Bootstrap's stylesheet and the img-upload.css in the head section of the document.
2. Build the html structure for the image uploader ui with a preview area.
3. Load both jQuery library and the jQuery img-upload plugin's script at the end of the document.
4. Call the imgUpload() function to active the plugin.
$('.img-upload').imgupload();
5. Available plugin options.
$('.img-upload').imgupload({
  allowedFormats: [ "jpg", "jpeg", "png", "gif" ],
  previewWidth: 250,
  previewHeight: 250,
  maxFileSizeKb: 2048
});
方法四: bootstrap-fileinput DEMO 下载
Usage
Step 1: Load the following assets in your header.
If you noticed, you need to load the jquery.min.js and bootstrap.min.css in addition to the fileinput.min.css and fileinput.min.js. The locale file fileinput_locale_ can be optionally included for translating for your language if needed.
NOTE: The canvas-to-blob.min.js file is the source for the JavaScript-Canvas-to-Blob plugin by blueimp. It is required to be loaded before fileinput.js if you wish to use the image resize feature of the bootstrap-fileinput plugin. For ease of access, the plugin source for JavaScript-Canvas-to-Blob is included in the js/plugins folder of this project repository.
Step 2: Initialize the plugin on your page. For example,
// initialize with defaults
$("#input-id").fileinput();

// with plugin options
$("#input-id").fileinput({'showUpload':false, 'previewFileType':'any'});
The #input-id is the identifier for the input (e.g. type = file) on your page, which is hidden automatically by the plugin.
Alternatively, you can directly call the plugin options by setting data attributes to your input field.
原文/转自: Bootstrap 3 : 图片上传预览 image upload preview


