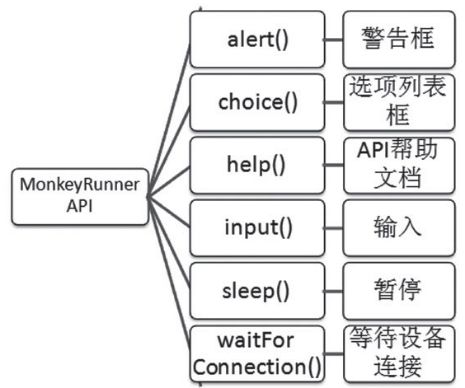
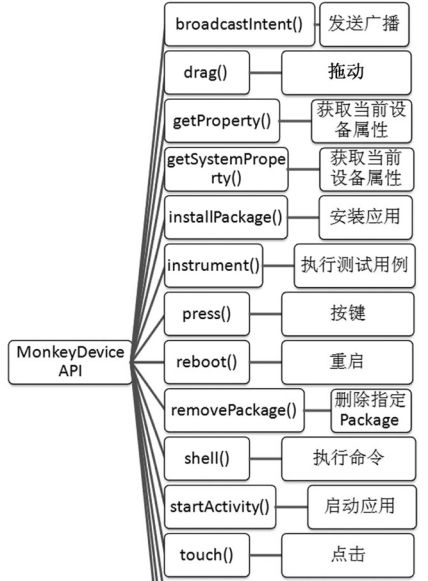
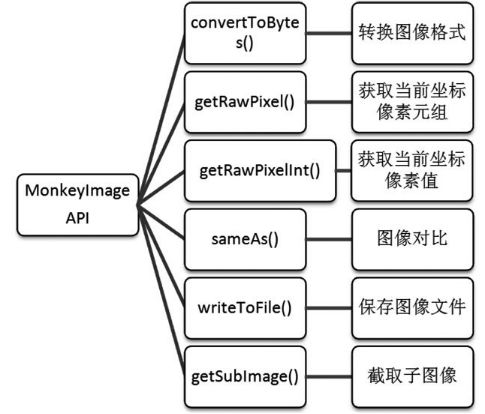
MonkeyRunner工具主要有三个类:
- MonkeyRunner
- MonkeyDevice
- MonkeyImage
官方API文档 :http://www.android-doc.com/tools/help/monkeyrunner_concepts.html#
1.MonkeyRunner类:
MonkeyRunner提供连接真机和模拟器、输入、暂停、警告框等方法。
常用方法
waitForConnection(float timeout,string deviceid),
from com.android.monkeyrunner import MonkeyRunner as mr
print("connect devices...")
device=mr.waitForConnection()
# device=mr.waitForConnection(5,'127.0.0.1:62001')
2.MonkeyDevice类
MonkeyDevice类提供了安装和卸载程序包、开启Activity、发送按键和点击事件、运行测试包等方法。
常用方法
- installPackage (string path)
- removePackage (string package)
- startActivity (string uri, string action, string data, string mimetype, iterable categories dictionary extras, component component, flags)
- touch (integer x, integer y, integer type)
touch参数说明
integer x,x坐标值。
integer y,y坐标值。
integer type,key event类型(如DOWN、UP、DOWN_AND_UP)。
DOWN为按下事件 UP为弹起事件 DOWN_AND_UP为按下弹起事件。
- drag (tuple start, tuple end, float duration, integer steps)
drag参数详细说明如下:
tuple start,拖拽起始位置,为tuple类型的(x,y)坐标点。
tuple end,拖拽终点位置,为tuple类型的(x,y)坐标点。
float duration,拖拽手势持续时间,默认为1.0s。
-integer steps,插值点的步数,默认值为10。
实践案例:
连接设备,安装考研帮App并启动
代码实现
kyb_start.py
from com.android.monkeyrunner import MonkeyRunner as mr
from com.android.monkeyrunner import MonkeyDevice as md
print("connect devices...")
device=mr.waitForConnection()
print("install app...")
device.installPackage(r'C:\Users\Shuqing\Desktop\kaoyan3.1.0.apk')
package = 'com.tal.kaoyan'
activity = 'com.tal.kaoyan.ui.activity.SplashActivity'
runComponent = package + '/' + activity
print("launch App...")
device.startActivity(component=runComponent)
代码执行方式
monkeyrunner scripfile
C:\Users\Shuqing>monkeyrunner E:\monkeyrunner_script\kyb.py
3.MonkeyImage类
MonkeyImage类在测试过程中用来保存各种格式的测试截图,并可以进行图像对比。
常用方法
- takeSnapshot() 进行屏幕截图
- writeToFile() 保存图像文件到指定的文件路径
用法示例
from com.android.monkeyrunner import MonkeyImage as mi
print("takeSnapshot")
screenshot=device.takeSnapshot()
screenshot.writeToFile(r'E:\monkeyrunner_script\test.png','png')


