Suppose we have packaged our UI5 application into mobile platform and need to consume native API provided by mobile platform, and it is time for Cordova plugin to come on the stage. A Cordova plugin is a package of injected code that allows the Cordova webview within which the app renders to communicate with the native platform on which it runs.
In this blog, I still use the UI5 application mentioned in my previous blog Step by step to package a Fiori application into your Android device using Cordova for demo.
I will show the steps how to create a dummy plugin for Android platform, which simply performs the calculation between two integers implemented in Java, and then could be consumed by JavaScript code in UI5.
There is indeed a page in Cordova website talking about how to create a new plugin, however I fail to create a plugin just simply by following it.
In my opinion some information is missing in the document, so it is the reason why I decide to document my detailed step here for future reference.
Note
The steps might vary with different version of Cordova. This blog is made based on version 7.0.1:

Detail steps to create plugin
(1) Install plugman via npm:

Then create a new plugin via the following command:

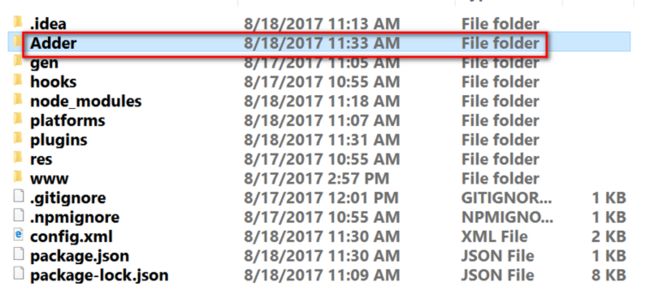
Once done, in the root folder of project there is a new folder generated, whose name is equal to the option specified via command -name:
![]()
Some artifacts are automatically generated and stored within the plugin folder. We don’t need to touch them at the moment.
(2) Since I need to develop a plugin used for Android platform, so enable the created plugin with Android platform via command: “plugman platform add –platform_name android”
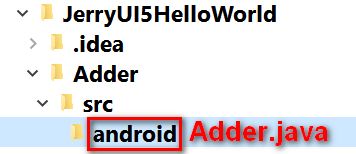
Once done, a .java source file is created, which is used to implement the logic for example performing some native API call.

Copy the following source code to this Adder.java:
package jerry.adder;
import org.apache.cordova.CordovaPlugin;
import org.apache.cordova.CallbackContext;
import org.json.JSONArray;
import org.json.JSONException;
import org.json.JSONObject;
public class Adder extends CordovaPlugin {
    @Override
    public boolean execute(String action, JSONArray args, CallbackContext callbackContext) throws JSONException {

        if (action.equals("performAdd")) {
            int arg1 = args.getInt(0);
            int arg2 = args.getInt(1);
            /* Indicating success is failure is done by calling the appropriate method on the
            callbackContext.*/
            int result = arg1 + arg2;
            callbackContext.success("result calculated in Java: " + result);
            return true;
        }
        return false;
    }
}
(3) Perform the following command to automatically generate a descriptor file, package.json for created plugin. Just press enter key again and again to simply use the default value, which are enough for this exercise.

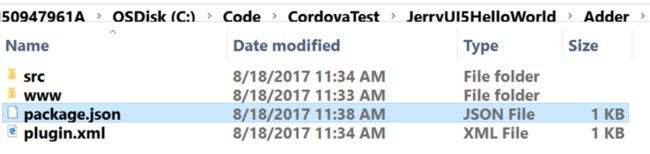
Once done, the package.json file is generated within plugin folder.

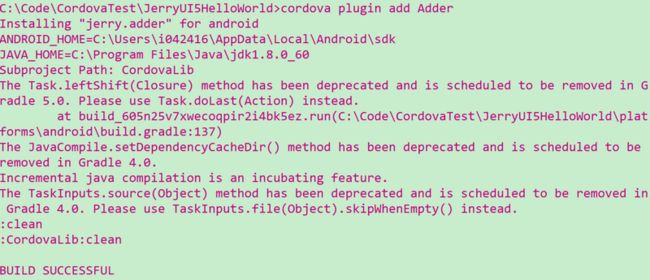
(4) Install this plugin via command “cordova plugin add Adder”. If everything works fine, you should see message “BUILD SUCCESSFUL”.
Now just perform cordova compile, and the plugin will be built into the final APK file.
A list of artifacts generated for the created plugin
Let’s review what artifacts / configuration finally we have regarding this created plugin:
(1) in config.xml in the root folder, our plugin is added:
(2) The implementation Adder.java file for plugin in plugin folder.

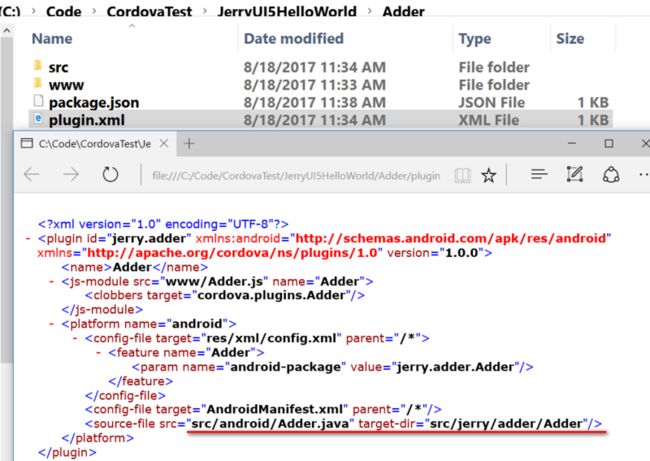
(3) In the plugin folder there is a plugin.xml file, which defines the path the plugin implementation will be located in the platform specific folder.
In my project the target-dir points to this folder as below:
Consume the plugin in UI5 application
In order to test this plugin, paste the following source code to index.js in path:
var app = {
    initialize: function() {
        document.addEventListener('deviceready', this.onDeviceReady.bind(this), false);
    },
    // deviceready Event Handler
    //
    // Bind any cordova events here. Common events are:
    // 'pause', 'resume', etc.
    onDeviceReady: function() {
        this.receivedEvent('deviceready');
    },
    receivedEvent: function(id) {
        function success(result){
            debugger;
            alert("Jerry plugin result: " + result);
        };
        setTimeout( function(){
            debugger;
            Cordova.exec(success, null, "Adder", "performAdd", [10,20]);
        }, 10000);
    }
};
app.initialize();
The consumption is done in line 38, here I use a 10 seconds delay just in order to ease my debugging. ( Java Plugin debugging is worth another blog )

Execute the application in my mobile phone, the plugin will be executed in Java layer and result is passed back to my UI5 application:

If you would like to know how JavaScript code is passed to Java code, please read this blog: How is JavaScript code in OData offline plugin delegated to native Java code in Android.
要获取更多Jerry的原创文章,请关注公众号"汪子熙":