SpringBoot整合Dubbo(简单示例RPC远程调用)
Dubbo的项目一定是多模块的父子工程的项目
实例搭建父子工程的项目的步骤,避免踩坑。
SpringBoot父子工程的搭建
不会搭建的参考这个链接去搭建----地址如下:
https://www.cnblogs.com/meitanzai/p/10945085.html
Dubbo的搭建步骤
- 搭建完项目后,新建模块
- 服务提供者,服务调用者
- 配置appaction.properties文件
- 使用Dubbo的核心注解
- 进行接口请求测试
为了大家少走弯路,我决定重新搭建一次,
避免更多的人去踩坑
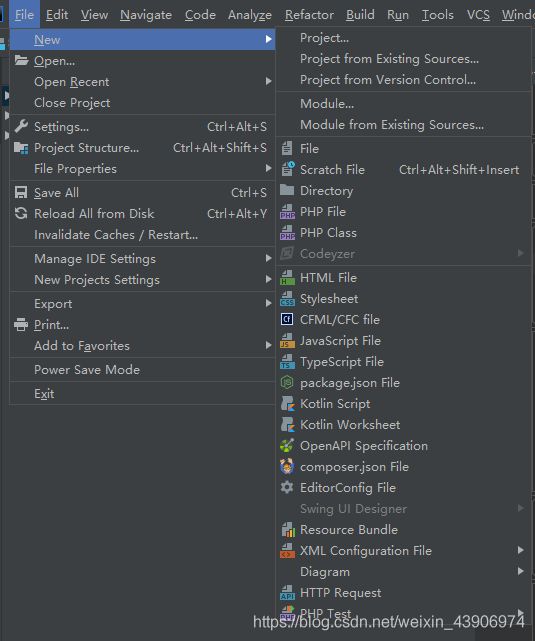
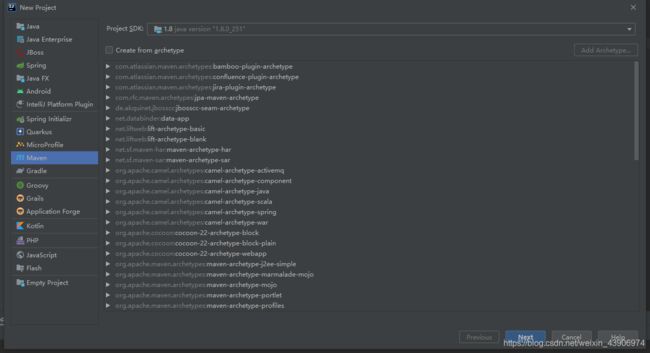
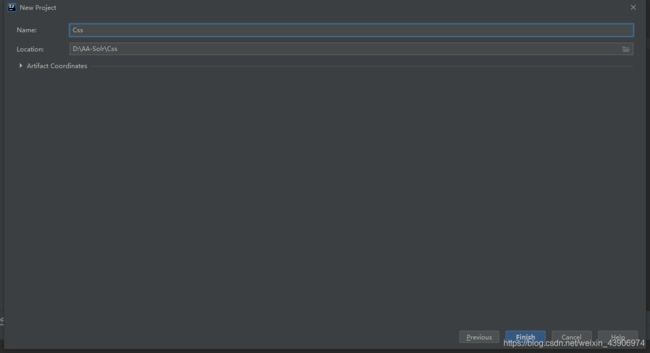
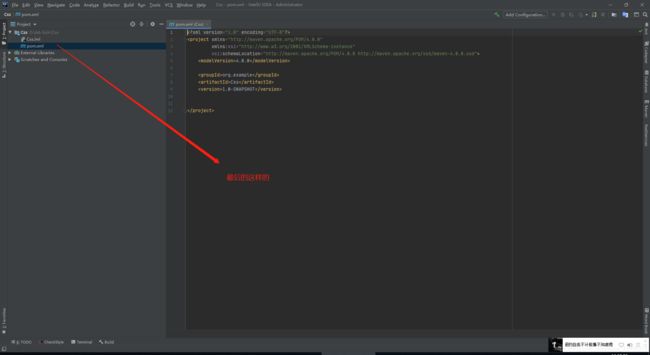
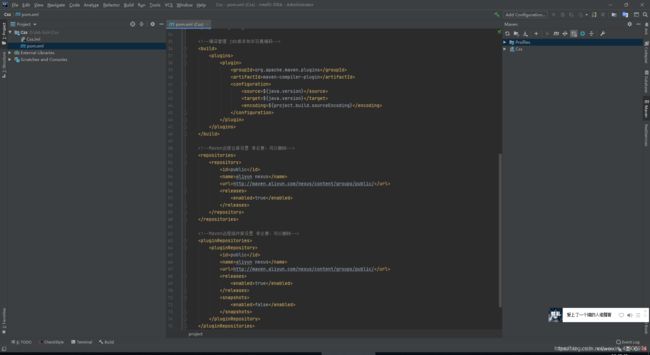
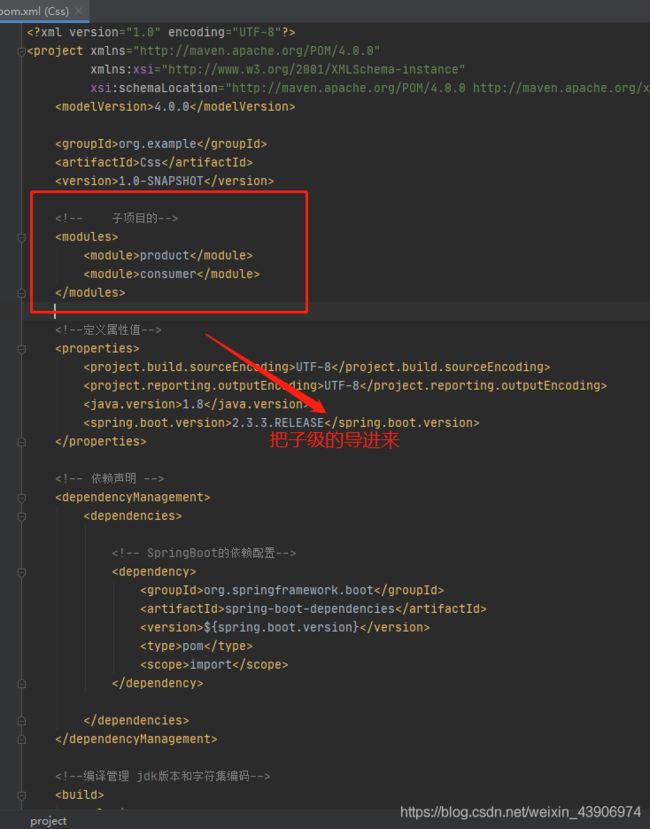
搭建maven父子工程
接下来,对父级的pom进行修改----详情内容如下:
下面是要加入的内容。
 <!--定义属性值-->
    <properties>
        <project.build.sourceEncoding>UTF-8</project.build.sourceEncoding>
        <project.reporting.outputEncoding>UTF-8</project.reporting.outputEncoding>
        <java.version>1.8</java.version>
        <spring.boot.version>2.3.3.RELEASE</spring.boot.version>
    </properties>

    <!-- 依赖声明 -->
    <dependencyManagement>
        <dependencies>

            <!-- SpringBoot的依赖配置-->
            <dependency>
                <groupId>org.springframework.boot</groupId>
                <artifactId>spring-boot-dependencies</artifactId>
                <version>${
     spring.boot.version}</version>
                <type>pom</type>
                <scope>import</scope>
            </dependency>

        </dependencies>
    </dependencyManagement>

    <!--编译管理 jdk版本和字符集编码-->
    <build>
        <plugins>
            <plugin>
                <groupId>org.apache.maven.plugins</groupId>
                <artifactId>maven-compiler-plugin</artifactId>
                <configuration>
                    <source>${
     java.version}</source>
                    <target>${
     java.version}</target>
                    <encoding>${
     project.build.sourceEncoding}</encoding>
                </configuration>
            </plugin>
        </plugins>
    </build>

    <!--Maven远程仓库设置 非必要,可以删除-->
    <repositories>
        <repository>
            <id>public</id>
            <name>aliyun nexus</name>
            <url>http://maven.aliyun.com/nexus/content/groups/public/</url>
            <releases>
                <enabled>true</enabled>
            </releases>
        </repository>
    </repositories>

    <!--Maven远程插件库设置 非必要,可以删除-->
    <pluginRepositories>
        <pluginRepository>
            <id>public</id>
            <name>aliyun nexus</name>
            <url>http://maven.aliyun.com/nexus/content/groups/public/</url>
            <releases>
                <enabled>true</enabled>
            </releases>
            <snapshots>
                <enabled>false</enabled>
            </snapshots>
        </pluginRepository>
    </pluginRepositories>
到这里,父级的项目搭建完成
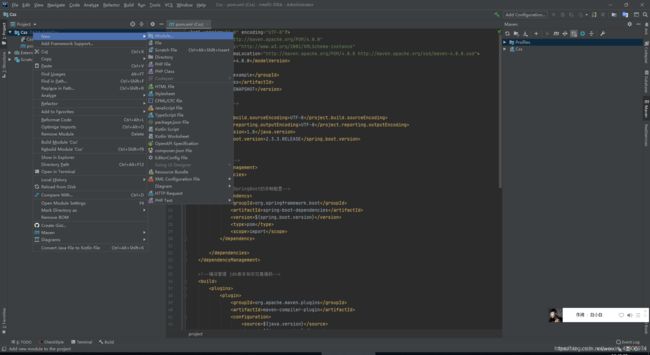
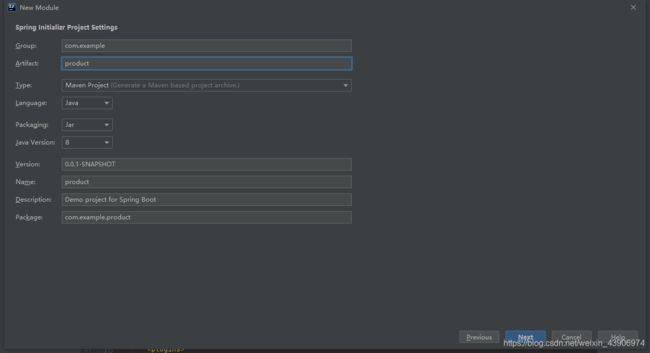
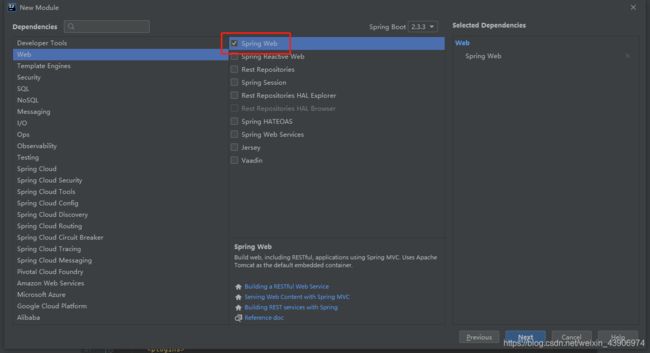
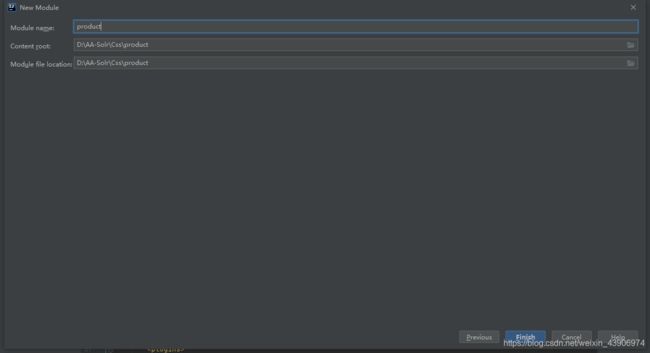
下面是搭建SpringBoot子项目步骤
子级项目Product搭建完成 ----生产者
另一个Consumer—消费者 (也自己按着这样的步骤进行搭建即可)
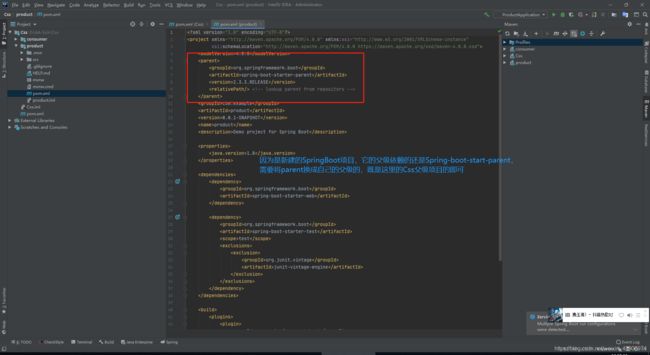
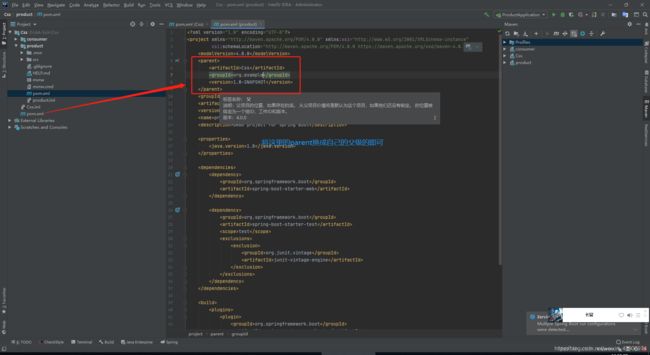
搭建完成后,则开始 对 每个子项目的pom文件进行修改
把子项目的pom文件的parentid换成父级的
截止到目前,父子级的maven项目工程已经搭建完毕
接下来就是集成Dubbo
Dubbo是什么?它从哪里来?Dubbo和SpringCloud的区别?
如果你对这些一无所知的话,最好去Dubbo的官方文档去看下
对Dubbo有个初步的了解
而你呢?为什么会使用Dubbo?
我对Dubbo和SpringCloud的认识:
Dubbo:电脑组装机 ----RPC远程调用 —灵活
SpringCloud:电脑品牌机 ----Restful风格的服务调用 --大而全
技术没有好坏,适合才是最好的。
Dubbo的官方文档:
http://dubbo.apache.org/zh-cn/docs/user/configuration/annotation.html
Dubbo该怎么用?基于什么去调用服务?
Dubbo是基于接口暴露,去进行接口的远程调用
由于我搭建的是SpringBoot项目,我在这里就基于注解的方式进行Dubbo服务的调用
首先在Product和Consumer项目的pom文件中引入Dubbo的相关的依赖如下:
        <!--    dubbo-->
        <!-- https://mvnrepository.com/artifact/org.apache.dubbo/dubbo-spring-boot-starter -->
        <dependency>
            <groupId>org.apache.dubbo</groupId>
            <artifactId>dubbo-spring-boot-starter</artifactId>
            <version>2.7.8</version>
        </dependency>
        <!--      zk-->
        <dependency>
            <groupId>org.apache.dubbo</groupId>
            <artifactId>dubbo-dependencies-zookeeper</artifactId>
            <version>2.7.8</version>
            <type>pom</type>
            <exclusions>
                <exclusion>
                    <groupId>org.slf4j</groupId>
                    <artifactId>slf4j-log4j12</artifactId>
                </exclusion>
            </exclusions>
        </dependency>
生产者Product—配置文件properties
spring.application.name=Product
server.port=8001

#当前服务/应用的名字
dubbo.application.name=Product
#注册中心的协议和地址
dubbo.registry.protocol=zookeeper
dubbo.registry.address=127.0.0.1:2181
#通信规则(通信协议和接口)
dubbo.protocol.name=dubbo
dubbo.protocol.port=20881
#连接监控中心
dubbo.monitor.protocol=registry
#开启包扫描,可替代 @EnableDubbo 注解
#dubbo.scan.base-packages=com.example.demo.service
消费者Consumer—配置文件properties
spring.application.name=Consumer
server.port=8002

#当前服务/应用的名字
dubbo.application.name=Consumer
#注册中心的协议和地址
dubbo.registry.protocol=zookeeper
dubbo.registry.address=127.0.0.1:2181
#通信规则(通信协议和接口)
dubbo.protocol.name=dubbo
dubbo.protocol.port=20882
#连接监控中心
dubbo.monitor.protocol=registry
#开启包扫描,可替代 @EnableDubbo 注解
#dubbo.scan.base-packages=com.example.demo.service
这上面的三个截图,
是都需要在
Product和Consumer项目中去配置的
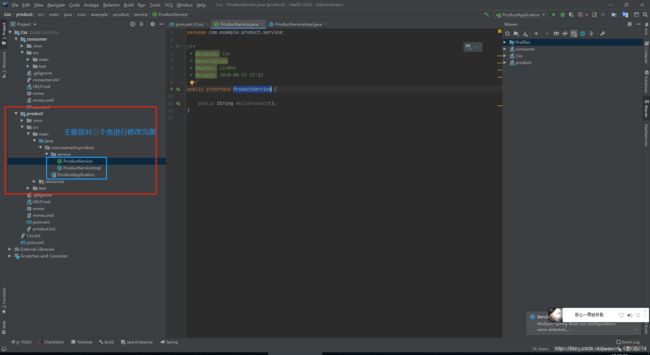
Product项目的代码
ProductService 接口
package com.example.product.service;

/**
 * @program: Css
 * @description
 * @author: LiuBao
 * @create: 2020-08-19 17:12
 **/
public interface ProductService {


    public String HelloProduct();
}
ProductServiceImpl 实现类
package com.example.product.service;

import org.apache.dubbo.config.annotation.DubboService; //注意导进来的依赖是不是Dubbo的

/**
 * @program: Css
 * @description
 * @author: LiuBao
 * @create: 2020-08-19 17:12
 **/
@DubboService  //用来暴漏接口
public class ProductServiceImpl implements ProductService{

    @Override
    public String HelloProduct() {

        return "我被远程调用了";
    }
}
在启动的入口类上加@EnableDubbo注解开启Dubbo
package com.example.product;

import org.apache.dubbo.config.spring.context.annotation.EnableDubbo; //注意引入的是不是Dubbo包下的
import org.springframework.boot.SpringApplication;
import org.springframework.boot.autoconfigure.SpringBootApplication;
@EnableDubbo  //开启Dubbo
@SpringBootApplication
public class ProductApplication {


    public static void main(String[] args) {

        SpringApplication.run(ProductApplication.class, args);
    }

}
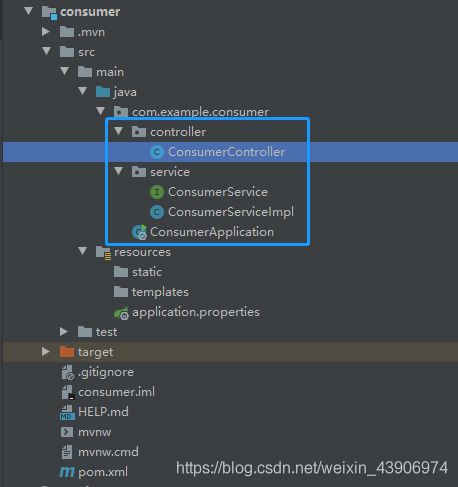
Consumer项目的代码
因为Consumer项目需要调用Product项目的服务
所以在Consumer项目的pom文件中,
需要将Product项目作为一个依赖进行引入
在Consumer项目的pom文件中进行配置
        <dependency>
            <groupId>com.example</groupId>
            <artifactId>product</artifactId>
            <version>0.0.1-SNAPSHOT</version>
        </dependency>
ConsumerService接口
package com.example.consumer.service;

/**
 * @program: Css
 * @description
 * @author: LiuBao
 * @create: 2020-08-19 17:37
 **/
public interface ConsumerService {


    public String HelloConsumer();
}
ConsumerServiceImpl 实现类
package com.example.consumer.service;

import com.example.product.service.ProductService;
import org.apache.dubbo.config.annotation.DubboReference;
import org.springframework.stereotype.Service; //注意这个引入的不是Dubbo的

/**
 * @program: Css
 * @description
 * @author: LiuBao
 * @create: 2020-08-19 17:38
 **/
@Service  //这里引入的不是Dubbo的
public class ConsumerServiceImpl implements ConsumerService{


    @DubboReference  //引入Dubbo的注入配置
    private ProductService productService;  // 这里用的是Product提供的服务
    @Override
    public String HelloConsumer() {

        return productService.HelloProduct();
    }
}
ConsumerController 控制器
package com.example.consumer.controller;

import com.example.consumer.service.ConsumerService;
import org.springframework.beans.factory.annotation.Autowired;
import org.springframework.web.bind.annotation.GetMapping;
import org.springframework.web.bind.annotation.RequestMapping;
import org.springframework.web.bind.annotation.RestController;

/**
 * @program: Css
 * @description
 * @author: LiuBao
 * @create: 2020-08-19 17:39
 **/
@RestController
@RequestMapping("/Consumer")
public class ConsumerController {


    @Autowired
    private ConsumerService consumerService;

    @GetMapping("/Hello")
    public String Hello() {

        return consumerService.HelloConsumer();
    }
}
同样的在启动的入口类上加@EnableDubbo注解开启Dubbo
package com.example.consumer;

import org.apache.dubbo.config.spring.context.annotation.EnableDubbo;
import org.springframework.boot.SpringApplication;
import org.springframework.boot.autoconfigure.SpringBootApplication;
@EnableDubbo  //开启Dubbo服务
@SpringBootApplication
public class ConsumerApplication {


    public static void main(String[] args) {

        SpringApplication.run(ConsumerApplication.class, args);
    }

}
到这里,两个项目的搭建已经配置完了
因为Dubbo需要zookeeper作为注册中心进行启动
所以要安装zookeeper 以及进行配置启动
zookeeper 的下载地址如下:
https://www.apache.org/dyn/closer.lua/zookeeper/zookeeper-3.4.14/zookeeper-3.4.14.tar.gz
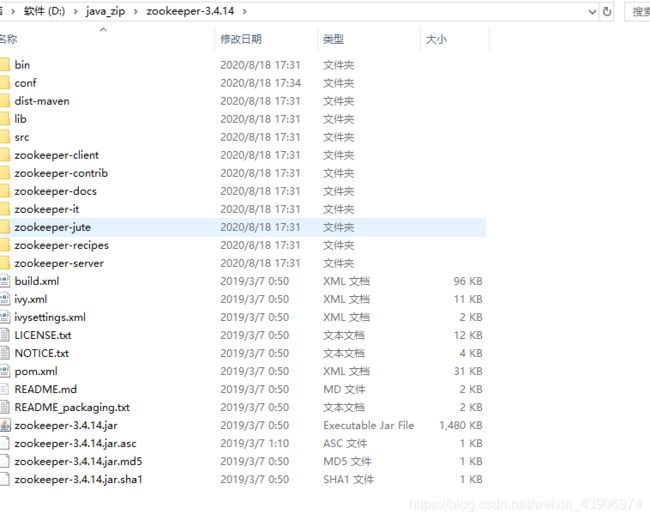
下载后解压到本地
目录如下:
到config目录下修改后缀为cfg的文件为zoo.cfg
修改zoo.cfg的内容:
# The number of milliseconds of each tick
tickTime=2000   //------>超时尝试时间
# The number of ticks that the initial
# synchronization phase can take
initLimit=10
# The number of ticks that can pass between
# sending a request and getting an acknowledgement
syncLimit=5
# the directory where the snapshot is stored.
# do not use /tmp for storage, /tmp here is just
# example sakes.
dataDir=D:/tmp/zookeeper    //----->将这里修改为自己的本地的路径
# the port at which the clients will connect
clientPort=2181       //------>zookeeper的端口号
# the maximum number of client connections.
# increase this if you need to handle more clients
#maxClientCnxns=60
#
# Be sure to read the maintenance section of the
# administrator guide before turning on autopurge.
#
# http://zookeeper.apache.org/doc/current/zookeeperAdmin.html#sc_maintenance
#
# The number of snapshots to retain in dataDir
#autopurge.snapRetainCount=3
# Purge task interval in hours
# Set to "0" to disable auto purge feature
#autopurge.purgeInterval=1
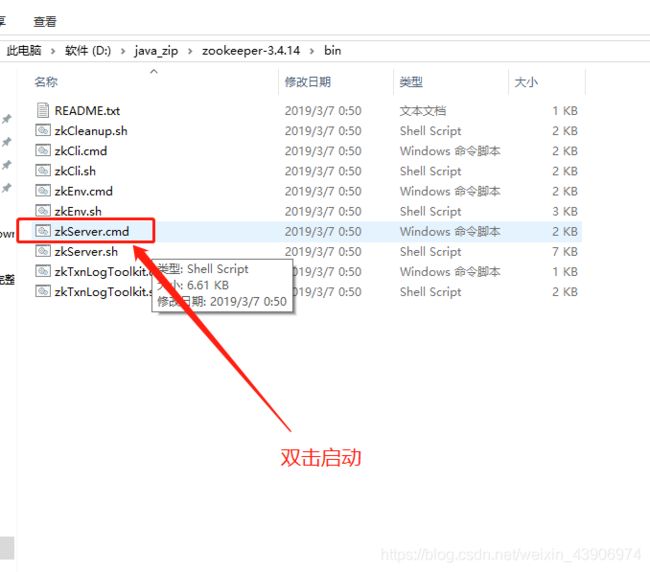
到bin目录下
双击 zkServer.cmd 进行启动
到这里,zookeeper的安装和启动已经完成了
启动之前咱们搭建的项目
先启动Product–生产者
再启动Consumer–消费者
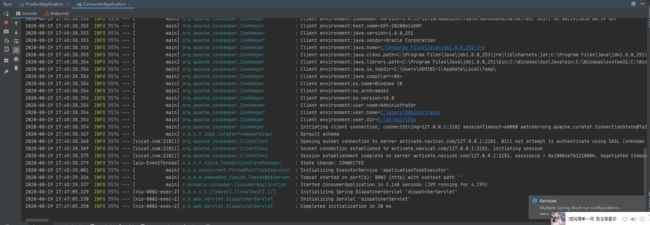
看到这样的提示信息,两个项目就启动成功了
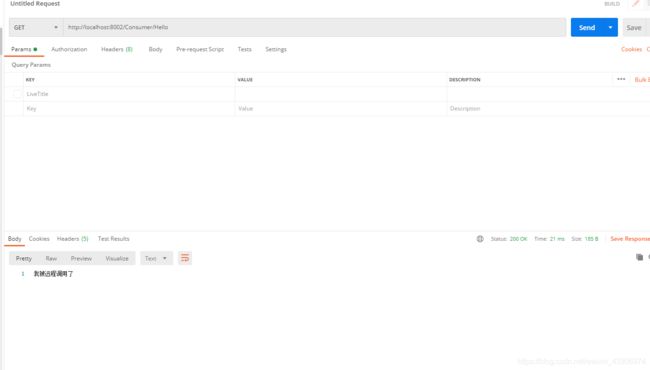
postman进行测试:请求成功
