python Django之模板简单使用(4)
文章目录
- 一、模板介绍和渲染模板
-
- 1.模板语言创建
- 2.for...in...标签
- 3.if标签
- 4.forloop标签属性
- 二.通过rqeuest获取值
-
- 1.request.GET请求
- 2.request.POST请求
- 三.模板标签定义
-
- 1.url标签
- 2.include标签
一、模板介绍和渲染模板
在上篇文章中我们讲到了通过django内置函数的渲染方法,每个都有不同的用法,对于上篇文章中的render方法中,在渲染模板的时候是可以写上一个html页面,以及传入request参数,还有一个是可选的传参,传参的形式是一个字典类型,html模板会通过传来的类型,通过内置的模板语言来展示后台传递参数。
1.模板语言创建
模版的创建过程,对于模版,其实就是读取模版(其中嵌套着模版标签),然后将 Model 中获取的数据插入到模版中,最后将信息返回给用户。通过命令python manage.py startapp app01创建app01。
创建示例urls如下:
from django.urls import path
from app01 import views

urlpatterns = [
    path('index/', views.index,name="index"),
]
from django.shortcuts import render

def index(request):
    data = {
     'user_list': ['小白', '小明', '小红']}
    return render(request, 'index.html', data)
创建app01/templates(这里是为了告诉大家在以后做项目中可能有很多html模板,可能造成混乱,为了防止这类发生,可以在所写项目中创建templates,django会根据你当前目录~根目录依次寻找templates文件夹)。
index.html如下:
<html lang="en">
<head>
    <meta charset="UTF-8">
    <title>Titletitle>
head>
<body>
    {
    { user_list }}
body>
html>
访问127.0.0.1:8000/index/如下:

可以发现后台传来的参数可以用{ {}}来获取到,那么我们发现当前的值是一个列表,如果我想获取它每一个名字,也有相应的模板语言
1.通过列表取值
index.html如下:
<html lang="en">
<head>
    <meta charset="UTF-8">
    <title>Titletitle>
head>
<body>
    <ul>
        <li>{
    { user_list.0 }}li>
        <li>{
    { user_list.1 }}li>
        <li>{
    { user_list.2 }}li>
    ul>

body>
html>
此时访问127.0.0.1:8000/index/如下:
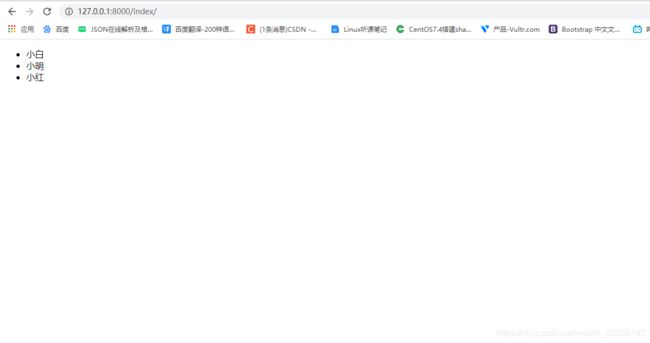
可以发现,在python中获取列表是以变量[0,1,2]取值,而模板语言是以变量.0,.1,.2方法取值,且也可以发现被包裹的模块也可以嵌套在html标签中使用。
2.通过字典取值
好了,现在我们已经知道了通过传来的列表值,通过模板语言在页面上展示,那么如果传来的是字典,那么又该怎么展示呢?
app01/views.py如下:
from django.shortcuts import render


def index(request):
    data = {
     'user_list': ['小白', '小明', '小红']}
    data_dict = {
     'user_list': {
     'k1': '小白', 'k2': '小明', 'k3': '小红'}}
    return render(request, 'index.html', data_dict)
index.html如下:
<html lang="en">
<head>
    <meta charset="UTF-8">
    <title>Titletitle>
head>
<body>
    <ul>
        <li>{
    { user_list.k1 }}li>
        <li>{
    { user_list.k2 }}li>
        <li>{
    { user_list.k3 }}li>
    ul>

body>
html>
可以发现,如果传来的值是一个字典,那么我们可以通过字段.key来获取到相应的值。
2.for…in…标签
根据上面的例子,我们似乎发现,如果当数据很多的时候,我们一个一个通过模板语言点出来,是不太现实的,所以我们可以通过django内置模板语言的循环标签for…in…类型python的for函数。
1.通过列表循环
index.html如下:
<html lang="en">
<head>
    <meta charset="UTF-8">
    <title>Titletitle>
head>
<body>
    <ul>
        {% for user in user_list %}
            <li>{
    { user }}li>
        {% endfor %}
    ul>

body>
html>
此时访问127.0.0.1:8000/index/如下:

结果是一样的,不过我们能看到在循环的时候,标签也是自动生成的,也不需要我们自己手动的去点了,不过我们在循环的时候也要遵循使用模板语言规定的{ {user}}来显示
2.通过字典循环
字典和列表不一样,如果通过上述方法循环传值,只能获取到它的key,那么我们该怎么做才能实现字典的循环传值呢?
index.html如下:
<html lang="en">
<head>
    <meta charset="UTF-8">
    <title>Titletitle>
head>
<body>
    <ul>
        {% for user in user_list.values %}
            <li>{
    { user }}li>
        {% endfor %}
    ul>

body>
html>
显然,还是一致的,不过这里在for循环中通过了一个值.values获取到了字典的键值,和python的内置函数一样。不过执行一个方法不需要使用括号()的形式进行调用。
3.if标签
if标签相当于Python中的if语句,有elif和else相对应,同时所有的标签都需要用标签符号{% %}进行包裹。
if标签中可以使用==、!=、<、<=、>、>=、in、not in、is、is not等判断运算符。当然也可以结合for标签一起使用。
index.html如下:
<html lang="en">
<head>
    <meta charset="UTF-8">
    <title>Titletitle>
head>
<body>
    <ul>
        {% for user in user_list.values %}
            {% if user not in "小明" %}
                <li>{
    { user }}li>
            {% else %}
                <li style="color: red">{
    { user }}li>
            {% endif %}
        {% endfor %}
    ul>

body>
html>
此时访问127.0.0.1:8000/index/如下:
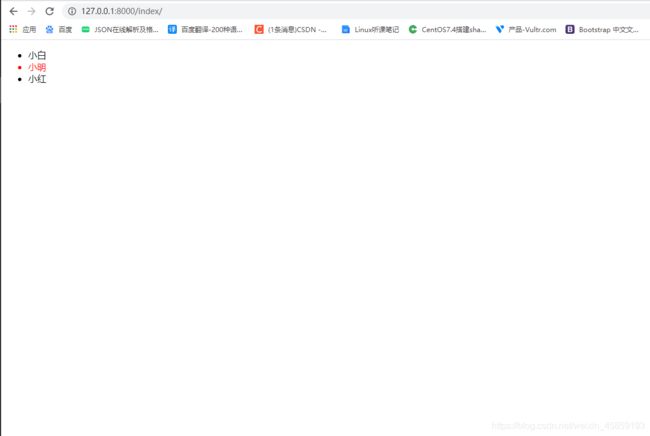
可以看到搭配for循环使用变得非常灵活,if标签语句也和python一样功能齐全。只需按照规则{% if 条件 %}成立执行{ %else% }不成立执行{% endif %}。
4.forloop标签属性
在for循环中,模板语言提供了一些与循环相关的属性可以使用,如下:
| 属性 | 意义 |
|---|---|
| forloop.counter | 当前循环的下标,以1作为起始值 |
| forloop.counter0 | 当前循环的下标,以0作为起始值 |
| forloop.revcounter | 当前循环的反向下标值,范围是从length到1 |
| forloop.revcounter0 | 类似于forloop.revcounter,不同的是范围是从length-1到0 |
| forloop.first | 是否是第一次遍历 |
| forloop.last | 是否是最后一次遍历 |
| forloop.parentloop | 有多个循环嵌套时,该属性代表的是上一级for循环 |
这里我们拿比较常用的forloop.counter做示例。
index.html如下:
<html lang="en">
<head>
    <meta charset="UTF-8">
    <title>Titletitle>
head>
<body>
    <ul>
        {% for user in user_list.values %}
            {% if user not in "小明" %}
                <li>{
    { forloop.counter }}-{
    { user }}li>
            {% else %}
                <li style="color: red">{
    { forloop.counter }}-{
    { user }}li>
            {% endif %}
        {% endfor %}
    ul>

body>
html>
此时访问127.0.0.1:8000/index/如下:

显然效果出来了,一个一个索引展示出来,多用于在数据库展示时,想通过id展示,可是id有些被删除了,索引不是依次展示,显得给用户体验很不友好。
二.通过rqeuest获取值
对于render中,request是必需要传的,因为request包含着用户以及客户端响应的数据,所以request中有许多属性可点击,如下:
| 属性 | 意义 |
|---|---|
| request.GET | 获取发送请求的get参数值 |
| request.POST | 获取发送请求的post参数值 |
| request.body | 获取通过post请求的发来的请求体的值(字节类型) |
| request.get_host() | 当前的访问的主机ip |
| request.scheme | 当前是https还是http |
| request.path_info | 当前路径 |
| request.method | 是get请求还是post请求 |
| request.FILES | 获取上传文件的数据 |
1.request.GET请求
request的get请求是会放到用户访问的url上(请求头)的,而用户则是通过在url上输入?name=“输入的值”,配合后台是可以通过request.GET来获取到的(不过一般get传参是我们服务端的工作)。
app01/views.py如下:
from django.shortcuts import render


def index(request):
    username = request.GET.get('name')
    data = {
     'user_list': ['小白', '小明', '小红'], 'username': username}
    return render(request, 'index.html', data)
index.html如下:
<html lang="en">
<head>
    <meta charset="UTF-8">
    <title>Titletitle>
head>
<body>
    <ul>
        {% for user in user_list %}
            {% if user not in username %}
                <li>{
    { forloop.counter }}-{
    { user }}li>
            {% else %}
                <li style="color: red">{
    { forloop.counter }}-{
    { user }}li>
            {% endif %}
        {% endfor %}
    ul>

body>
html>
此时访问127.0.0.1:8000/index/如下:
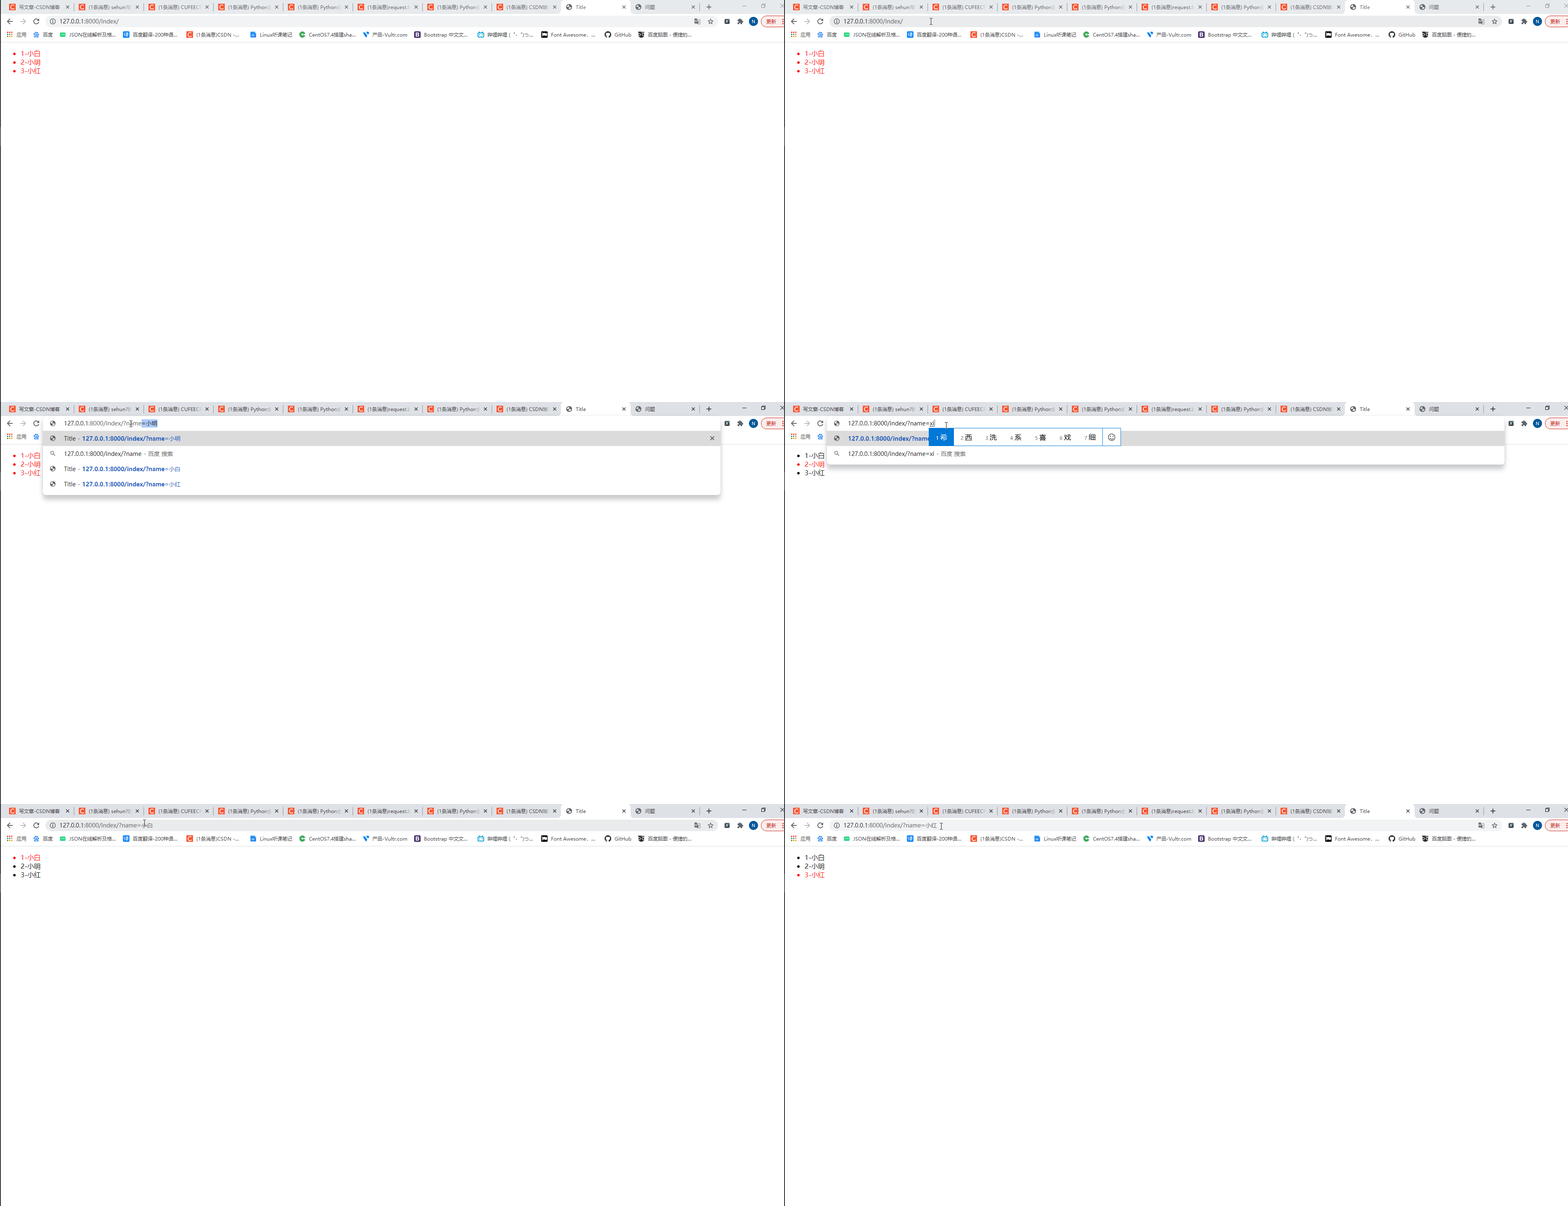
由此可知,后台是可以通过request.GET.get获取值并返回给模板的,在返回数据量多的时候我们也可以通过request.GET.getlist获取列表值。
2.request.POST请求
request.POST请求与request.GET不同,适用与表单提交,登录,注册等功能,ajax异步提交数据,返回的值在请求体里,后台也同样可以通过后台获取数据(取值方法和request.GET类似)。
app01/views.py如下:
from django.shortcuts import render, HttpResponse


def index(request):
    if request.method == "GET":
        username = request.GET.get('name')
        data = {
     'user_list': ['小白', '小明', '小红'], 'username': username}
        return render(request, 'index.html', data)
    username = request.POST.get('username')
    password = request.POST.get('password')
    if username == "root" and password == "123":
        return HttpResponse('ok')
    return HttpResponse('不ok')
index.html如下:
<html lang="en">
<head>
    <meta charset="UTF-8">
    <title>Titletitle>
head>
<body>
<ul>
    {% for user in user_list %}
        {% if user not in username %}
            <li>{
    { forloop.counter }}-{
    { user }}li>
        {% else %}
            <li style="color: red">{
    { forloop.counter }}-{
    { user }}li>
        {% endif %}
    {% endfor %}
ul>
<form method="post" action="{% url 'index' %}">
    {% csrf_token %}
    <p>用户:<input type="text" name="username">p>
    <p>密码:<input type="password" name="password">p>
    <input type="submit" value="提交">
form>

body>
html>
这里csrf_token先不讲,但是要因为是post请求要写上,不然报错。
此时访问127.0.0.1:8000/index/如下:

显然后台接收到了post请求传来的值并做了校验,获取值的方法和request.GET是一致的,获取多个值也可以用getlist来获取,不过request.body是post请求体里的所有form表单数据(默认是字节类型)。
三.模板标签定义
1.url标签
在上面的post请求中,我们在form表单的提交数据的时候写上了一个{ % url “index” % },这其实是表示传给index,而为什么能这么写呢?
urls如下:
from django.urls import path
from app01 import views

urlpatterns = [
    path('index/', views.index, name="index"),
]
在前面的文章中也有讲到,页面跳转的别名(name=“index”),而在html模板语言中,规则就是{ % url “别名” % },不仅如此,还可以在{ % url “别名” 参数 % },还可以在url后面传个get参数。{ % url “别名” 参数 % }?name={ {名字}}。
urls如下:
from django.urls import path
from app01 import views
urlpatterns = [
path('index/', views.index, name="index"),
path('user//' , views.user, name='user'),
]
index.html如下:
<html lang="en">
<head>
    <meta charset="UTF-8">
    <title>Titletitle>
head>
<body>
<ul>
    {% for user in user_list %}
        {% if user not in username %}
            <li><a href="{% url 'user' forloop_id=forloop.counter %}?name={
      { user }}">{
    { forloop.counter }}-{
    { user }}a>li>
        {% else %}
            <li style="color: red"><a href="{% url 'user' forloop_id=forloop.counter %}?name={
      { user }}">{
    { forloop.counter }}-{
    { user }}a>li>
        {% endif %}
    {% endfor %}
ul>
<form method="post" action="{% url 'index' %}">
    {% csrf_token %}
    <p>用户:<input type="text" name="username">p>
    <p>密码:<input type="password" name="password">p>
    <input type="submit" value="提交">
form>

body>
html>
app01/views.py如下:
from django.shortcuts import render, HttpResponse


def index(request):
    if request.method == "GET":
        username = request.GET.get('name')
        data = {
     'user_list': ['小白', '小明', '小红'], 'username': username}
        return render(request, 'index.html', data)
    username = request.POST.get('username')
    password = request.POST.get('password')
    if username == "root" and password == "123":
        return HttpResponse('ok')
    return HttpResponse('不ok')


def user(request, forloop_id):
    return HttpResponse("我是%s,我的id是%s" % (request.GET.get('name'), forloop_id))
此时访问127.0.0.1:8000/index/如下:

很显然模板语言url标签跳转到了别名为(name=“user”)的视图函数中,并带上了get参数?name=“名字”,以及forloop_id的参数。
2.include标签
在编写代码的时候,可能写出了一个好看的组件,且在页面上也多次要使用该组件,为了避免重复的造轮子,django模板语言给我们定义的一个函数include,类似导入的意思,我们可以通过{ %include ”组件.html“% }来进行导入,且在组件.html中也可已使用我们的模板语言。
pub.html如下:
<div>
    <h3>特别漂亮的组件h3>
    <div class="title">标题:{
    { user }}div>
    <div class="content">内容:666div>
div>
index.html如下:
<html lang="en">
<head>
    <meta charset="UTF-8">
    <title>Titletitle>
head>
<body>
<ul>
    {% for user in user_list %}
        {% include "pub.html" %}
        {% if user not in username %}
            <li><a href="{% url 'user' forloop_id=forloop.counter %}?name={
      { user | upper }}">{
    { forloop.counter }}-{
    { user }}a>li>
        {% else %}
            <li style="color: red"><a href="{% url 'user' forloop_id=forloop.counter %}?name={
      { user }}">{
    { forloop.counter }}-{
    { user }}a>li>
        {% endif %}
    {% endfor %}
ul>
<form method="post" action="{% url 'index' %}">
    {% csrf_token %}
    <p>用户:<input type="text" name="username">p>
    <p>密码:<input type="password" name="password">p>
    <input type="submit" value="提交">
form>

body>
html>
此时访问127.0.0.1:8000/index/如下:
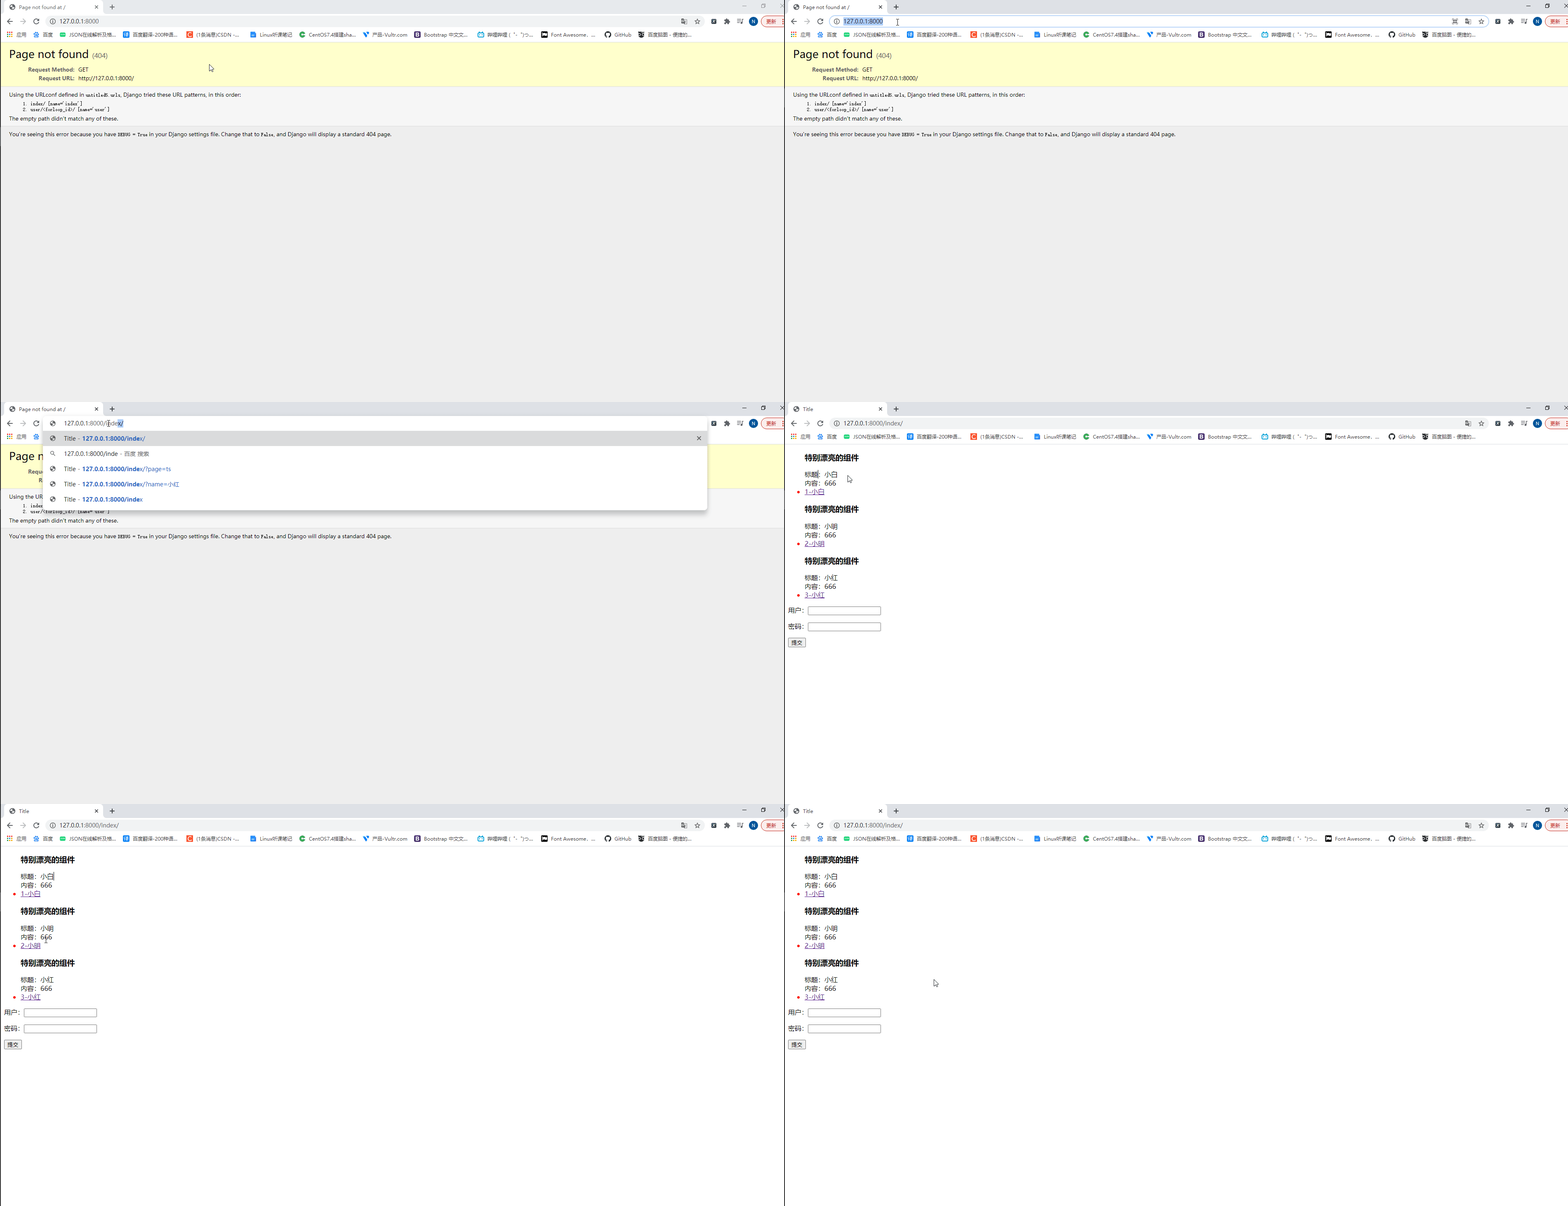
如上所示,导入{%include “pub.html”%}后,就不需要重复的造轮子,且代码也变得美观,还可以搭配着模板语言一起使用。
