一 安装、laravel
首先,composer下载laravel,我这里下的是最新版:laravel5.6。点我进入文档下载
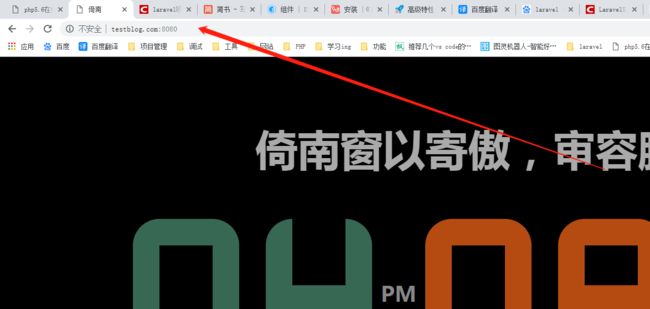
我这里是自己配制的虚拟主机,端口8080,没有配的直接访问你项目位置所在的路径即可。
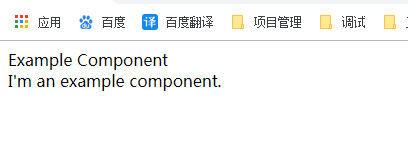
刚装好laravel显示的是laravel几个字母的页面,我这是自己的页面
二、 vue的安装
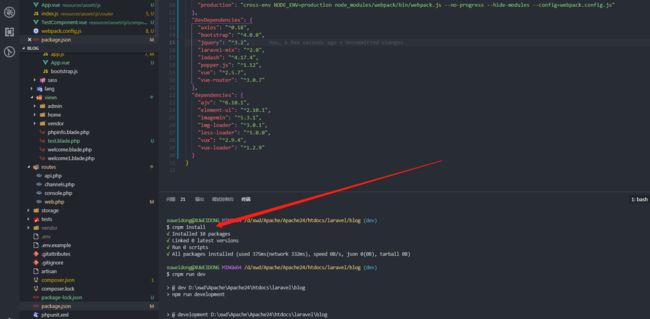
laravle中默认支持vue环境,直接npm install即可(我这里用的cnpm install)
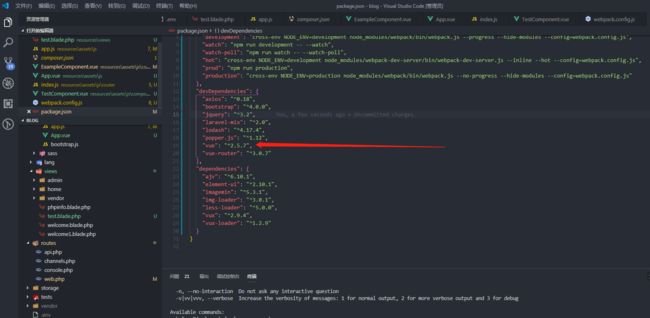
注:若没有的话(或想自定义版本),需要手动进行修改。
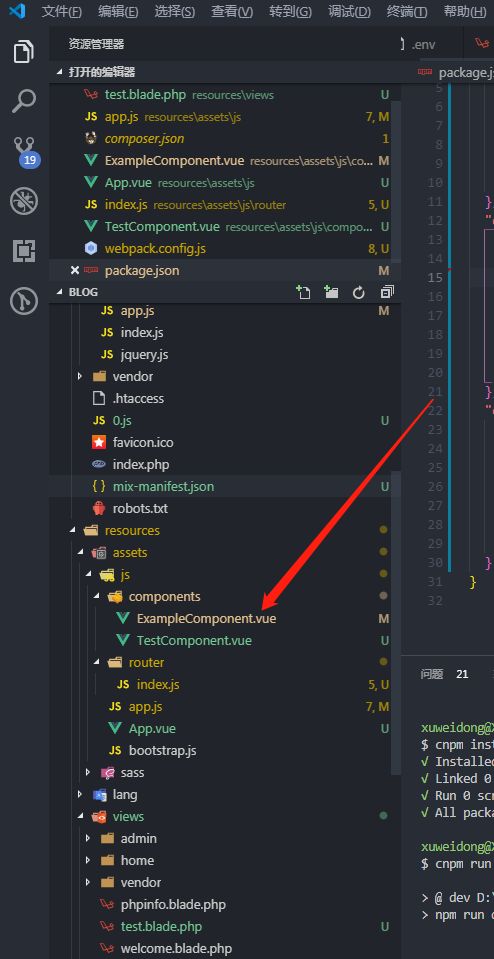
安装完成之后,会发现在resources\asset\js下会多出一个vue的小例子,打开ExampleComponent.vue和app.js你会发现他是一个完整的组件,在app.js中引入了vue,然后注册了一个名为ExampleComponent的组件,ExampleComponent.vue中定义了组件内容及样式。我们直接拿这个例子测试。
在resources\view下新建test.blade.php,填写以下内容:
Laravel
打开routes\web.php,添加路由:
Route::get('/test', function(){
return view('test');
});
然后编译,npm run dev,打开浏览器,访问:
注:如果出不来,试试 Ctrl+F5 强制刷新,我就是搞了好久,以为没安装成功,强制刷新就出来了
如果编译时出现报错,建议把node_modules文件夹删了,重新npm install( npm install - -no-bin-link)一下之后在进行编译。
三、安装Element-ui
使用npm安装,执行命令:npm i element-ui -S
附element官网:http://element-cn.eleme.io/#/zh-CN/component/installation
在app.js中引入element的组件
import ElementUI from 'element-ui';
import 'element-ui/lib/theme-chalk/index.css';
Vue.use(ElementUI);
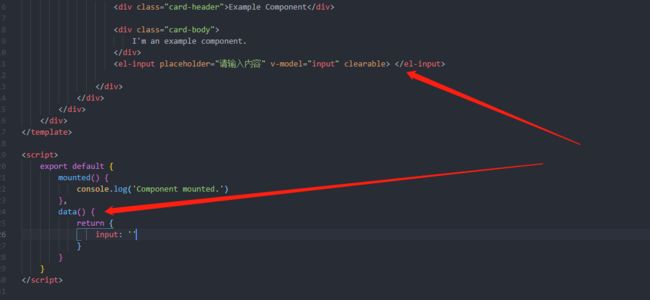
修改ExampleComponent.vue文件,在文件中加入element组件(随便加一个就行), 可以打开官网找一个组件
然后npm编译,浏览器刷新页面,效果如下:
如果觉得每次都 npm run dev,麻烦的话,可以试一下 npm run watch 实时编译,只要修改了保存之后就自动编译
四、安装Vux
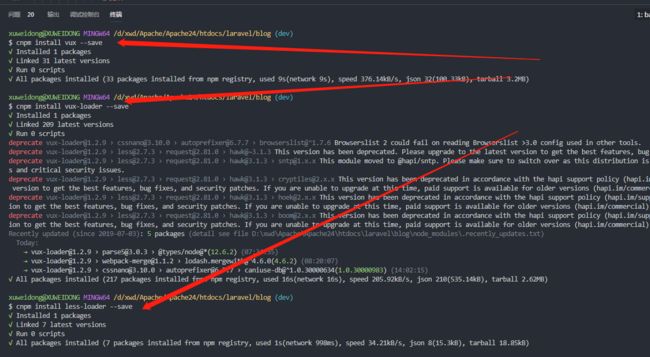
安装Vux的组件:
npm install vux --save
npm install vux-loader --save
npm install less-loader --save
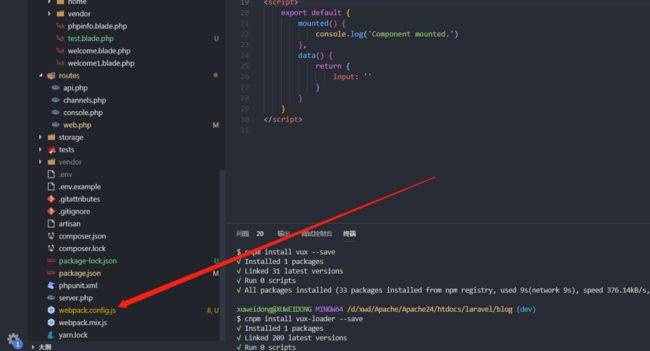
然后我们要把webpack.config.js文件提取出来,到项目根目录
cp node_modules/laravel-mix/setup/webpack.config.js ./
修改如下: (修改三行,添加一段)
以下是代码:
/**
* As our first step, we'll pull in the user's webpack.mix.js
* file. Based on what the user requests in that file,
* a generic config object will be constructed for us.
*/
let mix = require('./node_modules/laravel-mix/src/index'); // 需要修改
let ComponentFactory = require('./node_modules/laravel-mix/src/components/ComponentFactory'); // 需要修改
new ComponentFactory().installAll();
require(Mix.paths.mix());
/**
* Just in case the user needs to hook into this point
* in the build process, we'll make an announcement.
*/
Mix.dispatch('init', Mix);
/**
* Now that we know which build tasks are required by the
* user, we can dynamically create a configuration object
* for Webpack. And that's all there is to it. Simple!
*/
let WebpackConfig = require('./node_modules/laravel-mix/src/builder/WebpackConfig'); // 需要修改
module.exports = new WebpackConfig().build();
//添加内容
const vuxLoader = require('vux-loader')
const webpackConfig = module.exports // 原来的 module.exports 代码赋值给变量 webpackConfig
module.exports = vuxLoader.merge(webpackConfig, {
plugins: ['vux-ui']
})
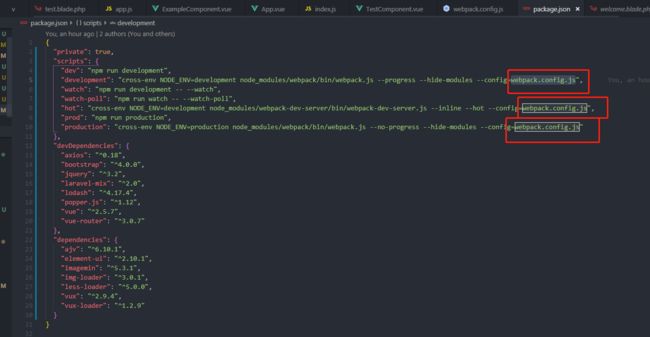
然后修改修改package.json文件中的config文件路径为根目录的webpack.config.js文件。
就是把原本webpack.config.js的路径删掉,因为我们移动了位置
代码如下:
{
"private": true,
"scripts": {
"dev": "npm run development",
"development": "cross-env NODE_ENV=development node_modules/webpack/bin/webpack.js --progress --hide-modules --config=webpack.config.js",
"watch": "npm run development -- --watch",
"watch-poll": "npm run watch -- --watch-poll",
"hot": "cross-env NODE_ENV=development node_modules/webpack-dev-server/bin/webpack-dev-server.js --inline --hot --config=webpack.config.js",
"prod": "npm run production",
"production": "cross-env NODE_ENV=production node_modules/webpack/bin/webpack.js --no-progress --hide-modules --config=webpack.config.js"
},
"devDependencies": {
"axios": "^0.18",
"bootstrap": "^4.0.0",
"jquery": "^3.2",
"laravel-mix": "^2.0",
"lodash": "^4.17.4",
"popper.js": "^1.12",
"vue": "^2.5.7",
"vue-router": "^3.0.7"
},
"dependencies": {
"ajv": "^6.10.1",
"element-ui": "^2.10.1",
"imagemin": "^5.3.1",
"img-loader": "^3.0.1",
"less-loader": "^5.0.0",
"vux": "^2.9.4",
"vux-loader": "^1.2.9"
}
}
修改ExampleComponent.vue,改为Vux的组件:
npm 编译,效果如下:
五、扩展Vue-router
安装Vue-router组件:cnpm install vue-router --save-dev,
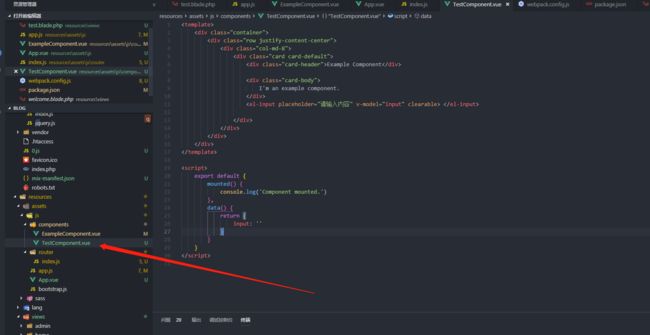
然后在resources\assets\js下新建App.vue和router文件夹,router文件夹下在新建一个index.js。
APP.vue中添加如下代码:
index.js中添加:
import Vue from 'vue'
import VueRouter from 'vue-router'
Vue.use(VueRouter);
export default new VueRouter({
saveScrollPosition: true,
routes: [
{
name:"index",
path:'/',
component: resolve =>void(require(['../components/ExampleComponent.vue'], resolve))
},
]
})
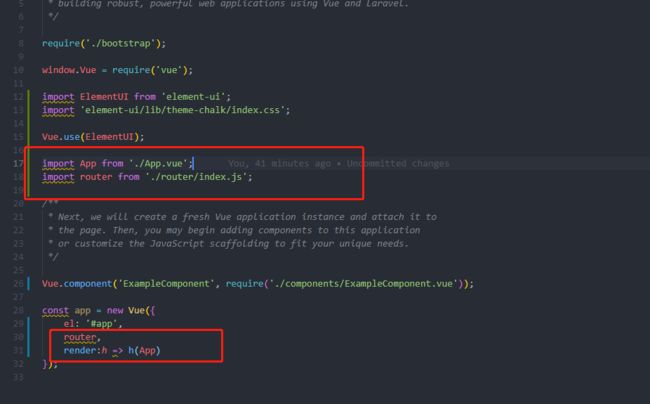
接着,修改app.js中的内容
npm run dev 编译,访问浏览器:
到这里,Vue-router就饿配置好了。
在想添加更多的路由,可以继续在index.js中添加新的路由,路径指向相应的组件即可。
页面,这是原来 ExampleComponent.vue 的代码
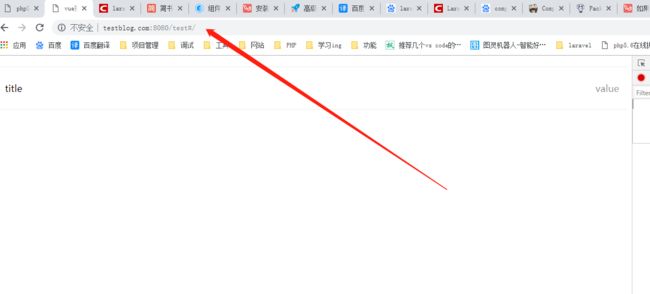
npm编译,访问浏览器:
OK!!!
注:#/后为vue的路由
当然了,我是借鉴来的,只为记录这个过程,加深印象:https://blog.csdn.net/qq_38125058/article/details/81334010
