在ubuntu 18.04.5 LTS上通过源码安装exa
本文目录
- 【介绍】
- 【相关资料】
- 【安装过程】
- 1、安装rust语言编译器
- 2、安装两个依赖包:libgit2, CMake
-
- 2.1通过包管理器apt安装libgit2、cmake
- 2.2通过源码安装libgit2、cmake
-
- 2.2.1安装CMake
- 2.2.2安装libgit2
- 3、安装exa
-
- 3.1方式一:直接下载可直接文件
- 3.2方式二、源码方式安装
- 4、效果
【介绍】
最近看到一篇文章,介绍了一个命令行工具—exa,文章说到它可以使用不同颜色显示各种文件类型、文件权限、所有权及inode使用情况。
将其安装上,并记录下过程。
【相关资料】
操作系统:ubuntu 18.04.5 LTS 服务器版。
exa的github网址:https://github.com/ogham/exa
exa的介绍、安装、使用等网址:https://the.exa.website
cmake安培文件下载:https://cmake.org/download/
libgit2安装文件下载:https://github.com/libgit2/libgit2/releases
【安装过程】
如果你只是想简单粗暴地使用或体验exa,步骤为:1、安装rust语言编译器—>2.2通过源码安装libgit2、cmake—>3.1方式一:直接下载可直接文件,即可。
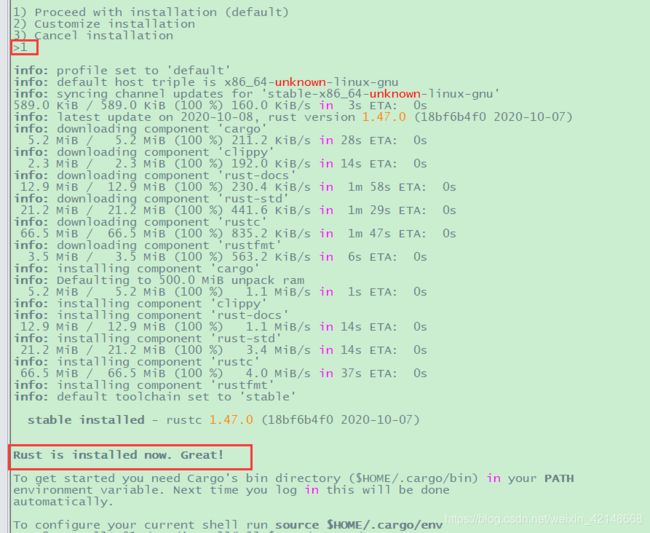
1、安装rust语言编译器
curl https://sh.rustup.rs -sSf | sh
source $HOME/.cargo/env
2、安装两个依赖包:libgit2, CMake
这个网页https://the.exa.website/install/source介绍说要先安装其他两个依赖包:libgit2, CMake。
注:如果实在不能安装它们,就直接跳到3、安装exa
2.1通过包管理器apt安装libgit2、cmake
我安装libgit2时系统提示找不到此包。
apt-get update
apt install cmake
apt install libgit2
2.2通过源码安装libgit2、cmake
2.2.1安装CMake
cd /opt/install
wget https://github.com/Kitware/CMake/releases/download/v3.19.0-rc1/cmake-3.19.0-rc1.tar.gz
tar -zxf cmake-3.19.0-rc1.tar.gz
cd ./cmake-3.19.0-rc1/
#我将cmake安装在/opt/customize/cmake/目录下
./configure --prefix=/opt/customize/cmake/
make                      #编译
make install              #安装,会有非常多的输出
vi /root/.profile   	  #编辑此文件,添加以下内容
export PATH="/opt/customize/cmake/bin:$PATH"
source /root/.profile
验证cmake是否安装成功:
cmake -version
2.2.2安装libgit2
cd /opt/install/
wget https://github.com/libgit2/libgit2/releases/download/v1.1.0/libgit2-1.1.0.tar.gz
tar -zxf libgit2-1.1.0.tar.gz
cd ./libgit2-1.1.0
#使用cmake配置编译参数,其中-DCMAKE_INSTALL_PREFIX是指定安装目录
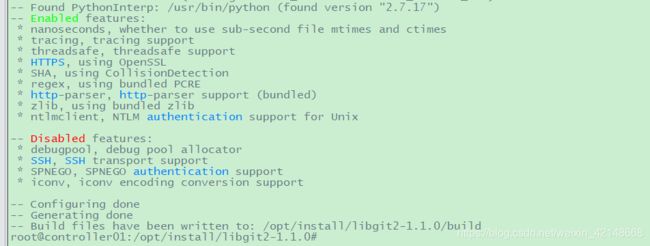
cmake \
    -DCMAKE_BUILD_TYPE=Release \
    -DCMAKE_INSTALL_PREFIX=/opt/customize/libgit2-1.1.0 \
    -G "Unix Makefiles" \
    -Wno-dev \
    -S . \
    -B build
#使用GNU make编译并安装
make --directory=build install
3、安装exa
3.1方式一:直接下载可直接文件
此情况下,必须先安装好libgit2、cmake—>通过源码方式安装2.2通过源码安装libgit2、cmake
cd /opt/install
#可以去这个页面查看最新的发行版https://github.com/ogham/exa/releases
wget https://github.com/ogham/exa/releases/download/v0.9.0/exa-linux-x86_64-0.9.0.zip
apt install unzip
unzip exa-linux-x86_64-0.9.0.zip
#将解压后的可执行文件放到一个包含在PATH中的目录下,就可以使用了。我当时为了学习,即下载了直接可执行文件,也通过源码方式安装。
#所以给直接可执行文件取名exaa,如果你只想用它,就直接取名exa就好
mv exa-linux-x86_64 /usr/local/bin/exaa
exaa -lih
可以看到效果了4、效果
3.2方式二、源码方式安装
我将exa源码下载到了/opt/install目录
wget https://github.com/ogham/exa.get
cd exa

#根据https://the.exa.website/install/source中#INSTALLING OTHER DEPENDENCIES#部分的说明,通过给cargo命令指定--no-default-features可以让它跳过exa的git功能,这是什么功能暂时不清楚,实在不行就不安装
#以下两条命令是执行编译,二选一即可
#没有安装libgit2、cmake的话,就执行命令
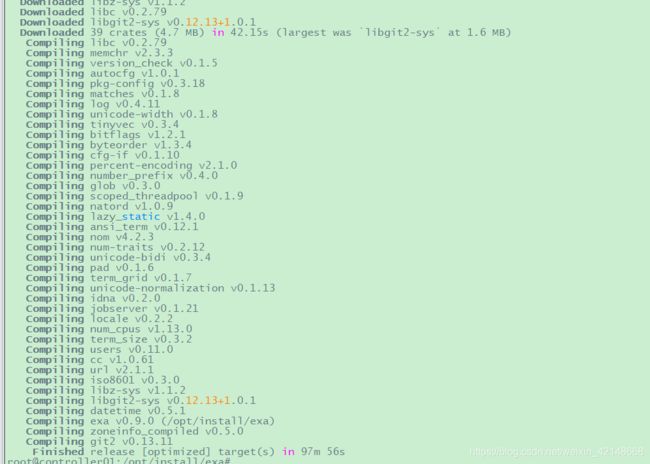
cargo build --release --no-default-features --features "default"
#安装了libgit2、cmake时
cargo build --release
#执行安装,默认的安装目录是$HOME/.cargo/bin
cargo install --path /opt/install/exa

因为我先前已经将$HOME/.cargo/bin添加到PATH中,现在exa已经可以在任意处执行:
cd /opt/install
exa -lih
4、效果
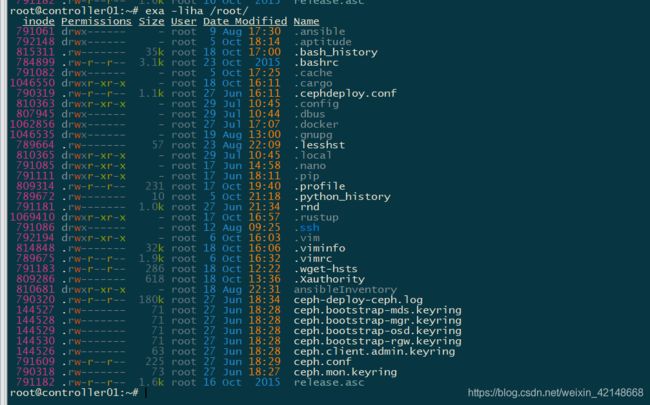
以下是在SecureCRT V8中的效果。
#我将下载的可执行文件重命令名成了/usr/local/bin/exaa
exaa -lih /root/
#exa是我通过exa的源码安装后得到的可执行文件
exa -liha /root/
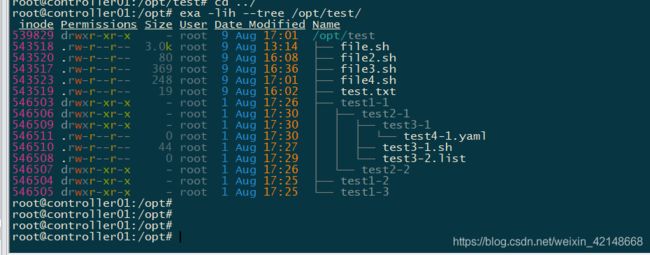
#这个比较好玩,可以以树形结构将子目录及文件全部展开显示,但是目录较深时反应慢,应该还会比较占内存
exa -lih --tree /opt/test/
