版本记录
| 版本号 | 时间 |
|---|---|
| V1.0 | 2017.06.14 |
前言
大家总会用一些基本的图片,比如圆形、扇形、三角形。这个都可以用ios原生的代码画出来,下面我们就说几个基本图形的绘制。
一、饼状图的绘制
不多说了,直接看代码
1. ViewController.m
#import "ViewController.h"
#import "XDPieView.h"

@interface ViewController ()

@property (weak, nonatomic) IBOutlet XDPieView *pieView;

@end

@implementation ViewController

#pragma mark - Override Base Function

- (void)viewDidLoad
{
    [super viewDidLoad];

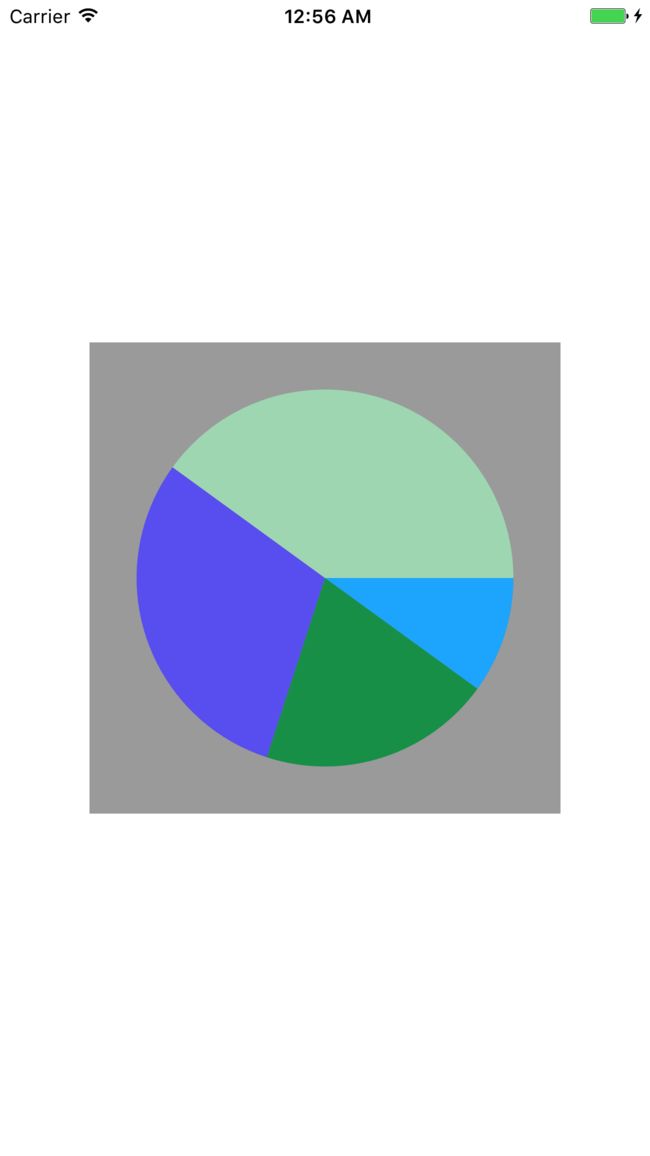
     NSArray *arr = @[@0.1,@0.2,@0.3,@0.4];
    self.pieView.arr = arr;
}

@end
2. XDPieView.m
#import "XDPieView.h"
#import "CZAdditions.h"

@implementation XDPieView

#pragma mark - Setter && Getter

//重写set方法

- (void)setArr:(NSArray *)arr
{
    _arr = arr;

    [self setNeedsDisplay];
}

#pragma mark - Override Base Function

//画图

- (void)drawRect:(CGRect)rect
{
    float startAng= 0;

    for(NSNumber * obj in self.arr)
    {
        //计算角度
        CGFloat Ang = [obj floatValue] * M_PI*2;

        //计算结束角度
        Ang = Ang + startAng;

        //路径
        UIBezierPath *path =[UIBezierPath bezierPathWithArcCenter:CGPointMake(150, 150) radius:120 startAngle:startAng endAngle:Ang clockwise:YES];

        //画线
        [path addLineToPoint:CGPointMake(150, 150)];

        //这里randomColor是封装的类方法,这里就不写了,具体作用就是生成随机色
        [[UIColor randomColor] setFill];

        //渲染
        [path fill];

        startAng = Ang;
    }
}

@end
下面看效果图
二、柱状图
还是直接看代码
1. ViewController.m
#import "ViewController.h"
#import "DemoView.h"
@interface ViewController ()

/** 柱状图视图 */
@property (nonatomic, weak) IBOutlet DemoView *demoView;

@end

@implementation ViewController

#pragma mark - Override Base Function

- (void)viewDidLoad
{
    [super viewDidLoad];

    // 数据
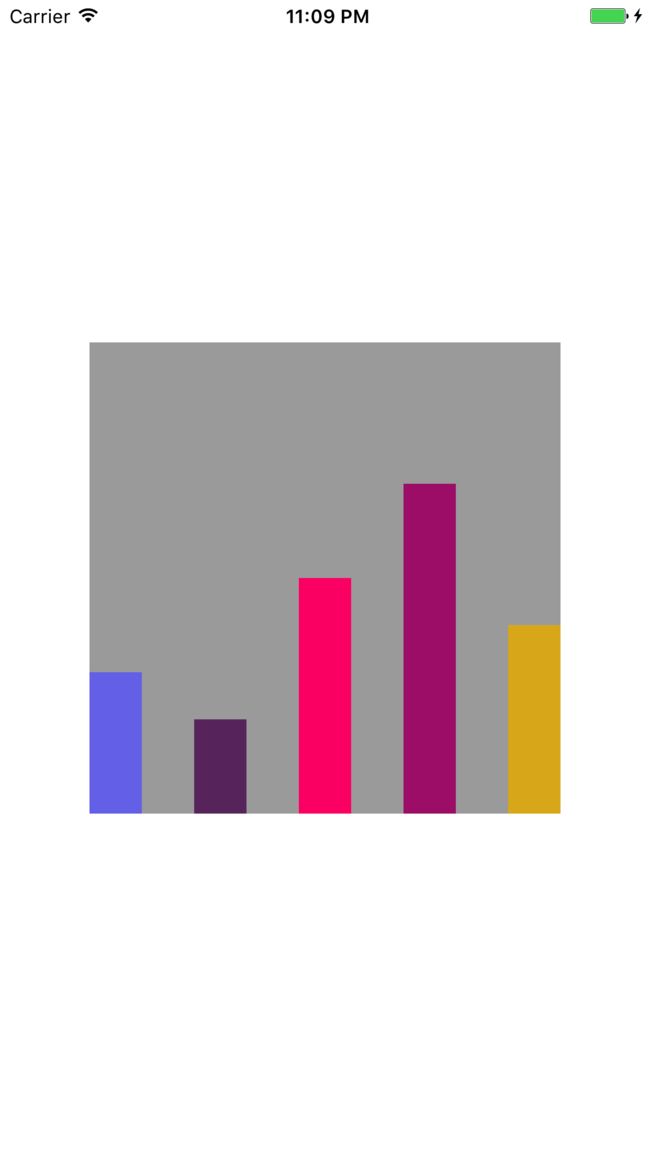
    NSArray *array = @[@0.3, @0.2, @0.5, @0.7, @0.4];

    self.demoView.dataArr = array;
}

- (void)touchesBegan:(NSSet *)touches withEvent:(UIEvent *)event
{
    [_demoView setNeedsDisplay];
}

@end
2. DemoView.m
#import "DemoView.h"
#import "CZAdditions.h"

@implementation DemoView

#pragma mark - Getter && Setter

- (void)setDataArr:(NSArray *)dataArr
{
    _dataArr = dataArr;

    // 重新绘图
    [self setNeedsDisplay];
}

- (void)drawRect:(CGRect)rect
{
    // 1.计算width
    CGFloat width = rect.size.width / (_dataArr.count * 2 - 1);

    // 2.遍历进行绘图
    NSInteger idx = 0;
    for (NSNumber *num in _dataArr) {

        CGFloat value = num.floatValue;

        // 计算高度
        CGFloat height = value * rect.size.height;

        // 计算y值
        CGFloat y = rect.size.height - height;

        // 计算x值
        CGFloat x = idx * 2 * width;

        // 创建路径
        UIBezierPath *path = [UIBezierPath bezierPathWithRect:CGRectMake(x, y, width, height)];

        //这个方法不是系统的,而是自己封装的一个加载随机色
        [[UIColor randomColor] setFill];

        // 渲染
        [path fill];

        // 增大索引值
        idx++;
    }
}

@end
下面看实现效果
三、进度条的绘制
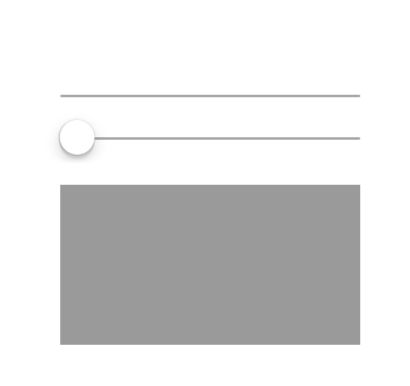
这里是用sb拖得控件,先看下sb吧。
下面看代码
1. ViewController.m
#import "ViewController.h"
#import "XDdownLoadView.h"

@interface ViewController ()

@property (weak, nonatomic) IBOutlet XDdownLoadView *downLoadView;
@property (weak, nonatomic) IBOutlet UIProgressView *progressive;

@end

#pragma mark - Override Base Function

@implementation ViewController

- (void)viewDidLoad
{
    [super viewDidLoad];
}

//监控slider的滑动
- (IBAction)sliderBar:(UISlider *)sender
{

    CGFloat sliderValue = sender.value;
    _progressive.progress = sliderValue;

    //给视图传值
    _downLoadView.value = sender.value;
}

@end
2. XDdownLoadView.h
#import

@interface XDdownLoadView : UIView

@property(nonatomic,assign) CGFloat value;

@end
3. XDdownLoadView.m
#import "XDdownLoadView.h"

@interface XDdownLoadView()

@property (nonatomic, weak) IBOutlet UILabel *downLoadPercent;

@end

@implementation XDdownLoadView

#pragma mark - Setter && Getter

- (void)setValue:(CGFloat)value
{

    _value=value;

    if(_value == 0 || _value == 1)
    {
        _downLoadPercent.hidden=YES;

    }

    if(_value > 0 && _value < 1)

    {
        _downLoadPercent.hidden = NO;
        _downLoadPercent.text = [NSString stringWithFormat:@"%.2f%%",_value*100];

    }

    [self setNeedsDisplay];
}

- (void)drawRect:(CGRect)rect
{
    //绘制扇形

    //中心
    CGPoint point = CGPointMake(rect.size.width * 0.5, rect.size.height * 0.5);

    //半径去视图宽高较小者
    CGFloat radius= MIN(rect.size.width, rect.size.height) * 0.5 - 2;

    //起始角度
    CGFloat startAn = -M_PI_2;

    //终止角度
    CGFloat endAn = - M_PI_2 + _value * M_PI * 2;

    //路径
    UIBezierPath *path = [UIBezierPath bezierPathWithArcCenter:point radius:radius startAngle:startAn endAngle:endAn clockwise:YES];

    if(_value > 0 && _value < 1)
    {
        [path addLineToPoint:point];
    }

    if(_value < 1)
    {
        [path closePath];
    }

    //设置颜色
    [[UIColor redColor] setFill];
    [[UIColor yellowColor] setStroke];

    //设置线宽
    path.lineWidth = 4;

    //渲染
    [path fill];
    [path stroke];
}

@end
下面看实际效果
后记
这些都是简单的绘图效果,只是给大家举例子看看,都是根据贝塞尔路径作图,渲染到屏幕上,就先写这么多吧。


