Android RecyclerView滚动到指定位置并且置顶方案
之前相关项目一直有用到RecyclerView,其中很多地方都需要列表滚动到某个位置,即RecyclerView滚动到指定位置,所以我们今天来总结下实现的方案。
在实现方案之前先了解下RecyclerView和滑动有关的几个方法:
- scrollTo(int x, int y)和scrollBy(int x, int y),前者无法实现滚动,里面是空实现;后者控制具体的滚动距离。
- scrollToPosition(int position),可以滚动到指定条目,但是当指定条目显示在屏幕中就不会滚动的也不能控制滚动的具体位置,实际上调用的是LayoutManager的scrollToPosition(int position)。
- smoothMoveToPosition(int position)效果同scrollToPosition(int position),实际上调用的是LayoutManager的smoothScrollToPosition(RecyclerView recyclerView, State state, int position)。
- LinearLayoutManager的scrollToPositionWithOffset(int position, int offset)滚动到指定条目并且可以设置相对偏移量(指定条目显示在屏幕中也会滚动到顶部)。
- scrollTo(int x, int y)与scrollBy(int x, int y)
    @Override
    public void scrollTo(int x, int y) {

        Log.w(TAG, "RecyclerView does not support scrolling to an absolute position. "
                + "Use scrollToPosition instead");
    }

    @Override
    public void scrollBy(int x, int y) {

        if (mLayout == null) {

            Log.e(TAG, "Cannot scroll without a LayoutManager set. "
                    + "Call setLayoutManager with a non-null argument.");
            return;
        }
        if (mLayoutSuppressed) {

            return;
        }
        final boolean canScrollHorizontal = mLayout.canScrollHorizontally();
        final boolean canScrollVertical = mLayout.canScrollVertically();
        if (canScrollHorizontal || canScrollVertical) {

            scrollByInternal(canScrollHorizontal ? x : 0, canScrollVertical ? y : 0, null);
        }
    }
- scrollToPosition(int position)
    /**
     * Convenience method to scroll to a certain position.
     *
     * RecyclerView does not implement scrolling logic, rather forwards the call to
     * {@link RecyclerView.LayoutManager#scrollToPosition(int)}
     * @param position Scroll to this adapter position
     * @see RecyclerView.LayoutManager#scrollToPosition(int)
     */
    public void scrollToPosition(int position) {

        if (mLayoutSuppressed) {

            return;
        }
        stopScroll();
        if (mLayout == null) {

            Log.e(TAG, "Cannot scroll to position a LayoutManager set. "
                    + "Call setLayoutManager with a non-null argument.");
            return;
        }
        mLayout.scrollToPosition(position);
        awakenScrollBars();
    }
- smoothMoveToPosition(int position)
    /**
     * Starts a smooth scroll to an adapter position.
     *
     * To support smooth scrolling, you must override
     * {@link LayoutManager#smoothScrollToPosition(RecyclerView, State, int)} and create a
     * {@link SmoothScroller}.
     *
     * {@link LayoutManager} is responsible for creating the actual scroll action. If you want to
     * provide a custom smooth scroll logic, override
     * {@link LayoutManager#smoothScrollToPosition(RecyclerView, State, int)} in your
     * LayoutManager.
     *
     * @param position The adapter position to scroll to
     * @see LayoutManager#smoothScrollToPosition(RecyclerView, State, int)
     */
    public void smoothScrollToPosition(int position) {

        if (mLayoutSuppressed) {

            return;
        }
        if (mLayout == null) {

            Log.e(TAG, "Cannot smooth scroll without a LayoutManager set. "
                    + "Call setLayoutManager with a non-null argument.");
            return;
        }
        mLayout.smoothScrollToPosition(this, mState, position);
    }
- scrollToPositionWithOffset(int position, int offset)
 /**
     * Scroll to the specified adapter position with the given offset from resolved layout
     * start. Resolved layout start depends on {@link #getReverseLayout()},
     * {@link ViewCompat#getLayoutDirection(android.view.View)} and {@link #getStackFromEnd()}.
     *
     * For example, if layout is {@link #VERTICAL} and {@link #getStackFromEnd()} is true, calling
     * scrollToPositionWithOffset(10, 20) will layout such that
     * item[10]'s bottom is 20 pixels above the RecyclerView's bottom.
     *
     * Note that scroll position change will not be reflected until the next layout call.
     *
     * If you are just trying to make a position visible, use {@link #scrollToPosition(int)}.
     *
     * @param position Index (starting at 0) of the reference item.
     * @param offset   The distance (in pixels) between the start edge of the item view and
     *                 start edge of the RecyclerView.
     * @see #setReverseLayout(boolean)
     * @see #scrollToPosition(int)
     */
    public void scrollToPositionWithOffset(int position, int offset) {

        mPendingScrollPosition = position;
        mPendingScrollPositionOffset = offset;
        if (mPendingSavedState != null) {

            mPendingSavedState.invalidateAnchor();
        }
        requestLayout();
    }
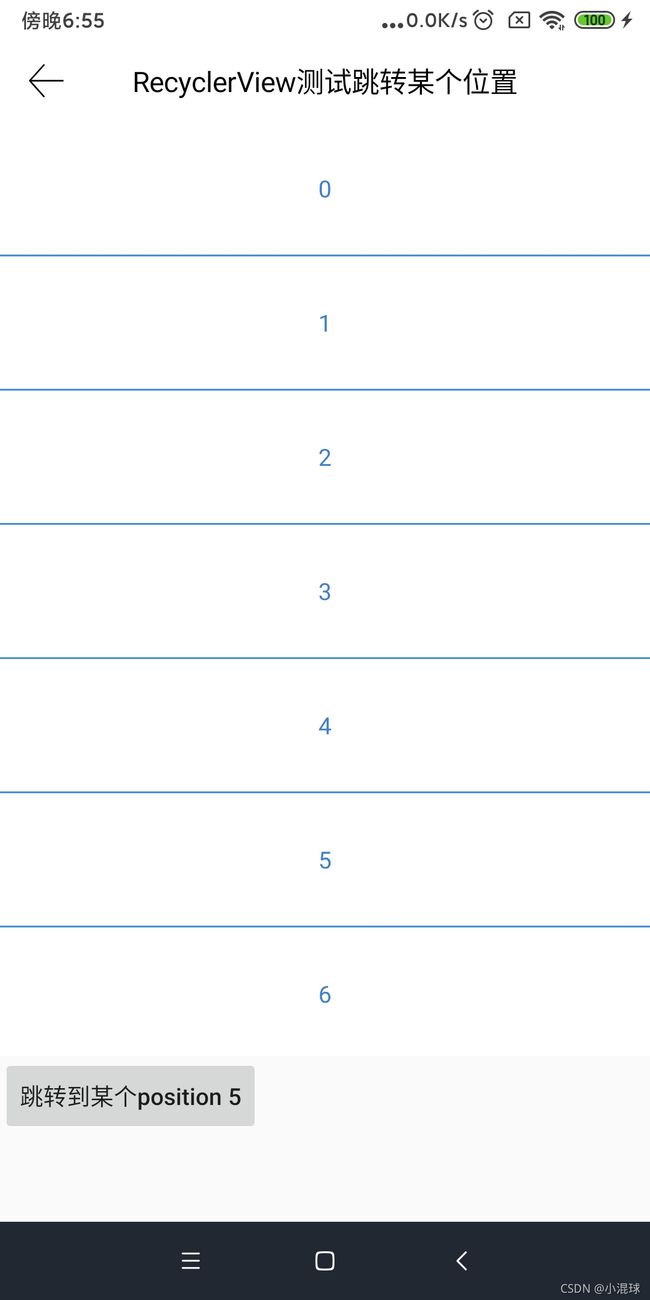
 图一 图一
|
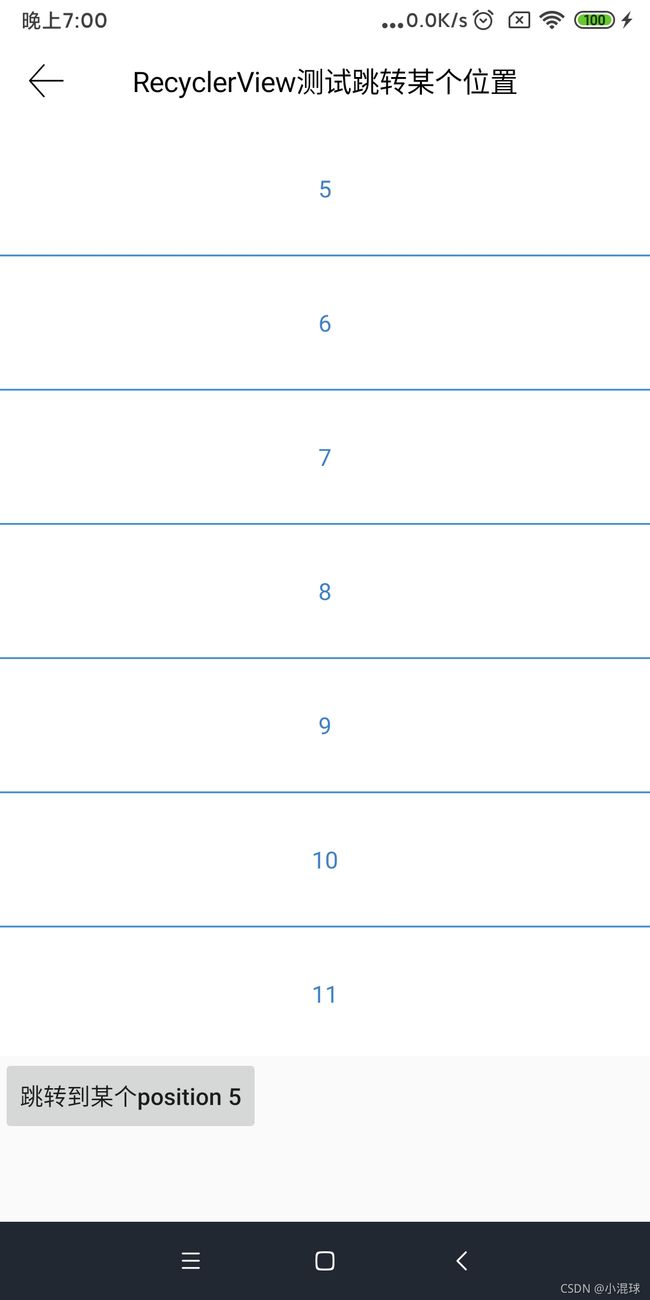
 图二 图二
|
- 最简单的方案就是使用LinearLayoutManager的scrollToPositionWithOffset(int position, int offset)方法,直接一步到胃,不用像scrollToPosition(int position)考虑当前条目处于屏幕的情况。
 findView(R.id.btn_to_position1, new View.OnClickListener() {

            @Override
            public void onClick(View v) {

                mManager.scrollToPositionWithOffset(5,0);
            }
        });
- 用scrollBy(int x, int y)方法实现,如果我们知道item5距离顶部的距离就可以使用此方法滑动这段距离,从而实现置顶,但是这个方法是会滚动累加的,即下次将item6置顶时,只需将距离加一个item的高度,酌情处理即可。
        findView(R.id.btn_to_position1, new View.OnClickListener() {

            @Override
            public void onClick(View v) {

                int dy = (int) (mRvTestScroll.getY() + mRvTestScroll.getChildAt(5).getY());
                mRvTestScroll.scrollTo(0, dy);
            }
        });
- 用RecyclerView或LinearLayoutManager的smoothMoveToPosition(int position)方法实现,前面我们说到当指定条目在屏幕中,其效果和scrollToPosition(int position)效果是一样的,但是我们可以用SmoothScroller来实现这个置顶。
        LinearSmoothScroller smoothScroller = new LinearSmoothScroller(getContext()) {

            @Override
            protected int getHorizontalSnapPreference() {

                return LinearSmoothScroller.SNAP_TO_START;
            }

            @Override
            protected int getVerticalSnapPreference() {

                return LinearSmoothScroller.SNAP_TO_START;
            }
        };

        findView(R.id.btn_to_position1, new View.OnClickListener() {

            @Override
            public void onClick(View v) {

                smoothScroller.setTargetPosition(5);
                mManager.startSmoothScroll(smoothScroller);
            }
        });
       smoothScroller.setTargetPosition(5);
       mManager.startSmoothScroll(smoothScroller);
public class SmoothScrollLayoutManager extends LinearLayoutManager {


    public SmoothScrollLayoutManager(Context context) {

        super(context);
    }

    @Override
    public void smoothScrollToPosition(RecyclerView recyclerView,
                                       RecyclerView.State state, final int position) {


        LinearSmoothScroller smoothScroller =
                new LinearSmoothScroller(recyclerView.getContext()) {

                    // 返回:滑过1px时经历的时间(ms)。
                    @Override
                    protected float calculateSpeedPerPixel(DisplayMetrics displayMetrics) {

                        return 150f / displayMetrics.densityDpi;
                    }

                    @Override
                    protected int getHorizontalSnapPreference() {

                        return LinearSmoothScroller.SNAP_TO_START;
                    }

                    @Override
                    protected int getVerticalSnapPreference() {

                        return LinearSmoothScroller.SNAP_TO_START;
                    }
                };

        smoothScroller.setTargetPosition(position);
        startSmoothScroll(smoothScroller);
    }

}
        findView(R.id.btn_to_position1, new View.OnClickListener() {

            @Override
            public void onClick(View v) {

                mRvTestScroll.smoothScrollToPosition(5);
            }
        });
本次文章主要介绍如何实现RecyclerView滚动到指定位置并且置顶方案,讲了RecyclerView和LinearLayoutManager几个重要方法,透过现象看本质。如有错误,欢迎指正;若有其它方法也可分享出来,感激不尽!