Linux企业化运维--3.Nginx+PHP
目录
1.PHP的源码编译
2.拷贝php-fpm配置文件
3.nginx中使用php-fpm
1.修改配置文件,注释之前实验的语句
2.添加环境变量
4.php添加memcache功能模块
5.配置php加载模块openresty
下载openresty包
安装
软件配置
使用nginx -c的参数指定nginx.conf文件的位置,conf文件的位置在nginx -t的返回信息中
更改配置提升性能
进行压力测试
6. tomcat + memcache
1.在server2 与 server3 安装 jdk 与 tomcat
2.重启server2的tomcat
3.tomcat+Nginx
4. tomcat结合memcache实现实现session共享
7.goaccess日志可视化
1.PHP的源码编译
下载软件包,这些是安装php需要的软件包
yum install -y systemd-devel
yum install -y libxml2-devel
yum install -y sqlite-devel
yum install -y libcurl-devel
yum install libpng-devel -y
oniguruma-devel   #软件仓库没有这两个包,需要从别的地方下载
yum install oniguruma-6.8.2-1.el7.x86_64.rpm
yum install oniguruma-devel-6.8.2-1.el7.x86_64.rpm
./configure --prefix=/usr/local/lnmp/php --with-config-file-path=/usr/local/lnmp/php/etc --enable-fpm --with-fpm-user=nginx --with-fpm-group=nginx --with-curl --with-iconv --with-mhash --with-zlib --with-openssl --enable-mysqlnd --with-mysqli --with-pdo-mysql --disable-debug --enable-sockets --enable-soap --enable-inline-optimization --enable-xml --enable-ftp --enable-gd --enable-exif --enable-mbstring --enable-bcmath --with-fpm-systemd
configure完成
make
make install
2.拷贝php-fpm配置文件
php-fpm.conf
www.conf
php.ini
php-fpm.service,读取服务并开启
3.nginx中使用php-fpm
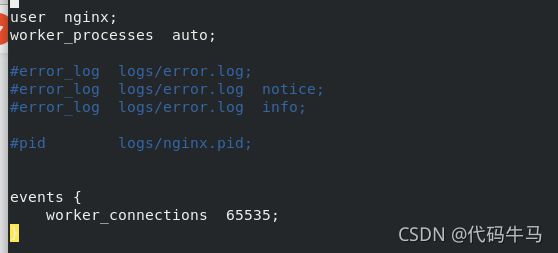
1.修改配置文件,注释之前实验的语句
cd /usr/local/nginx
vim conf/nginx.conf
nginx -s reload
2.添加环境变量
4.php添加memcache功能模块
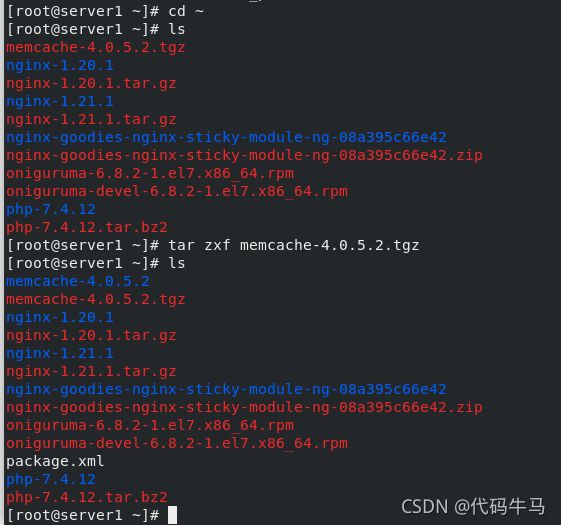
下载软件包
执行phpize,提示缺少依赖,phpize是用来扩展php扩展模块的,通过phpize可以建立php的外挂模块。
./configure --enable-debug
make
make install
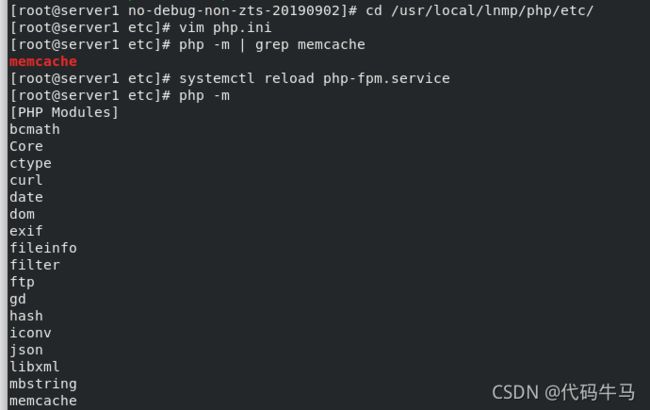
编辑php.ini重启服务
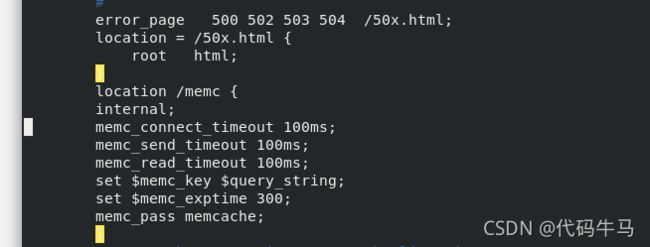
构建nginx高速缓存,添加memcache功能模块
使用memc-nginx模块构建高效透明的缓存机制。
如果需要做到高速缓存,nginx可以跳过php直接向memcache存储,但是只能做静态存储 ,如果需要动态存储,还是要调用php,通过php调用到数据后下一次nginx就可以直接从memcache那里取,效率大大提高。因此高速缓存时两种策略在同时进行
yum install -y memcached
systemctl start memcached.service
netstat -antlp ##11211端口
cat /etc/sysconfig/memcached ##11211端口
使用memc-nginx和srcache-nginx模块构建高效透明的缓存机制。先安装memcached,并开启服务。
vim memcache.php
define('ADMIN_PASSWORD','root'); // Admin Password ##设定密码
$MEMCACHE_SERVERS[] = '172.25.34.1:11211'; // add more as an array ##server1IP
#$MEMCACHE_SERVERS[] = 'mymemcache-server2:11211'; // add more as an array ##注释
///
nginx -s reload ##重启nginx
systemctl start php-fpm.service ##开启服务
systemctl start memcached.service ##开启服务
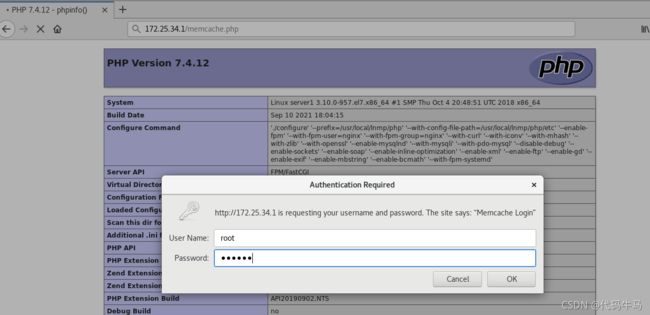
 此时服务配置成功,访问172.25.34.1/memcache.php。使用用户名,密码登陆
5.配置php加载模块openresty
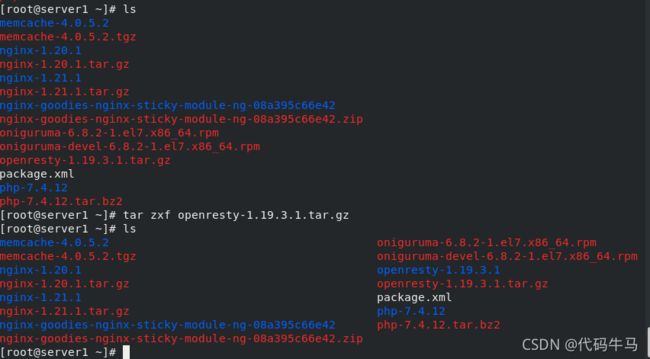
下载openresty包
安装
cd openresty-1.19.3.1/
./configure --with-http_ssl_module --with-http_stub_status_module --with-threads --with-file-aio
make
make install
软件配置
vim /usr/local/openresty/nginx/conf/nginx.conf使用nginx -c的参数指定nginx.conf文件的位置,conf文件的位置在nginx -t的返回信息中
更改配置提升性能
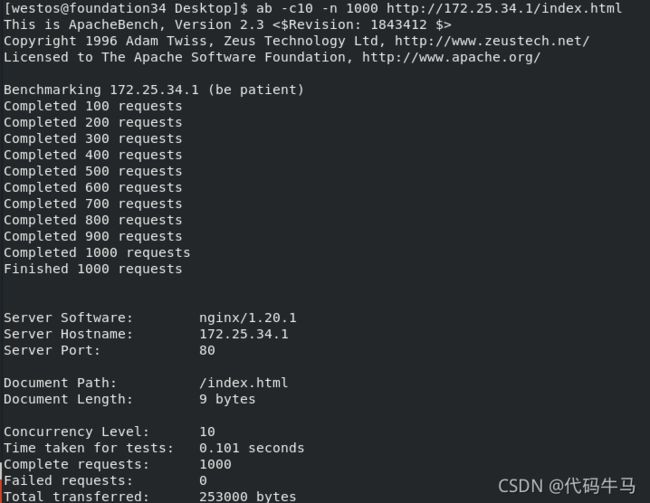
进行压力测试
6. tomcat + memcache
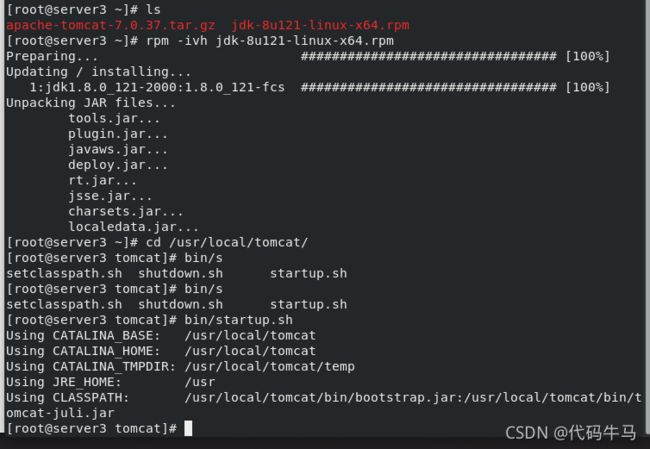
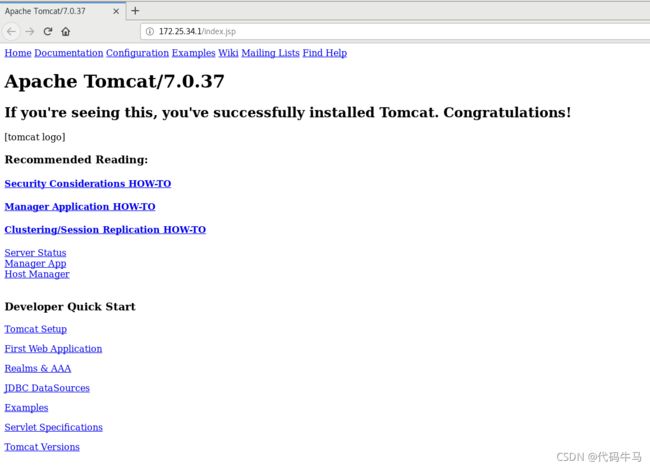
1.在server2 与 server3 安装 jdk 与 tomcat
在server3 中
2.重启server2的tomcat
3.tomcat+Nginx
cd /usr/local/nginx/conf
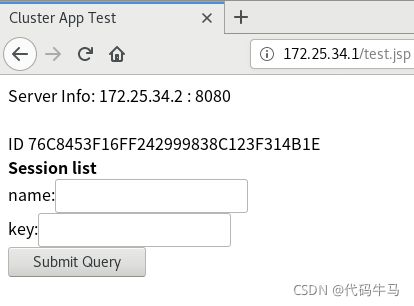
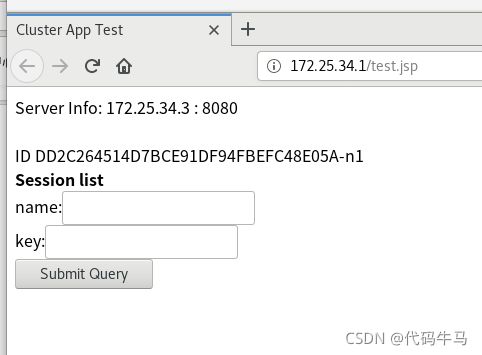
vim nginx.conf在server2和server3中的/usr/local/tomcat/webapps/ROOT添加test.jsp
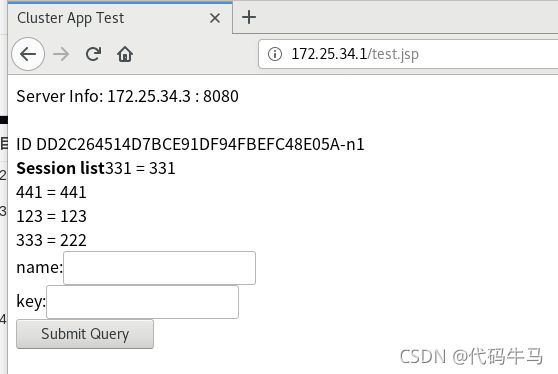
写入数据
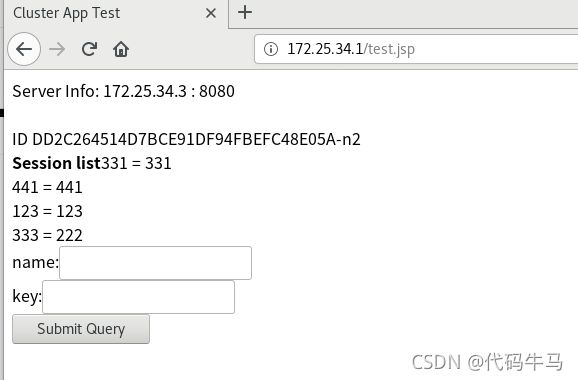
关闭server2的tomcat,继续输入新的数据,Nginx的健康检测会快速切换到server3,不会影响输入数据,但是刚刚在网页输入的数据丢失
4. tomcat结合memcache实现实现session共享
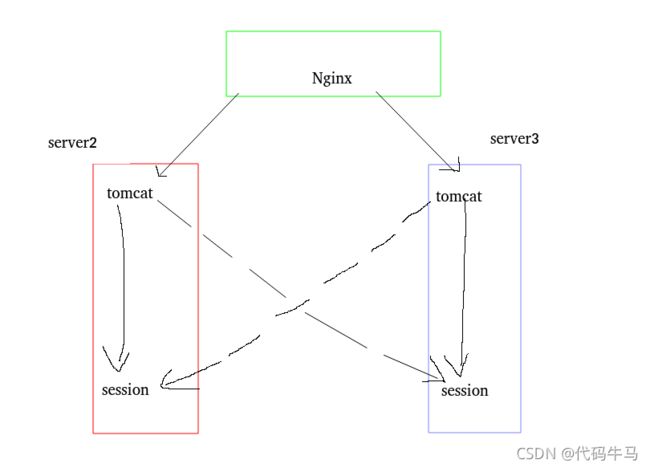
当服务开启时:
server2的tomcat将数据保存在server3的session中
server3的tomcat将数据保存在server2的session中当server2的tomcat关闭,server3将数据保存在server3的session中
当server3的tomcat关闭,server2将数据保存在server2的session中
在server2与server3安装memcached
配置server2
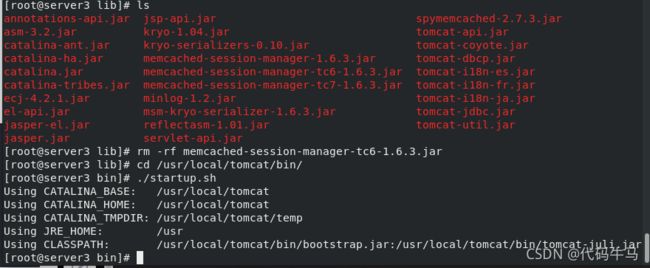
下载jar包
![]()
配置server3
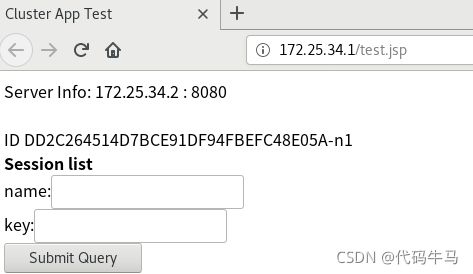
写入数据,当server2的tomcat关闭时,继续输入数据并查看,数据没有丢失并正常写入
关闭server1的n1
7.goaccess日志可视化
获取资源
需要安装两个插件
![]()
软件仓库没有这个包需要自己下载
./configure --enable-utf8 --enable-geoip=legacy
make
make install
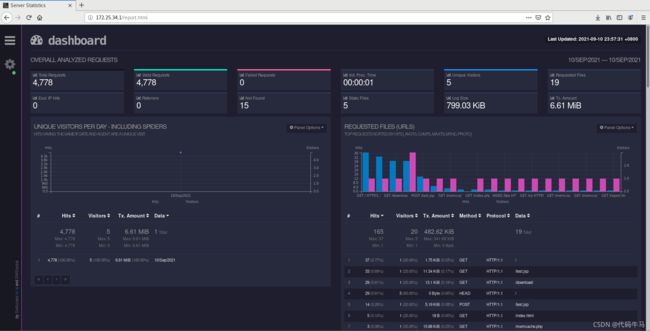
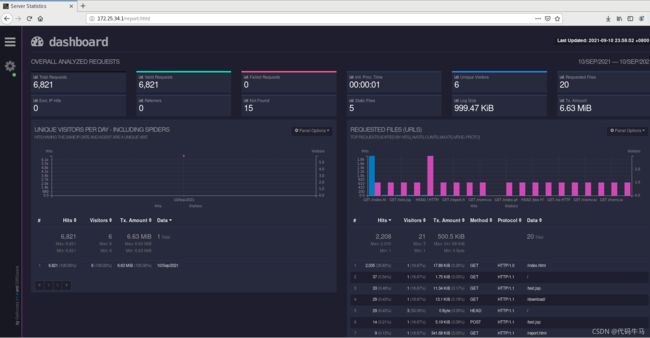
goaccess access.log -o /usr/local/nginx/html/report.html --log-format=COMBINED --real-time-html ##监控access.log日志


