AttnGAN代码复现(详细步骤+避坑指南)文本生成图像
AttnGAN代码复现(详细步骤+避坑指南)
- 一、前言
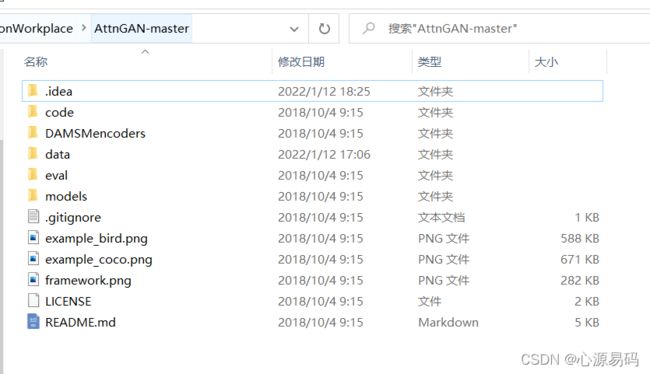
- 二、下载代码和数据集
- 三、搭建环境
- 四、预训练DAMSM 模型(也可以跳过这步骤,直接下载预训练模型)
- 五、运行
-
- 1、预训练模型的下载(选做)
- 2、运行
一、前言
这篇文章是AttnGAN: Fine-Grained TexttoImage Generation with Attention(带有注意的生成对抗网络细化文本到图像生成)的代码复现博文,我边做边写,展示详细步骤、踩坑和debug的过程。
论文地址: https://arxiv.org/pdf/1711.10485.pdf
论文阅读笔记:Text to image论文精读 AttnGAN
二、下载代码和数据集
1、首先在github上下载模型代码:https://github.com/taoxugit/AttnGAN(此为Python2.7版本)
最近在github上找到了AttnGAN的python3版本,可以有效避免很多语法错误,推荐下载(22年2月28日更新):
https://github.com/davidstap/AttnGAN
2、下载为鸟类预处理的元数据:https://drive.google.com/open?id=1O_LtUP9sch09QH3s_EBAgLEctBQ5JBSJ
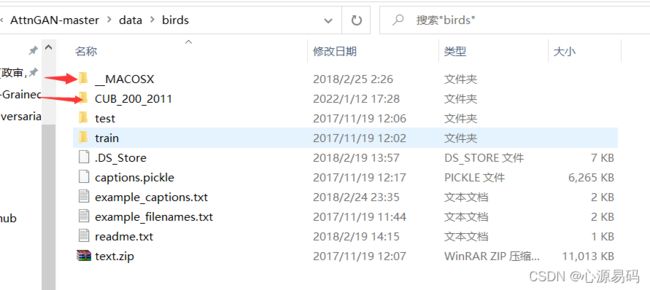
并将其保存到data/
3、下载鸟类图像数据:http://www.vision.caltech.edu/visipedia/CUB-200-2011.html 将它们提取到data/birds/。
若该链接打不开可下载这个,内容是一样的(22年2月28日更新):https://drive.google.com/file/d/1hbzc_P1FuxMkcabkgn9ZKinBwW683j45/view
三、搭建环境
1、首先配置好解释器
2、然后安装环境
pip install python-dateutil
pip install easydict
pip install pandas
pip install torchfile nltk
pip install scikit-image
可能需要额外安装的环境,根据提示进行补充:
pip install torchvision
四、预训练DAMSM 模型(也可以跳过这步骤,直接下载预训练模型)
python pretrain_DAMSM.py --cfg cfg/DAMSM/bird.yml --gpu 0
可能出现的问题1:‘EasyDict’ object has no attribute ‘iteritems’
问题原因:Python3中:iteritems变为items
解决方案:根据提示将iteritems改为items
可能出现的问题2: ‘EasyDict’ object has no attribute ‘has_key’
问题原因:Python3以后删除了has_key()方法
解决方案:将 b.has_key(k):改为if k in b
可能出现的问题3: module ‘torch._C’ has no attribute ‘_cuda_setDevice’
问题原因:环境问题,环境没配好
解决方案:卸载原环境,重新配置pytorch
可能出现的问题4:name ‘xrange’ is not defined
问题原因:xrange是python2的用法,在python3中range与xrange已经合并为range了。
解决方案:把用到的程序里的xrange( )函数全部换为range( )
可能出现的问题5: ‘ascii’ codec can’t decode byte 0x80 in position 0: ordinal not in range(128)
问题原因:读取文件时的解码问题
解决方案:更改为:
class_id = pickle.load(f, encoding=‘bytes’)
可能出现的问题6:IndexError: list index out of range
问题原因:代码问题,数组超限
解决方案:
将 if i < (cfg.TREE.BRANCH_NUM - 1):改为
if i < (cfg.TREE.BRANCH_NUM - 2):
可能出现的问题7:IndexError: invalid index of a 0-dim tensor. Use tensor.item() to convert a 0-dim tensor to a Python number
问题原因:在pytorch高版本用item()
解决方案:将【0】改为.item()
可能出现的问题8:OSError: cannot open resource
问题原因:ImageFont.truetype(‘Pillow/Tests/fonts/FreeMono.ttf’, 50),环境里没有FreeMono这个字体
解决方案:更换字体,更改为:
fnt = ImageFont.truetype(‘Pillow/Tests/fonts/arial.ttf’, 40)
五、运行
1、预训练模型的下载(选做)
如果做了第四步,可以直接进入下一小节
如果没有做第四步,首先下载别人已经训练好的预训练模型:
https://drive.google.com/open?id=1GNUKjVeyWYBJ8hEU-yrfYQpDOkxEyP3V将其保存到DAMSMencoders/
下载https://drive.google.com/open?id=1lqNG75suOuR_8gjoEPYNp8VyT_ufPPig并将其保存到models/
2、运行
运行python main.py --cfg cfg/eval_bird.yml --gpu 1
以从“./data/birds/example_filenames.txt”中列出的文件中的标题生成示例。结果保存到DAMSMencoders/.
可能出现的问题1:‘str‘ object has no attribute ‘decode
问题原因:Python2和Python3在字符串编码上的区别。
解决方案:.encode(‘utf-8’). decode(‘utf-8’) ) #先编码再解码:
filenames = f.read().encode(‘utf8’).decode(‘utf8’).split(’\n’)
sentences = f.read().encode(‘utf8’).decode(‘utf8’).split(’\n’)
可能出现的问题2:FileNotFoundError: [Errno 2] No such file or directory:’…/data/birds/text/180.Wilson_Warbler/Wilson_Warbler_0007_175618.txt’
问题原因:该文件没找到, 路径问题
解决方案:更改为正确的路径,如果text是处于压缩状态要解压。
可能出现的问题3:RuntimeError: CUDA out of memory. Tried to allocate 40.00 MiB (GPU 0; 4.00 GiB total capacity; 2.86 GiB already allocated; 33.84 MiB free; 20.86 MiB cached)
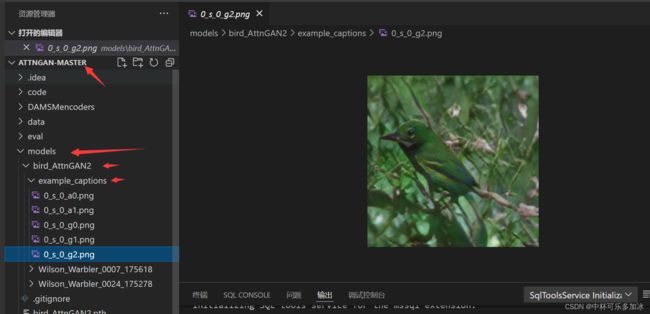
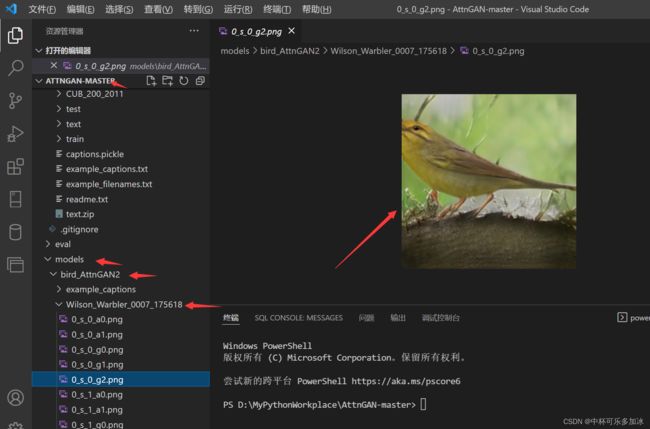
问题原因:GPU性能不足(但依然还是能跑出结果,结果在AttnGAN-master\models\bird_AttnGAN2\example_captions中)
解决方案:花钱升级硬件或者放到服务器
六、实验结果
可以在这里输入相应测试的文本

然后在这里就可以看到生成的各个阶段的图像和注意力机制的应用。

在这里可以选择采样数据集

部分实验结果如下:
1.this bird is yellow with white and has a very long beak

2.this bird has wings that are blue and has a red belly

3.this bird is yellow with white on its head and has a very short beak


