Unity Shader - 遮罩效果
已经有二十天没有更新博客了,这段时间也一直在学习WebGL shader,后续可能也会更新一些WebGL相关的博客。
转入正题,我们来说说今天要实现的一个shader效果 - 遮罩。
其实遮罩原理非常简单,把源像素和遮罩图形像素相乘就行了。
大致效果如下:
准备工作
1.创建一个场景和一些物体(cube,sphere等)。
2.创建一个新的C#脚本和一个Shader,命名为Mask。
3.把Mask.cs拖拽到Camera上。
具体实现
Mask.cs脚本代码如下:
PostEffectsBase 基类 可以到我之前的一篇文章里查看,主要是封装了一些功能,这里就不详细说了。
Mask.cs脚本主要是负责抓取unity渲染到的图像,然后经过后期处理(经过shader处理)后再渲染到屏幕上。
using UnityEngine;
public class Mask : PostEffectsBase {
    // shader
    public Shader myShader;
    //材质
    private Material mat = null;
    public Material material {
        get {
            // 检查着色器并创建材质
            mat = CheckShaderAndCreateMaterial (myShader, mat);
            return mat;
        }
    }

    // 遮罩中心位置
    private Vector2 pos = new Vector4 (0.5f, 0.5f);

    void Start () {
        //找到对应的Shader文件
        myShader = Shader.Find ("lcl/screenEffect/MaskEffect");
    }

    // 渲染屏幕
    //source:unity渲染得到的图像,destination:渲染纹理到屏幕上
    void OnRenderImage (RenderTexture source, RenderTexture destination) {
        if (material) {
            material.SetVector ("_Pos", pos);
            //经过material处理后 渲染到屏幕上
            Graphics.Blit (source, destination, material);
        } else {
            Graphics.Blit (source, destination);
        }
    }

    void Update () {
        if (Input.GetMouseButton (0)) {
            Vector2 mousePos = Input.mousePosition;
            //将mousePos转化为(0,1)区间
            pos = new Vector2 (mousePos.x / Screen.width, mousePos.y / Screen.height);
        }
    }
}
Shader:
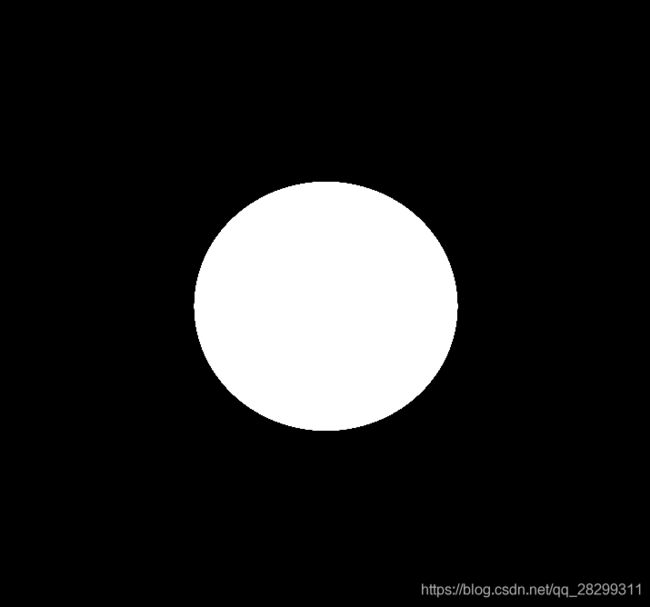
首先我们需要绘制一个遮罩图形,这里就我绘制一个圆,当然也可以选择绘制其他图形。
这里绘制圆的主要思路:判断 当前像素点到圆心的距离是否小于等于半径,如果是则说明在圆内,否则在圆外。 可以通过setp或者smoothstep内置函数判断。
// 创建圆
// pos : 圆心
//radius: 半径
//uv: 当前像素坐标
fixed3 createCircle(float2 pos,float radius,float2 uv){
    //当前像素到中心点的距离
    float dis = distance(pos,uv);
    //  smoothstep 平滑过渡, 这里也可以用 step 代替。
    float col = smoothstep(radius + 0.008,radius,dis );
    return fixed3(col,col,col) ;
}

fixed4 frag (v2f i) : SV_Target
{
    fixed4 col = tex2D(_MainTex, i.uv);
    fixed3 mask = createCircle(float2(0.5,0.5),0.2,i.uv);
    return fixed4(mask,1.0);
}
最后我们融合纹理颜色值,即 圆的颜色值 * 纹理颜色。
这里的 * 和 && 类似,表示并且的意思
fixed4 frag (v2f i) : SV_Target
{
    fixed4 col = tex2D(_MainTex, i.uv);
    fixed3 mask = createCircle(float2(0.5,0.5),0.2,i.uv);
    //这里的 * 和 && 类似,表示并且的意思。
    return col * fixed4(mask,1.0);
}
可以看到遮罩的基本功能已经实现,最后我们把鼠标的位置传递给shader作为遮罩中心,并且把图形边缘模糊程度设置为变量,以便于我们调节。
c#:
// 渲染屏幕
    void OnRenderImage (RenderTexture source, RenderTexture destination) {
        if (material) {
            // 把鼠标坐标传递给shader
            material.SetVector ("_Pos", pos);
            // 模糊程度
            material.SetFloat ("_EdgeBlurLength", edgeBlurLength);
            // 渲染
            Graphics.Blit (source, destination, material);
        } else {
            Graphics.Blit (source, destination);
        }
    }

    void Update () {
        if (Input.GetMouseButton (0)) {
            Vector2 mousePos = Input.mousePosition;
            //将mousePos转化为(0,1)区间
            pos = new Vector2 (mousePos.x / Screen.width, mousePos.y / Screen.height);
        }
    }
// 创建圆
fixed3 createCircle(float2 pos,float radius,float2 uv){
    //当前像素到中心点的距离
    float dis = distance(pos,uv);
    //  smoothstep 平滑过渡
    float col = smoothstep(radius + _EdgeBlurLength,radius,dis );
    return fixed3(col,col,col) ;
}

fixed4 frag (v2f i) : SV_Target
{
    fixed4 col = tex2D(_MainTex, i.uv);
    fixed3 mask = createCircle(_Pos,0.2,i.uv);
    return col * fixed4(mask,1.0);
}
当然!除了绘制圆外,我们还可以绘制其他图形,可以通过不同的距离场函数绘制不同的遮罩图形,也可以用纹理图片。
更多的距离场函数可以参考iq大神的文章
完整代码可以到我的GitHub上查看。
shader路径
c#代码


