Matlab论文插图绘制模板第32期—等高线图(contour)
开门见山:
等高线(contour)图怎么画?
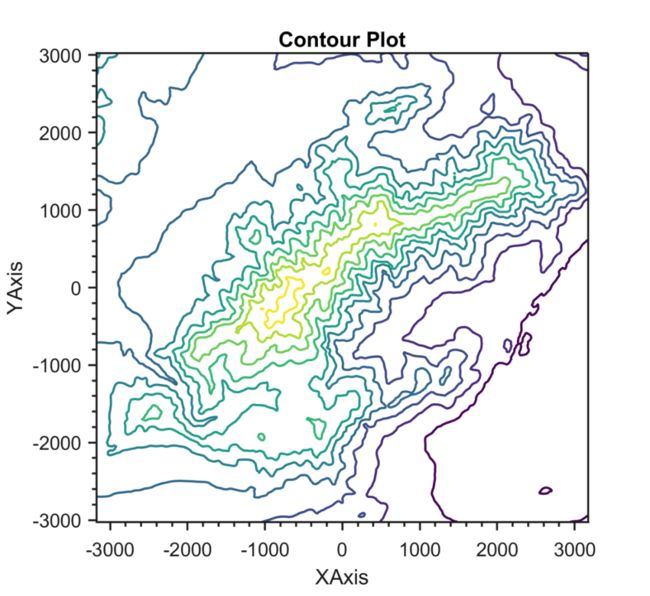
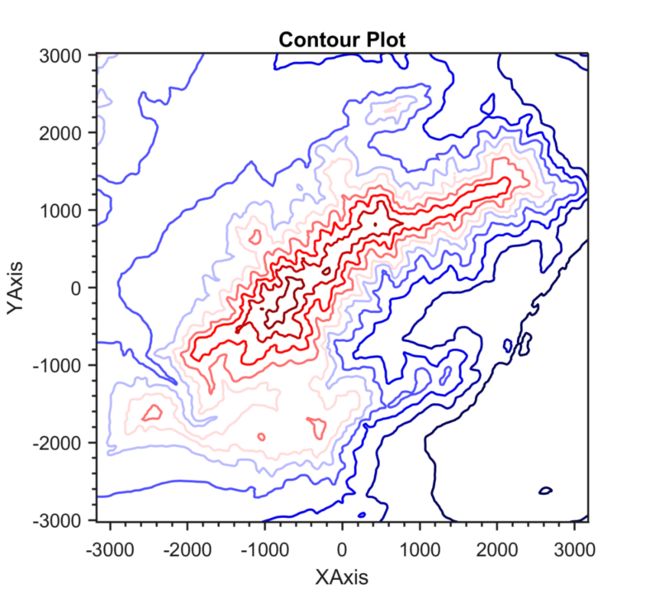
先来看一下成品效果:
特别提示:Matlab论文插图绘制模板系列,旨在降低大家使用Matlab进行科研绘图的门槛,只需按照模板格式添加相应内容,即可得到满足大部分期刊以及学位论文格式要求的数据插图。如果觉得有用可以分享给你的朋友。
模板中最关键的部分内容:
1. 数据准备
此部分主要是读取数据,定义X, Y, Z。
% 读取数据load data.mat[X,Y] = meshgrid(xi,yi);Z = DSM;
2. 颜色定义
颜色搭配比较考验个人审美,需要多加尝试。
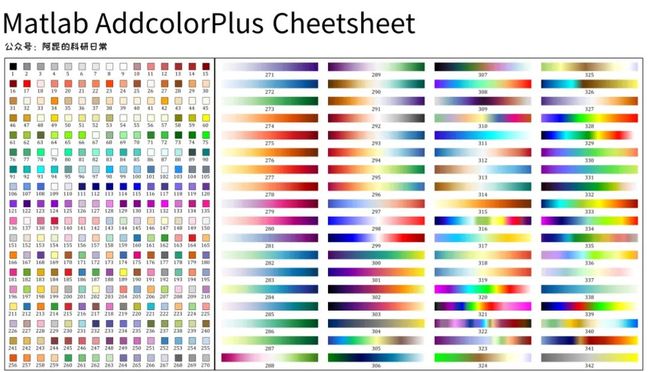
这里直接用之前分享的addcolorplus工具中的渐变色条:
%% 颜色定义map = addcolorplus(300);
3. 等高线图绘制
使用‘contour’命令,绘制初始等高线图。
h = contour(X, Y, Z, 10, 'LineWidth',1.2);hTitle = title('Contour Plot');hXLabel = xlabel('XAxis');hYLabel = ylabel('YAxis');
其中,10表示等高线的数量。
4. 细节优化
为了插图的美观,首先赋上之前选择的颜色:
% 赋色colormap(map)
进一步,对坐标轴参数、字体字号等进行调整:
% 坐标轴美化axis equalset(gca, 'Box', 'off', ... % 边框'LineWidth', 1,... % 线宽'XGrid', 'off', 'YGrid', 'off', ... % 网格'TickDir', 'out', 'TickLength', [.015 .015], ... % 刻度'XMinorTick', 'on', 'YMinorTick', 'on', ... % 小刻度'XColor', [.1 .1 .1], 'YColor',[.1 .1 .1]) % 坐标轴颜色% 添加上、右框线hold onXL = get(gca,'xlim'); XR = XL(2);YL = get(gca,'ylim'); YT = YL(2);xc = get(gca,'XColor');yc = get(gca,'YColor');plot(XL,YT*ones(size(XL)),'color',xc,'LineWidth',1)plot(XR*ones(size(YL)),YL,'color',yc,'LineWidth',1)% 字体和字号set(gca, 'FontName', 'Helvetica')set([hXLabel, hYLabel], 'FontName','AvantGarde')set(gca, 'FontSize', 10)set([hXLabel, hYLabel], 'FontSize', 11)set(hTitle, 'FontSize', 11, 'FontWeight' ,'bold')% 背景颜色set(gcf,'Color',[1 1 1])
设置完毕后,按照所需分辨率、格式输出图片。
%% 图片输出figW = figureWidth;figH = figureHeight;set(figureHandle,'PaperUnits',figureUnits);set(figureHandle,'PaperPosition',[0 0 figWfigH]);fileout = 'test';print(figureHandle,[fileout,'.png'],'-r300','-dpng');
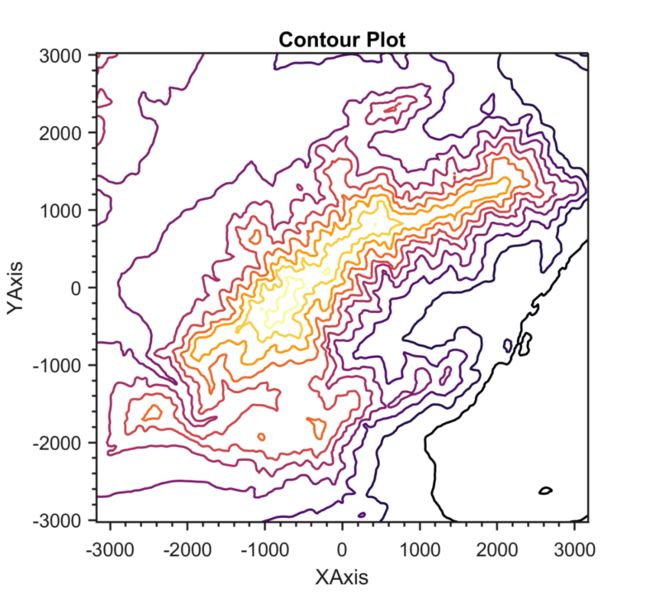
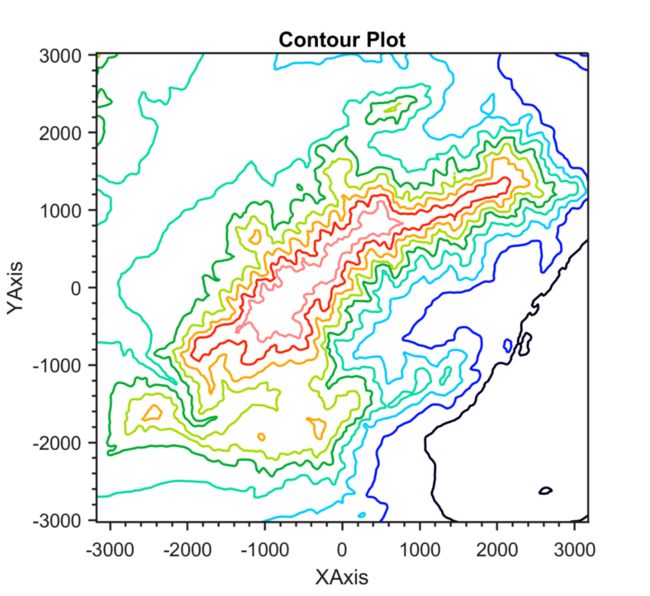
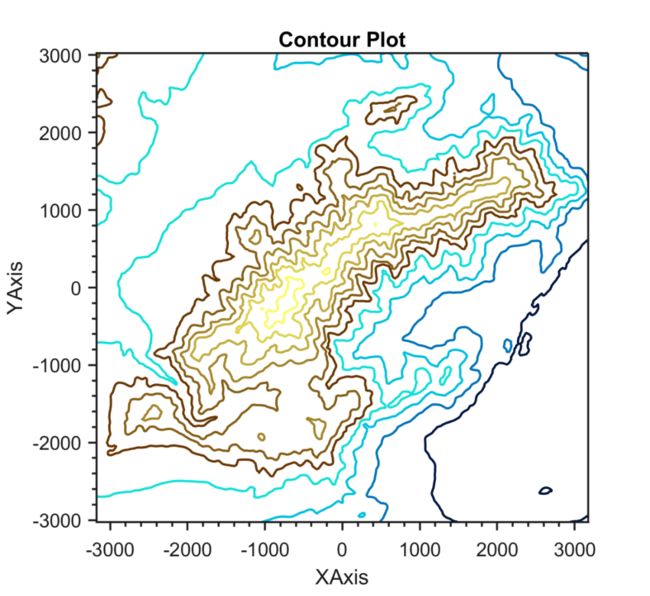
也可以尝试其它配色:
以上。
完整代码:
等高线图模板
