【小程序项目开发 -- 京东商城】uni-app 商品分类页面(上)
欢迎来到
魔术之家!!该文章收录专栏
✨-- 2022微信小程序京东商城实战 --✨专栏内容
✨-- uni-app项目搭建 --✨
✨-- 京东商城uni-app 配置tabBar & 窗口样式 --✨
✨-- 京东商城uni-app开发之分包配置 --✨
✨-- 京东商城uni-app开发之轮播图 --✨
✨-- 京东商城uni-app之分类导航区域 --✨
✨-- 京东商城uni-app 楼层数据获取 渲染页面UI --✨
文章目录
- 一、新建cate分支(选读*)
- 二、添加编译模式
- 三、渲染页面基本结构
- 三、API获取手机型号等数据
- 四、美化item项
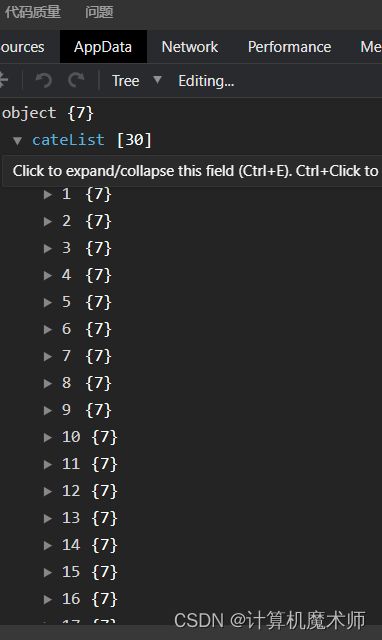
- 五、获取分类页面数据
-
- 5.1 接口数据样式
- 六、动态渲染一级分类页面结构
一、新建cate分支(选读*)
之所以为了创建分支,也是养成良好的项目开发习惯,这样在开放项目井井有条
也可以跳过本节内容,不影响阅读观感
在根目录下,右键打开
bash
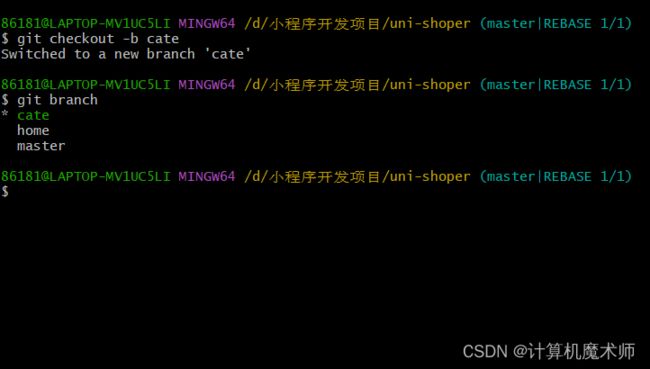
基于 master 分支在本地创建 cate 子分支,用来开发和 cate 相关的功能:
- 创建新分支cate且跳转到该分支
git checkout -b cate
查看分支(前面有*代表着当前分支)
git branch
二、添加编译模式
由于我们要开发的是cate 页面,所以我们将小程序编译模式修改启动页面 在cate,这样就不用每次都需要点击跳转了

三、渲染页面基本结构
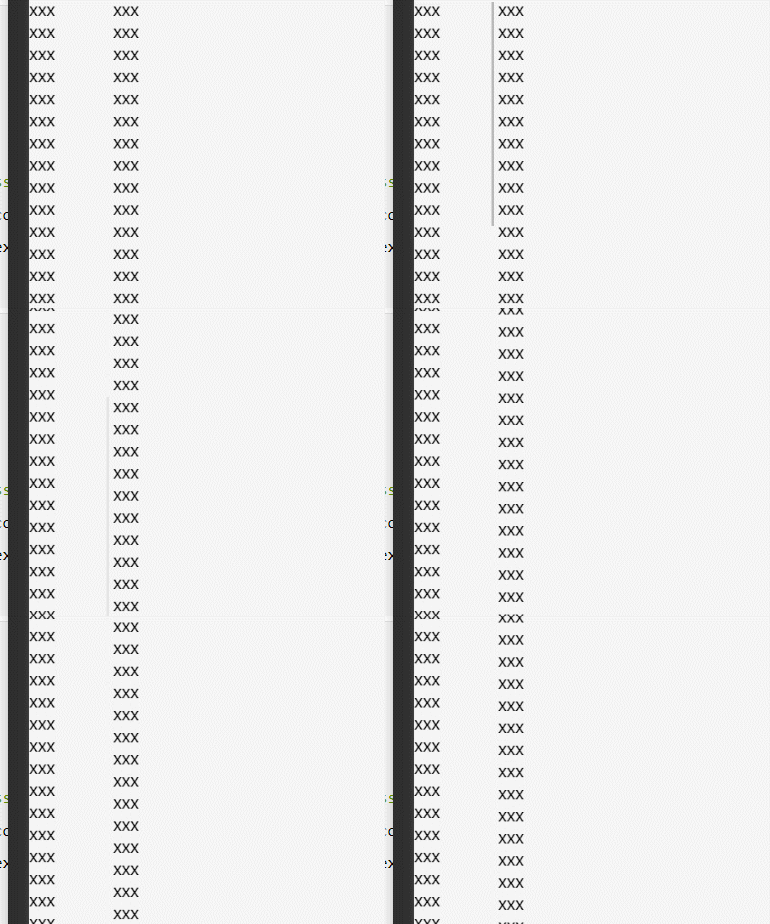
- 生成基本的滑动页面结构
<template>
  <view>
    <!-- 包裹容器 -->
    <view class="scroll-view-container">
      <!-- 左侧container -->
      <scroll-view class="scroll-view-left" scroll-y="true" style="height: 300px;">
        <view>xxx</view>
        <view>xxx</view>
        <view>xxx</view>
        <view>xxx</view>
        <view>xxx</view>
        <view>xxx</view>
        <view>xxx</view>
        <view>xxx</view>
        <view>xxx</view>
        <view>xxx</view>
        <view>xxx</view>
        <view>xxx</view>
        <view>xxx</view>
        <view>xxx</view>
        <view>xxx</view>
        <view>xxx</view>
        <view>xxx</view>
        <view>xxx</view>
        <view>xxx</view>
        <view>xxx</view>
      </scroll-view>
      <!-- 右侧container -->
      <scroll-view scroll-y="true" class="scroll-view-right" style="height: 300px;">
        <view></view>
        <view>xxx</view>
        <view>xxx</view>
        <view>xxx</view>
        <view>xxx</view>
        <view>xxx</view>
        <view>xxx</view>
        <view>xxx</view>
        <view>xxx</view>
        <view>xxx</view>
        <view>xxx</view>
        <view>xxx</view>
        <view>xxx</view>
        <view>xxx</view>
        <view>xxx</view>
        <view>xxx</view>
        <view>xxx</view>
        <view>xxx</view>
        <view>xxx</view>
        <view>xxx</view>
        <view>xxx</view>
      </scroll-view>
    </view>
  </view>
</template>


<style lang="scss">
  .scroll-view-container {
    display: flex;
  }

  .scroll-view-left {
    width: 200rpx;
  }

  .scroll-view-right {}
</style>
三、API获取手机型号等数据
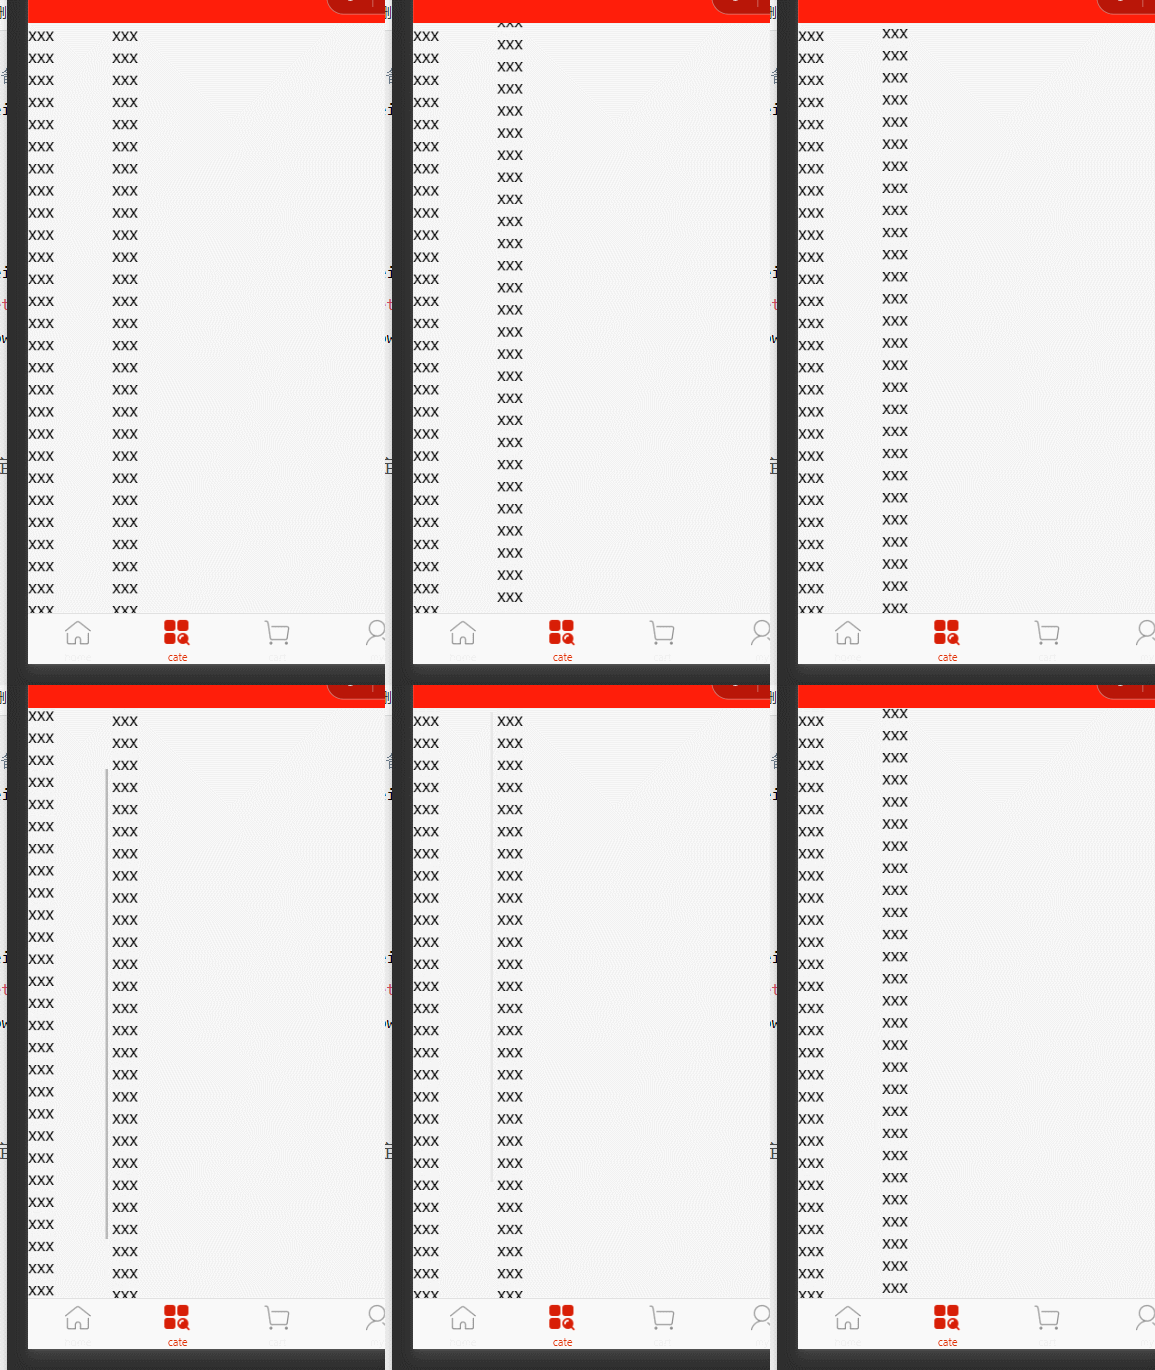
- 我们需要将整个scroll-view 的高度和手机屏幕高度一样,我们可以调用API
uni.getSystemSync(),得到该手机设备的信息(如手机型号,可用高度)

注意:是可使用的窗口高度,而不是屏幕高度(不包括navigationbar和tarbar)
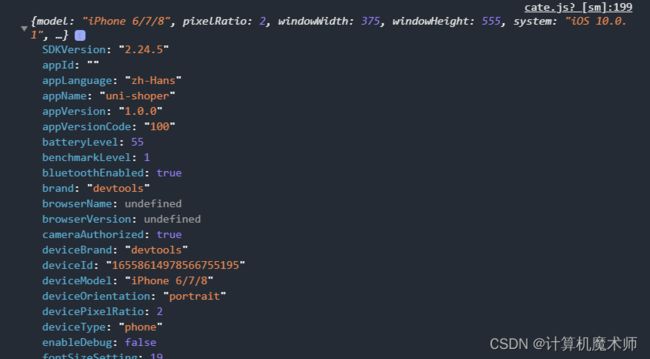
在onLoad()生命周期函数调用API ,并在data节点定义数据,将可用窗口高度对其赋值给windowHeight
<script>
  export default {
    data() {
      return {
        //当前设备可用高度
        windowHeight: ''
      };
    },
    onLoad() {
      const {
        windowHeight: infoSys
      } = uni.getSystemInfoSync()
      this.windowHeight = infoSys
    }
  }
标签样式动态绑定
:style="{height: windowHeight + 'px'}"
四、美化item项
- 方法一(不建议):
为每一个item项加上类选择器
鼠标选择标签,CTRL + D选择全部(新版本是CTRL + E),如

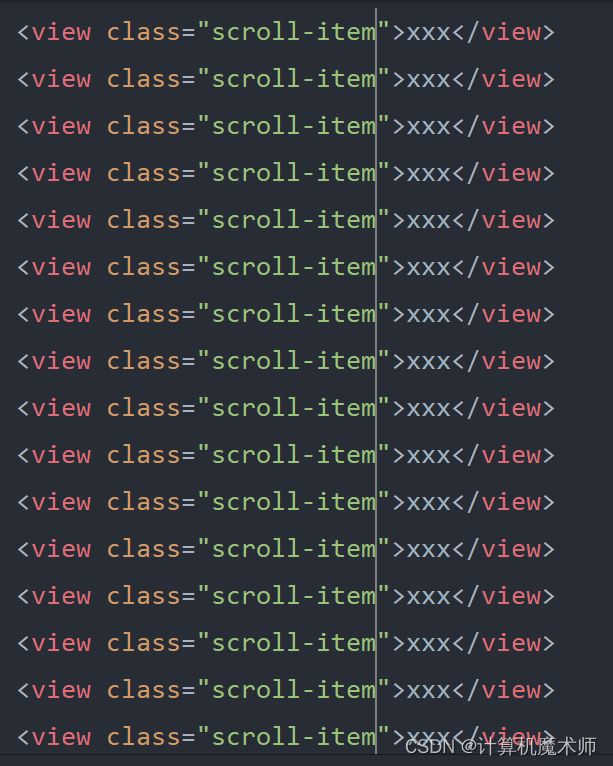
在对该类选择器 修改样式
- 方法二(建议)
使用后代选择器,在.scroll-view-right view{}修改样式
添加激活项样式&.active(用于配置选中时的样式)
样式
 .scroll-view-left view {
  text-align: center;
  line-height: 120rpx;
  background-color: lemonchiffon;
  font-size: 12px;
  // 激活项样式 后代选择器覆盖类选择器
  // &选择器覆盖 所在选择器
  &.active {
    background-color: lawngreen;
    // 相对定位 不改变文档布局移动
    position: relative;
    // 设置第一个元素
    &::before {
      // 内容为 一个空格
      content: ' ';
      //  块级元素
      display: block;
      background-color: #a00000;
      height: 60rpx;
      width: 6rpx;
      // 绝对定位 移出正常文档流
      position: absolute;
      // 最左侧
      top: 25%;
      left: 0;
    }
  }
 }
  .scroll-view-right view{
    text-align: center;
    line-height: 80rpx;
    background-color: aquamarine;
  }
激活项
<view class="active">xxx</view>
五、获取分类页面数据
- data定义数据
<script>
  export default {
    data() {
      return {
        //当前设备可用高度
        windowHeight: '',
        // 分类页数据
        cateList: []
      };
    },
    ```
- onLoad生命周期函数调用 函数获取数据
...
onLoad() {
      // 调取手机高度数据
      const {
        windowHeight: infoSys
      } = uni.getSystemInfoSync()
      this.windowHeight = infoSys
      // 调取分类数据
      this.getCateList()
    },
    ...
- method定义 获取函数
  ...
 methods: {
      // 获取分类数据
      async getCateList() { // async 异步不能使用箭头函数
        const {data:res} = await uni.$http.get('/api/public/v1/categories')
        // 判断是否赋值成功
        if (res.meta.status != 200) return uni.$showMsg()
        // 赋值
        this.cateList = res.message
      }
    }
  }
</script>
5.1 接口数据样式
{
    "message": [
        {
            "cat_id": 1,
            "cat_name": "大家电",
            "cat_pid": 0,
            "cat_level": 0,
            "cat_deleted": false,
            "cat_icon": "",
            "children": [
                {
                    "cat_id": 3,
                    "cat_name": "电视",
                    "cat_pid": 1,
                    "cat_level": 1,
                    "cat_deleted": false,
                    "cat_icon": "",
                    "children": [
                    {
                        "cat_id": 5,
                        "cat_name": "曲面电视",
                        "cat_pid": 3,
                        "cat_level": 2,
                        "cat_deleted": false,
                        "cat_icon": "full/2fb113b32f7a2b161f5ee4096c319afedc3fd5a1.jpg"
                    }]
                }
            ]
        }
    ],
    "meta": {
        "msg": "获取成功",
        "status": 200
    }
}
六、动态渲染一级分类页面结构
激活项active实现思路:
在data节点定义数据
active,对分类动态循环生成的索引与之比较,相同则在对应索引加上类active,并对分类点击帮绑定事件处理函数并对其传索引参数,动态修改active,如下
- 方法一:
组件传参
<template>
  <view>
    <!-- 包裹容器 -->
    <view class="scroll-view-container">
      <!-- 左侧container -->
      <scroll-view class="scroll-view-left" scroll-y="true" :style="{height: windowHeight + 'px'}">
        <!-- 判断是否选中-active -->
        <block v-for="(item,index) in cateList" v-bind:key="index">
          <!-- 传参方法一 -->
          <view v-bind:class="(active === index ?'active' : '')" v-on:click="activeTap" :data-active=index>{{item.cat_name}}</view>
        </block>

      </scroll-view>
      <!-- 右侧container -->
      <scroll-view scroll-y="true" class="scroll-view-right" :style="{height: windowHeight + 'px'}">
        <view>xxx</view>
      </scroll-view>
    </view>
  </view>
</template>


//函数

// 触击事件绑定
 activeTap(options){
   this.active = options.target.dataset.active
 },
- 方法二:
注意:绑定函数直接传参,这在原生小程序是不允许的,原生小程序中会把整体当成函数
  <template>
    <view>
      <!-- 包裹容器 -->
      <view class="scroll-view-container">
        <!-- 左侧container -->
        <scroll-view class="scroll-view-left" scroll-y="true" :style="{height: windowHeight + 'px'}">
          <!-- 判断是否选中-active -->
          <block v-for="(item,index) in cateList" v-bind:key="index">
            <!-- 传参方法二 函数直接传参 这在原生小程序是不可以的 -->
            <!-- <view v-bind:class="(active === index ?'active' : '')" v-on:click="activeTap(index)" >{{item.cat_name}}</view> -->
          </block>

        </scroll-view>
        <!-- 右侧container -->
        <scroll-view scroll-y="true" class="scroll-view-right" :style="{height: windowHeight + 'px'}">
          <view>xxx</view>
        </scroll-view>
      </view>
    </view>
  </template>


// 函数
// 触击事件绑定
  activeTap(options){
    // this.active = options.target.dataset.active
    this.active = options
  },
✨谢谢你的阅读,您的点赞和收藏就是我创造的最大动力!✨
