《深度学习之PyTorch实战计算机视觉》第8章代码 图像风格迁移实战
《深度学习之PyTorch实战计算机视觉》第8章代码
代码
import torch
import torchvision
from torchvision import transforms, models
from PIL import Image
import matplotlib.pyplot as plt
from torch.autograd import Variable
import copy
import time


transform = transforms.Compose(
    [
        transforms.Scale([224,224]),
        transforms.ToTensor()
    ]
)


def loadimg(path = None):
    img = Image.open(path)
    if img.mode != "RGB":
        img = img.convert('RGB')
    img = transform(img)
    img = img.unsqueeze(0)
    return img

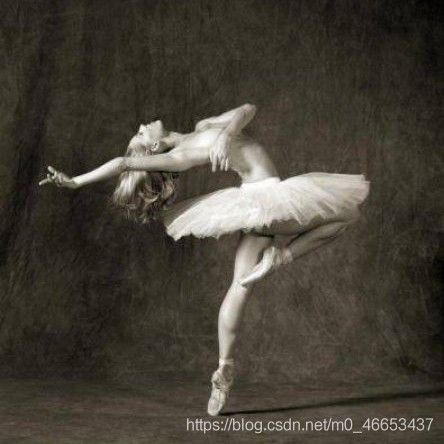
content_img = loadimg("images/3.jpg") #注意,images文件夹在当前文件夹的上一层文件夹中
#print("陈旭旗",content_img.shape)
content_img = Variable(content_img).cuda()#torch.Size([1, 3, 224, 224])
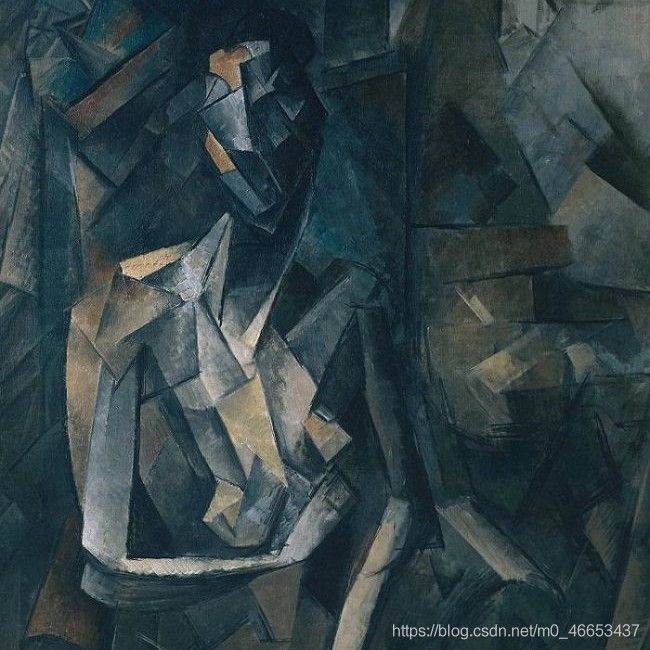
style_img = loadimg("images/8.jpg")   #注意,images文件夹在当前文件夹的上一层文件夹中
style_img = Variable(style_img).cuda()  #torch.Size([1, 3, 224, 224])

print("陈旭旗",style_img.shape)


# plt.imshow(style_img.cpu().squeeze(0).numpy().transpose([1,2,0]))
# plt.show()

class Content_loss(torch.nn.Module):
    def __init__(self, weight, target):
        # target是通过卷积获取到的输入图像中的内容
        # weight是我们设置的一个权重参数,用来控制内容和风格对最后合成图像的影响程度
        super(Content_loss,self).__init__()
        self.weight = weight
        self.target = target.detach()*weight
        # target.detach()用于对提取到的内容进行锁定,不需要进行梯度
        self.loss_fn = torch.nn.MSELoss()

    def forward(self, input):# forward函数用于计算输入图像和内容图像之间的损失值
        # input代表输入图像,
        self.loss = self.loss_fn(input*self.weight, self.target)
        return input

    def backward(self):
        # backward函数根据计算得到的损失值进行后向传播,并返回损失值
        self.loss.backward(retain_graph = True)
        # 每次 backward() 时,默认会把整个计算图free掉。一般情况下是
        # 每次迭代,只需一次 forward() 和一次 backward() ,前向运算forward()
        # 和反向传播backward()是成对存在的,一般一次backward()也是够用的。但
        # 是不排除,由于自定义loss等的复杂性,需要一次forward(),多个不同loss的
        # backward()来累积同一个网络的grad,来更新参数。于是,若在当前backward()后,
        # 不执行forward() 而可以执行另一个backward(),需要在当前backward()时,
        # 指定保留计算图,即backward(retain_graph)。
        return self.loss


#实现的是格拉姆矩阵(Gram matrix)的功能
class Gram_matrix(torch.nn.Module):
# 我们通过卷积神经网络提取了风格图片的风格,这些风格其实是由数字组成的,数字的大小代表了
# 图片中风格的突出程度,而Gram矩阵是矩阵的内积运算,在运算过后输入到该矩阵的特征图中的大
# 的数字会变得更大,这就相当于图片的风格被放大了,放大的风格再参与损失计算,便能够对最后
# 的合成图片产生更大的影响。
    def forward(self, input):
        a,b,c,d = input.size()
        feature = input.view(a*b, c*d)
        gram = torch.mm(feature,feature.t()) #返回矩阵乘积
        return gram.div(a*b*c*d)

class Style_loss(torch.nn.Module):
    def __init__(self,weight,target):
        super(Style_loss,self).__init__()
        self.weight = weight
        self.target = target.detach()*weight
        self.loss_fn = torch.nn.MSELoss()
        self.gram = Gram_matrix()

    def forward(self,input):
        self.Gram = self.gram(input.clone())
        self.Gram.mul_(self.weight)#原地操作,矩阵对应位相乘
        self.loss = self.loss_fn(self.Gram,self.target)
        return input

    def backward(self):
        self.loss.backward(retain_graph = True)
        return self.loss

use_gpu = torch.cuda.is_available()
cnn = models.vgg16(pretrained=True).features
#print(cnn)
#print(models.vgg16(pretrained=True))


if use_gpu:
    cnn = cnn.cuda()

model = copy.deepcopy(cnn)


content_losses = []
style_losses = []

conten_weight = 1
style_weight = 1000
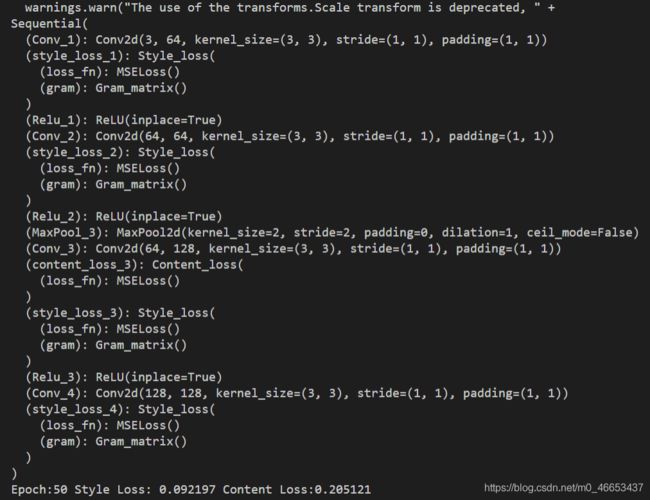
new_model = torch.nn.Sequential()


gram = Gram_matrix()

if use_gpu:
    new_model = new_model.cuda()
    gram = gram.cuda()


content_layer = ["Conv_3"]
style_layer = ["Conv_1","Conv_2","Conv_3","Conv_4"]
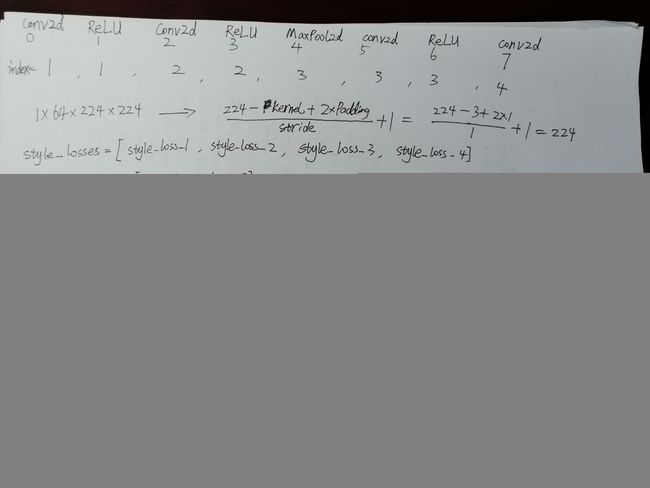
index = 1

# print("cxq陈旭旗")
# print(list(model)[:8])
# print("cxq陈旭旗")

# cxq = 0
for layer in list(model)[:8]:
    if isinstance(layer, torch.nn.Conv2d):
        name = "Conv_"+str(index)
        new_model.add_module(name, layer)
        if name in content_layer:            #["Conv_3"]
            target = new_model(content_img).clone()
            content_loss = Content_loss(conten_weight,target)
            new_model.add_module("content_loss_"+str(index),content_loss)
            content_losses.append(content_loss)

        if name in style_layer:              #["Conv_1","Conv_2","Conv_3","Conv_4"]
            target = new_model(style_img).clone()
            target = gram(target)
            style_loss = Style_loss(style_weight, target)
            new_model.add_module("style_loss_"+str(index), style_loss)
            style_losses.append(style_loss)

    if isinstance(layer, torch.nn.ReLU):
        name = "Relu_"+str(index)
        new_model.add_module(name,layer)
        index = index+1

    if isinstance(layer, torch.nn.MaxPool2d):
        name = "MaxPool_"+str(index)
        new_model.add_module(name, layer)
    # cxq +=1
    # if cxq == 9:
    #     print(new_model)

# print(new_model)

# print("陈旭旗content_losses:\n")
# print(content_losses)


# print("\n\n\n陈旭旗style_losses:\n")
# print(style_losses)


input_img = content_img.clone()#torch.Size([1, 3, 224, 224])
parameter = torch.nn.Parameter(input_img.data)#含义是将一个固定不可训练的tensor转换成可以训练的类型parameter
optimizer = torch.optim.LBFGS([parameter])


epoch_n = 300
epoch = 0
time_open = time.time()
while epoch <= epoch_n:

    def closure():
        optimizer.zero_grad()
        style_score = 0
        content_score = 0
        parameter.data.clamp_(0,1)#torch.Size([1, 3, 224, 224])
        new_model(parameter)
        for sl in style_losses:
            style_score += sl.backward()

        for cl in content_losses:
            content_score += cl.backward()

        global epoch
        epoch += 1
        if epoch % 50 == 0:
            print("Epoch:{} Style Loss: {:4f} Content Loss:{:4f}".format(
                    epoch,
                    style_score.item(),
                    content_score.item()
                )
            )
        return style_score+content_score
    optimizer.step(closure)


time_end = time.time() - time_open
print("程序运行时间:{}秒...".format(int(time_end)))


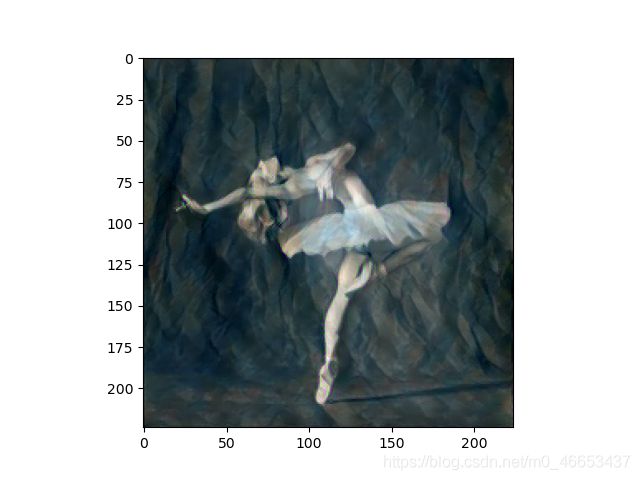
plt.figure("内容图像")
plt.imshow(content_img.data.cpu().squeeze(0).numpy().transpose([1,2,0]))

plt.figure("风格图像")
plt.imshow(style_img.data.cpu().squeeze(0).numpy().transpose([1,2,0]))


plt.figure("风格迁移图像")
plt.imshow(parameter.data.cpu().squeeze(0).numpy().transpose([1,2,0]))
plt.show()
