vue echarts 镂空饼图配置
我是在一个组件中使用 echarts ,通过传参控制的一些配置和数据
首先是镂空,直接看代码
series: [
  {
    name: '',
    type: 'pie',
    /* 半径 */
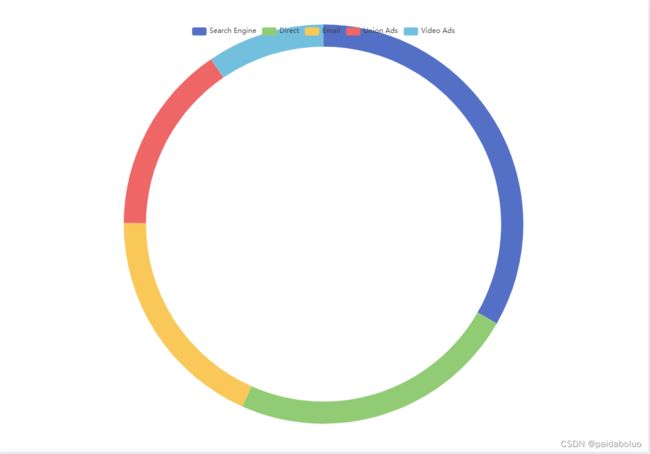
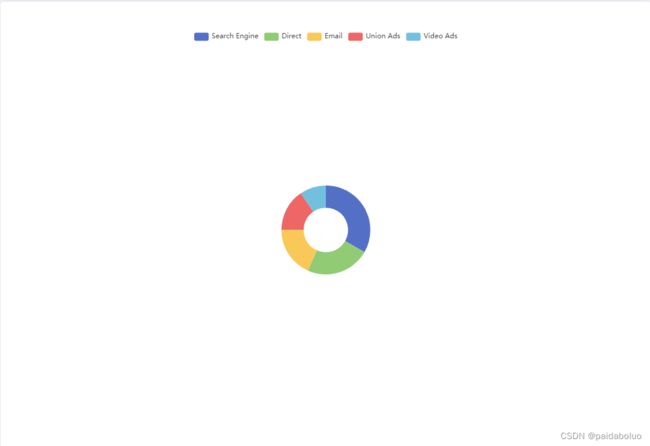
    radius: ['45%', '65%'],
通过半径数组控制镂空
第一个值是 内圆,第二个值是 外圆,外圆 减去 内圆 就是我们看到的范围,所以除了这个环形的环宽度,这个环的相对大小我们也是可以设置的
比如 ['10%', '20%'] 和 ['80%', '90%']
注:这个值不是一定要 第二个值大于第一个值,可以理解为它是自动计算大的减去小的
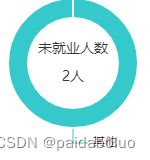
然后是圆中心的文字
配置title.text 是字符串可以直接使用 /n 直接换行
配合这四个属性即可实现
直接可以使用 center 自动文字居中显示
悬浮鼠标,文字描述不显示问题,可能是下面这个属性配置错误
            emphasis: {
              label: {
                show: true,
                fontSize: '15'
              }
            },
需要 show 为 true
下面是这个环形的所有配置
      this.chart.setOption({
        title: {
          text: this.total ? this.name + '\n\n' + this.total + '人' : this.name,
          top: 'center',
          left: 'center',
          textStyle: {
            fontSize: 14,
            fontWeight: '',
            color: '#333'
          }
        },
        // 提示框
        tooltip: {
          trigger: 'item',
          backgroundColor: '#fff',
          textStyle: {
            color: 'black'
          },
          extraCssText: 'box-shadow: 0 0 3px rgba(0, 0, 0, 0.3);'
        },
        /* 颜色 */
        color: ['#35C9CC', '#F6D437', '#1893FF'],
        /* 数据 */
        series: [
          {
            name: '',
            type: 'pie',
            /* 半径 */
            radius: ['45%', '65%'],
            avoidLabelOverlap: true,
            label: {
              show: true,
              color: '#51342C'
            },
            /* 缝隙*/
            itemStyle: {
              borderRadius: [10, 20],
              borderColor: '#fff',
              borderWidth: 1.8
            },
            /* 边距*/
            grid: {
              top: '8%',
              left: '3%',
              right: '4%',
              bottom: '3%',
              containLabel: true
            },
            emphasis: {
              label: {
                show: true,
                fontSize: '15'
              }
            },
            data: this.dataList
          }
        ]
      }, true)
参考文档: Apache ECharts


