vite + vue3 + ts + nodejs + mysql搭建全栈项目_2
三、使用UI框架Ant-Design-Vue
1、安装
npm install ant-design-vue --save 或
yarn add ant-design-vue
2、安装unplugin-vue-components
yarn add unplugin-vue-components -D3、配置vite.config.ts
import { defineConfig } from 'vite'
import vue from '@vitejs/plugin-vue'
import Components from 'unplugin-vue-components/vite';
import { AntDesignVueResolver } from 'unplugin-vue-components/resolvers';

// https://vitejs.dev/config/
export default defineConfig({
  plugins: [
    vue(),
    Components({
      resolvers: [AntDesignVueResolver()],
    }),
  ]
})
4、配置main.ts
import { createApp } from 'vue'
// import './style.css'
import App from './App.vue'
import router from "./router/index"
import 'ant-design-vue/dist/antd.css'; // or 'ant-design-vue/dist/antd.less'

createApp(App).use(router).mount('#app')
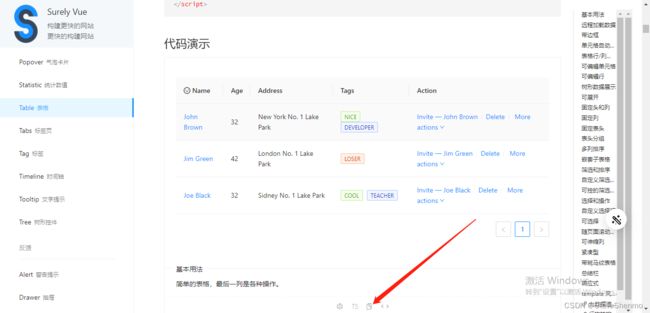
5、进入Ant-Design-Vue官网,选取需要样式copy
四、编写后台接口(此处后台暂未使用ts文件)
1、myvite项目外新建serve文件夹
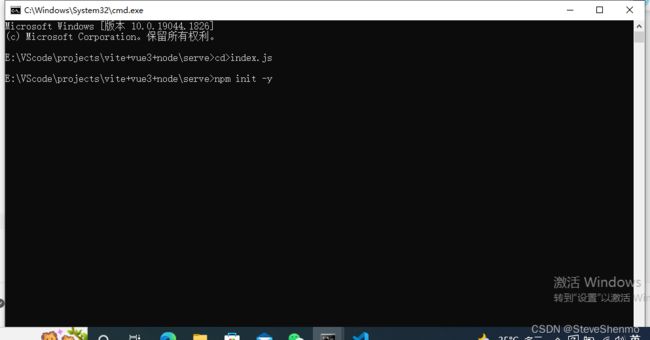
2、进入serve文件,新建index.js文件,文件地址栏输入cmd进入终端
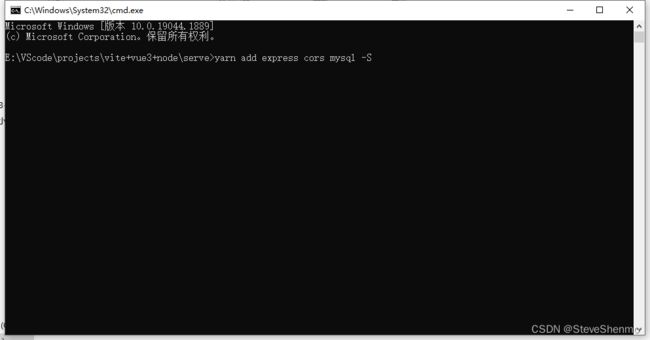
3、输入yarn安装依赖,yarn add express cors mysql -S安装express、cors与mysql
4、编辑index.js
const express = require("express")
const cors = require("cors")
const mysql = require("mysql")

const app = express()

app.use(cors())
app.use(express.urlencoded({extended:false}));

const conn = mysql.createConnection({
	host:"localhost",	//local host为数据库主机名,localhost代表本地环境,相当于127.0.0.1
	user:"root",	//root为数据库用户名
	password:"123456",	//123456为数据库密码
	basedata:"node"	//node为数据库名称
})

conn.connect()

app.get("/get",(req, res)=>{
	//commity为数据表名称   此处未添加较多判断
	connect.query("SELECT * FROM commity",(error, result)=>{
		if(error) throw error
		res.send({
			message:"success",
			status:200,
			data: result
		})
	})
})


app.listen(9000,()=>{
	console.log("success in 9000")
})
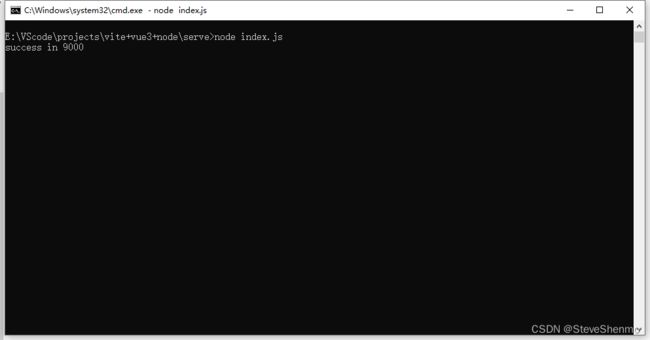
5、cmd进入终端执行命令node index.js启动服务。
6、接口http://localhost:9000/get接口编写成功,并调用数据库node中commity表中数据。
当然,若没有安装MySQL数据库,可编写死数据做测试
serve文件夹下新建file.json文件,并编辑内容
[
    {
        "name":"张三",
        "age":33
    },
    {
        "name":"李四",
        "age":23
    },
    {
        "name":"完给",
        "age":35
    }
]
修改index.js文件内容
//index.js
const express = require("express")
const cors = require("cors")
const fs = require("fs")

const app = express()

app.use(cors())
app.use(express.urlencoded({extended:false}));

app.get("/get",(req, res)=>{
	let listData = fs.readFileSync('file.json');
	res.send({
		message:"sucess",
		status:200,
		data: listData.toString("utf8")
	})
})


app.listen(9000,()=>{
	console.log("success in 9000")
})
启动服务,同样原理,通过接口http://localhost:9000/get 同样可以获取到file.json文件内容


