opencv像素遍历的三种方法

参考链接:OpenCV中高效的像素遍历方法,写出工程级像素遍历代码(贾志刚老师)

测试图片:
opencv像素遍历的三种方法_第1张图片
测试代码:
功能:遍历测试图片每个像素,对它求反向图,即 255-pix


#include 
#include 
#include  

#include
using namespace cv;
using namespace std;

void method_1(Mat &image) 
{
	double t1 = getTickCount();
	int w = image.cols;
	int h = image.rows;
	for (int row = 0; row < h; row++) {
		for (int col = 0; col < w; col++) {
			Vec3b bgr = image.at<Vec3b>(row, col);
			bgr[0] = 255 - bgr[0];
			bgr[1] = 255 - bgr[1];
			bgr[2] = 255 - bgr[2];
			image.at<Vec3b>(row, col) = bgr;
		}
	}
	double t2 = getTickCount();
	double t = ((t2 - t1) / getTickFrequency()) * 1000;
	ostringstream ss;
	ss.clear();
	ss << "Execute time : " << std::fixed << std::setprecision(2) << t << " ms ";
	putText(image, ss.str(), Point(20, 20), FONT_HERSHEY_SIMPLEX, 0.75, Scalar(0, 0, 255), 2, 8);
	imshow("method_1", image);
}

void method_2(Mat &image) {
	double t1 = getTickCount();
	int w = image.cols;
	int h = image.rows;
	for (int row = 0; row < h; row++) {
		Vec3b* curr = image.ptr<Vec3b>(row);
		for (int col = 0; col < w; col++) {
			Vec3b bgr = curr[col];
			bgr[0] = 255 - bgr[0];
			bgr[1] = 255 - bgr[1];
			bgr[2] = 255 - bgr[2];
			image.at<Vec3b>(row, col) = bgr;
		}
	}
	double t2 = getTickCount();
	double t = ((t2 - t1) / getTickFrequency()) * 1000;
	ostringstream ss;
	ss.clear();
	ss << "Execute time : " << std::fixed << std::setprecision(2) << t << " ms ";
	putText(image, ss.str(), Point(20, 20), FONT_HERSHEY_SIMPLEX, 0.75, Scalar(0, 0, 255), 2, 8);
	imshow("method_2", image);
}

void method_3(Mat &image) {
	double t1 = getTickCount();
	int w = image.cols;
	int h = image.rows;
	for (int row = 0; row < h; row++) {
		uchar* uc_pixel = image.data + row * image.step;
		for (int col = 0; col < w; col++) {
			uc_pixel[0] = 255 - uc_pixel[0];
			uc_pixel[1] = 255 - uc_pixel[1];
			uc_pixel[2] = 255 - uc_pixel[2];
			uc_pixel += 3;
		}
	}
	double t2 = getTickCount();
	double t = ((t2 - t1) / getTickFrequency()) * 1000;
	ostringstream ss;
	ss.clear();
	ss << "Execute time : " << std::fixed << std::setprecision(2) << t << " ms ";
	putText(image, ss.str(), Point(20, 20), FONT_HERSHEY_SIMPLEX, 0.75, Scalar(0, 0, 255), 2, 8);
	imshow("method_3", image);
}


int main()
{
	const char* imgPath = "D:\\datas\\test\\brown_bear.png";
	Mat srcMat = imread(imgPath);
	method_1(srcMat);
	Mat srcMat2 = imread(imgPath);
	method_2(srcMat2);
	Mat srcMat3 = imread(imgPath);
	method_3(srcMat3);
	waitKey(0);
}

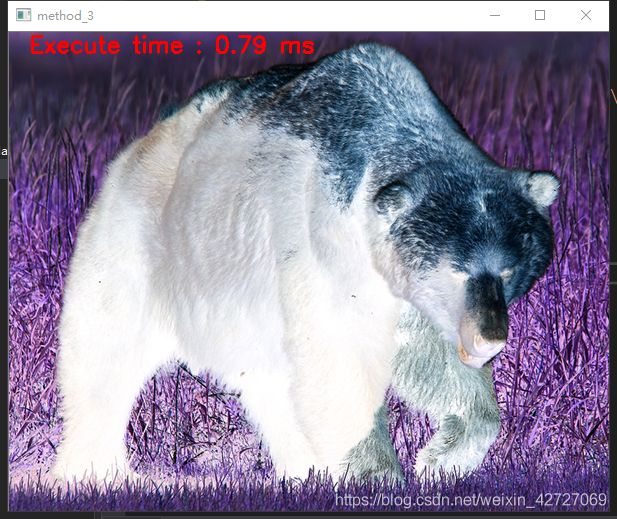
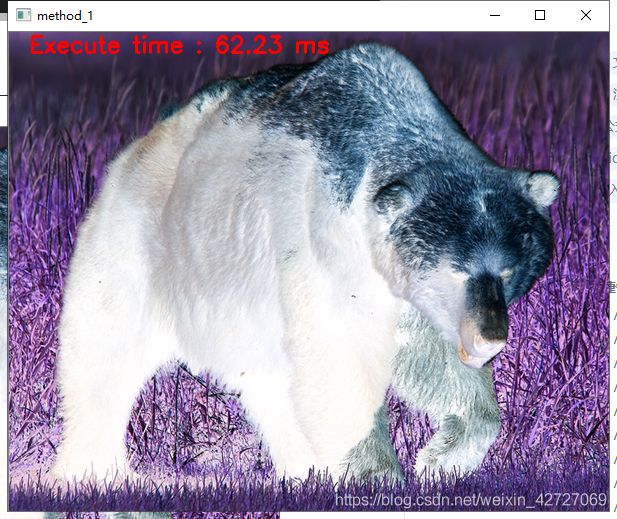
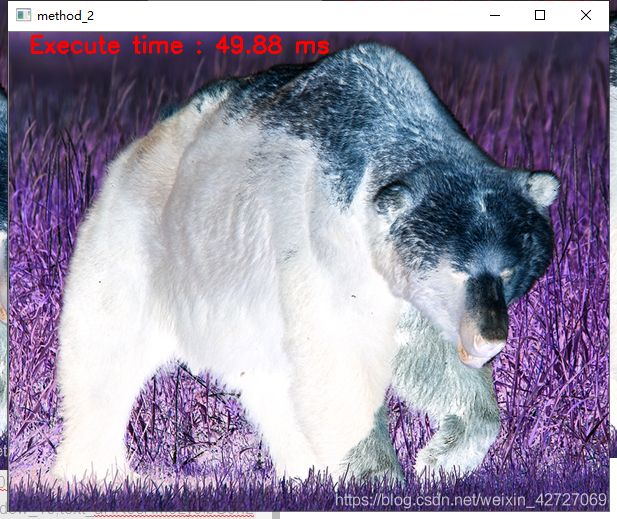
结果预览:
opencv像素遍历的三种方法_第2张图片

opencv像素遍历的三种方法_第3张图片
opencv像素遍历的三种方法_第4张图片

结论:
方法3效率最高,重点学习对象。

遍历像素的时候注意Mat类型,防止输出异常或者截断错误

typedef Vec<uchar, 2> Vec2b;
typedef Vec<uchar, 3> Vec3b;
typedef Vec<uchar, 4> Vec4b;

typedef Vec<short, 2> Vec2s;
typedef Vec<short, 3> Vec3s;
typedef Vec<short, 4> Vec4s;

typedef Vec<ushort, 2> Vec2w;
typedef Vec<ushort, 3> Vec3w;
typedef Vec<ushort, 4> Vec4w;

typedef Vec<int, 2> Vec2i;
typedef Vec<int, 3> Vec3i;
typedef Vec<int, 4> Vec4i;
typedef Vec<int, 6> Vec6i;
typedef Vec<int, 8> Vec8i;

typedef Vec<float, 2> Vec2f;
typedef Vec<float, 3> Vec3f;
typedef Vec<float, 4> Vec4f;
typedef Vec<float, 6> Vec6f;

typedef Vec<double, 2> Vec2d;
typedef Vec<double, 3> Vec3d;
typedef Vec<double, 4> Vec4d;
typedef Vec<double, 6> Vec6d;
你可能感兴趣的:(C++,opencv,opencv,计算机视觉)