三层BP神经网络
构建一个三层神经网络,参考《python神经网络》
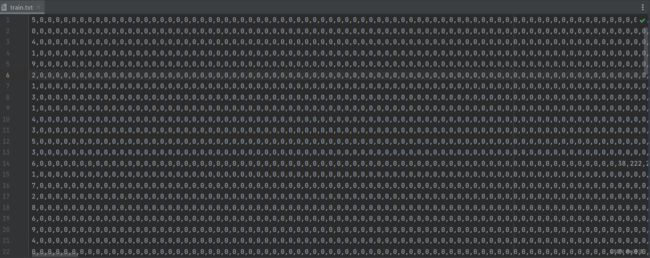
写了一个简单的三层BP神经网络,然后更新权重使用的是SGD(随机梯度下降),每读取一个数据就更新一次权重,用MNIST数据集中的一个小样本数据训练,其中包含了一百个图像。
该样本来自于https://raw.githubusercontent.com/makeyourownneuralnetwork/makeyourownneuralnetwork/master/mnist_dataset/mnist_train_100.csv

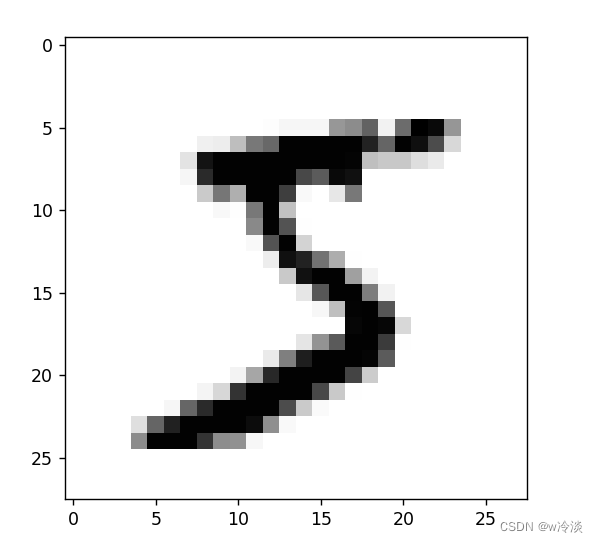
每行第一位是图像的标签,后面的784个数重新组合为一个图像
import numpy as np
from matplotlib import pyplot

with open("train.txt", "r") as f:
    read_line = f.readlines()

# 用readlines读取获得列表(read就是整个字符串),然后索引得到字符串
img = np.asfarray(read_line[0].split(",")[1:785]).reshape(28, 28)

pyplot.imshow(img, cmap='Greys')  # 不加cmap = 'Greys'就是彩色图像
pyplot.show()  # 不加这一句显示不出图像,调试中不加也行
import numpy as np

# 构建一个三层神经网络,参考《python神经网络》(做矩阵点乘时,正向传播过程中权重在前,输入在后面)

class BpNet(object):

    def __init__(self, input_nodes, hidden_notes, output_nodes, lr=0.03):
        self.input_nodes = input_nodes  # 输入节点
        self.hidde_notes = hidden_notes  # 隐藏层节点
        self.output_nodes = output_nodes  # 输出层节点
        self.lr = lr  # 学习率
        self.link_1 = np.random.rand(self.hidde_notes, self.input_nodes) + 0.1  # 输入层和隐藏层之间的权重矩阵
        self.link_2 = np.random.rand(self.output_nodes, self.hidde_notes) + 0.1  # 隐藏层和输出层之间的权重矩阵

    def Sigmoid(self, x_input):  # 激活函数定义
        x_output = 1 / (1 + np.exp(-x_input))
        return x_output

    def O_sigmoid(self, x):  # 对列向量施加激活函数
        for h in range(len(x)):
            x[h, 0] = self.Sigmoid(x[h, 0])
        return x

    def forward(self, inputs):  # 正向传播
        hidden_outputs = np.dot(self.link_1, inputs)
        hidden_outputs_sigmoid = self.O_sigmoid(hidden_outputs)  # 隐藏层输出矩阵
        final_outputs = np.dot(self.link_2, hidden_outputs_sigmoid)
        final_outputs_sigmoid = self.O_sigmoid(final_outputs)  # 输出层矩阵
        return final_outputs_sigmoid, hidden_outputs_sigmoid

    def fun1(self, x_l, y_l=0):
        loss = x_l
        loss_s = x_l - y_l
        loss_d = loss * (1 - loss)
        return loss_d, loss_s

    def loss_backward(self, f_s, h_o, i_p, targets, h):  # 计算delta权重
        if h == 1:
            h_fun = h_o
            array_sgd = np.zeros((self.output_nodes, self.hidde_notes))
            m = self.output_nodes
            n = self.hidde_notes
        if h == 2:
            h_fun = i_p
            array_sgd = np.zeros((self.hidde_notes, self.input_nodes))
            m = self.hidde_notes
            n = self.input_nodes
        for l_sgd in range(self.output_nodes):  # 输出层delta权重
            if h == 1:
                for i_sgd_m in range(m):
                    for i_sgd_n in range(n):
                        array_sgd[i_sgd_m, i_sgd_n] += self.fun1(f_s[l_sgd], targets[l_sgd])[1] * \
                                                       self.fun1(f_s[l_sgd])[0] * h_fun[i_sgd_n, 0]
            if h == 2:  # 隐藏层delta权重
                for i_sgd_m in range(m):
                    for i_sgd_n in range(n):
                        array_sgd[i_sgd_m, i_sgd_n] += self.fun1(f_s[l_sgd], targets[l_sgd])[1] * \
                                                       self.fun1(f_s[l_sgd])[0] * self.fun1(h_o[i_sgd_m])[0] * \
                                                       h_fun[i_sgd_n, 0]
        return array_sgd

    def new_weight(self, weight_1, weight_2):  # 更新权重
        self.link_2 -= self.lr * weight_1
        self.link_1 -= self.lr * weight_2

    def load_img_target(self, file_name):  # 加载csv格式的数据集
        with open(file_name, "r") as f:
            r_lines = f.readlines()
        return r_lines

    def targets_t(self, num):  # 制作标签,one-hot编码
        array_t = np.zeros((self.output_nodes, 1))
        array_t[num, 0] = 1
        return array_t

    def train(self, file):  # 这里是读取的MNIST的csv格式的数据,每读取一张图片就更新一次权重
        # file:csv数据文件路径
        loss_all = 0
        r_line = self.load_img_target(file)
        for line in r_line:
            line_s = line.split(",")
            # 加载数据标签
            targets = self.targets_t(int(line_s[0]))
            img_s = (np.asfarray(line_s[1:785]).reshape(784, 1) / 255.0 * 0.9) + 0.01  # 对数据进行缩放平移
            # 计算正向传播
            result = self.forward(img_s)
            result[0].argmax() + 1  # 输出结果的标签
            # 计算delta权重
            weight_o = self.loss_backward(result[0], result[1], img_s, targets, h=1)  # 输出层delta权重
            weight_i = self.loss_backward(result[0], result[1], img_s, targets, h=2)  # 隐藏层delta权重
            # 更新权重
            self.new_weight(weight_o, weight_i)
            # 计算损失
            loss_t = np.linalg.norm(result[0] - targets, 2) / 2  # 每次的损失
            loss_all += loss_t  # 总损失

            # 测试用
            result = self.forward(img_s)
            target_output = result[0].argmax() + 1  # 输出结果的标签
            target_real = line_s[0]
            print("真实结果{}, 检测结果{}, 损失函数是{}".format(target_real, target_output, loss_t))

        return loss_all

    def test(self, file):
        r_line = self.load_img_target(file)
        for line in r_line:
            line_s = line.split(",")
            # 加载数据标签
            targets = self.targets_t(int(line_s[0]))
            img_s = (np.asfarray(line_s[1:785]).reshape(784, 1) / 255.0 * 0.9) + 0.01  # 对数据进行缩放平移
            # 计算正向传播
            result = self.forward(img_s)
            target_output = result[0].argmax() + 1  # 输出结果的标签
            target_real = line_s[0]
            print("真实标签{}, 输出标签{}".format(target_real, target_output))


BP = BpNet(784, 100, 10, 0.03)
BP.train("train.txt")
# BP.test("train.txt")
如果输出节点只有1个测试效果还可以,1个以上效果就很差了,更新权重也很慢,后面有空在慢慢调整
