mmlab - mmsegmentation经验总结(一)环境安装
目录
- 1.安装条件
- 2 安装过程
- 3.REF:
1.安装条件
1.安装需求
Linux or macOS (Windows is in experimental support)
Python 3.6+
PyTorch 1.3+
CUDA 9.2+ (If you build PyTorch from source, CUDA 9.0 is also compatible)
GCC 5+
MMCV
windows不推荐安装和使用
兼容的 MMSegmentation and MMCV 版本如下所示. 需要安装对应版本以避免不必要问题。
MMSegmentation version MMCV version
master	mmcv-full>=1.3.13, <1.4.0
0.17.0	mmcv-full>=1.3.7, <1.4.0
0.16.0	mmcv-full>=1.3.7, <1.4.0
0.15.0	mmcv-full>=1.3.7, <1.4.0
0.14.1	mmcv-full>=1.3.7, <1.4.0
0.14.0	mmcv-full>=1.3.1, <1.3.2
0.13.0	mmcv-full>=1.3.1, <1.3.2
0.12.0	mmcv-full>=1.1.4, <1.3.2
0.11.0	mmcv-full>=1.1.4, <1.3.0
0.10.0	mmcv-full>=1.1.4, <1.3.0
0.9.0	mmcv-full>=1.1.4, <1.3.0
0.8.0	mmcv-full>=1.1.4, <1.2.0
0.7.0	mmcv-full>=1.1.2, <1.2.0
0.6.0	mmcv-full>=1.1.2, <1.2.0
注意:
pip install同时安装了mmcv , mmcv-full会有问题,需要卸载其中之一。
2 安装过程
s1: 新建环境
conda create -n open-mmlab python=3.7 -y
conda activate open-mmlab
s2: 安装pytorch
conda install pytorch=1.6.0 torchvision cudatoolkit=10.1 -c pytorch
注意:安装相应版本和方法,自己按照需求安装, 建议1.8.0
s3: 安装mmcv-full(推荐安装full版本)
pip install mmcv-full -f https://download.openmmlab.com/mmcv/dist/cu101/torch1.6.0/index.html
注意:对应的cu101, torch1.6.0, 请根据自己安装cuda, torch版本对应更换
s4: 安装MMSegmentation
pip install mmsegmentation # install the latest release
or
pip install git+https://github.com/open-mmlab/mmsegmentation.git # install the master branch
s5: 验证脚本,确认正常安装:
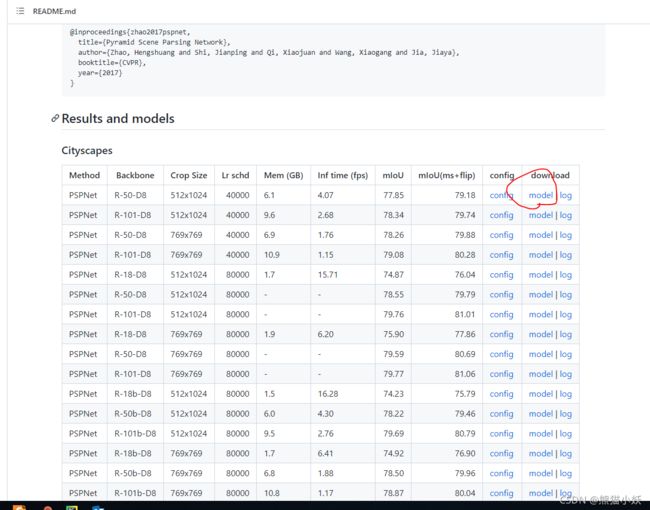
a .在mmseg根目录新建·checkpoints文件夹,下载pspnet_r50-d8_512x1024_40k_cityscapes_20200605_003338-2966598c.pth 权重连接
b 在根目录新建新建如下脚本 test.py, 在安装虚拟环境中执行测试
python test.py
from mmseg.apis import inference_segmentor, init_segmentor
import mmcv

config_file = 'configs/pspnet/pspnet_r50-d8_512x1024_40k_cityscapes.py'
checkpoint_file = 'checkpoints/pspnet_r50-d8_512x1024_40k_cityscapes_20200605_003338-2966598c.pth'

# build the model from a config file and a checkpoint file
model = init_segmentor(config_file, checkpoint_file, device='cuda:0')

# test a single image and show the results
img = 'demo/demo.png'  # or img = mmcv.imread(img), which will only load it once
result = inference_segmentor(model, img)
# visualize the results in a new window
model.show_result(img, result, show=True)
# or save the visualization results to image files
# you can change the opacity of the painted segmentation map in (0, 1].
model.show_result(img, result, out_file='result.jpg', opacity=0.5)

# test a video and show the results
#video = mmcv.VideoReader('video.mp4')
#for frame in video:
#   result = inference_segmentor(model, frame)
#   model.show_result(frame, result, wait_time=1)
c 显示结果如下,表示正常安装

3.REF:
1).主要文档总结:【DL】如何使用MMSegmentation训练数据集
2) github下载地址
3) 官方文档
3) 安装说明
4)相关模型权重下载