【入门级图文教程】在Visual Studio中创建自定义Winform控件库并在其他解决方案中引用
目录
本教程使用到的相关软件或产品:
教程正文:
创建用户控件库:
添加自定义控件项:
在其他解决方案中引用:
本教程使用到的相关软件或产品:
- Windows 10 专业版 10.0.19044
- Microsoft Visual Studio Community 2022 (64 位) 版本17.3.2
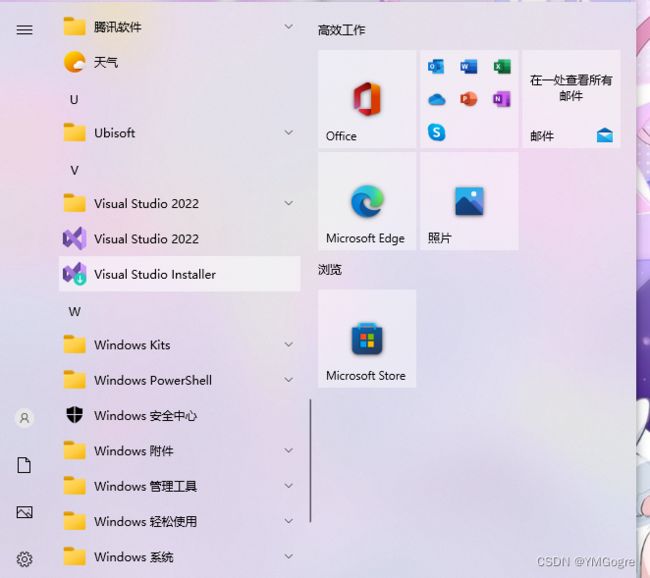
- 「.NET 桌面开发」工作负荷(在开始菜单中找到Visual Studio Installer打开可以看到已安装的工作负荷)
- Microsoft .NET Framework 版本4.8.04084(在Visual Studio帮助菜单内可查看相应版本)
教程正文:
创建用户控件库:
按下图过滤筛选后选择Windows 窗体控件库(.NET Framework),点击“下一步”
自行命名项目并指定位置,点击“创建”(请指定自己能记住的项目位置,后面还会用到)
(如果界面右边没有解决方案资源管理器可在“视图”中打开)
添加自定义控件项:
在弹出的窗口中选择“用户控件(Windows 窗体)”并自行定义名称,随后点击“添加”
添加后在解决方案资源管理器中可以看到新增了Switch.cs与Switch.Designer.cs;其中Switch.cs是编写业务代码的地方,而Switch.Designer.cs是系统存放设计代码的地方,一般情况下不要轻易去改动里面的内容。
鼠标右击Switch.cs,选择“查看代码”可以打开其代码页面,而Switch.Designer.cs的代码页面直接左键双击即可打开。打开后如下图:
上述内容完成后,最小化Visual Studio,打开文件资源管理器,找到项目所在文件夹,新建一个文件夹命名为“Resources”
打开Resources文件夹并放入下面两张图片(名称分别命名为"SwitchOFF"和"SwitchON"):
回到Visual Studio,右击解决方案资源管理器中的项目名称,选择“属性” ——> “资源”
在“添加资源(R)”下拉菜单中选择“添加现有文件”
添加后如下图所示,修改“访问修饰符(I)”为“Internal”,随后 Ctrl + s 保存一下:
关闭当前属性页面,回到Switch.cs与Switch.Designer.cs,将如下代码添加进去:
(这里的代码参考了如下文章)
///
/// Switch.cs
///
using System;
using System.Collections.Generic;
using System.ComponentModel;
using System.Data;
using System.Drawing;
using System.Linq;
using System.Text;
using System.Threading.Tasks;
using System.Windows.Forms;

namespace WindowsFormsControlLibraryMadeByXJY
{
    public partial class Switch : UserControl
    {
        public Switch()
        {
            InitializeComponent();
            this.SetStyle(ControlStyles.AllPaintingInWmPaint, true);
            this.SetStyle(ControlStyles.DoubleBuffer, true);
            this.SetStyle(ControlStyles.ResizeRedraw, true);
            this.SetStyle(ControlStyles.Selectable, true);
            this.SetStyle(ControlStyles.SupportsTransparentBackColor, true);
            this.SetStyle(ControlStyles.UserPaint, true);
            this.BackColor = Color.Transparent;
            this.Cursor = Cursors.Hand;
            this.Size = new Size(87, 27);
        }
        bool isCheck = false;

        ///
        /// 是否选中
        ///
        public bool Checked
        {
            set { isCheck = value; this.Invalidate(); }
            get { return isCheck; }
        }


        protected override void OnPaint(PaintEventArgs e)
        {
            Bitmap bitMapOn = null;
            Bitmap bitMapOff = null;
            bitMapOn = Properties.Resources.SwitchON;
            bitMapOff = Properties.Resources.SwitchOFF;
            Graphics g = e.Graphics;
            Rectangle rec = new Rectangle(0, 0, this.Size.Width, this.Size.Height);

            if (isCheck)
            {
                g.DrawImage(bitMapOn, rec);
            }
            else
            {
                g.DrawImage(bitMapOff, rec);
            }
        }
        private void Switch_Click(object sender, EventArgs e)
        {
            isCheck = !isCheck;
            this.Invalidate();
        }
    }
}
///
/// Switch.Designer.cs
///
namespace WindowsFormsControlLibraryMadeByXJY
{
partial class Switch
{
///
/// 必需的设计器变量。
///
private System.ComponentModel.IContainer components = null;
///
/// 清理所有正在使用的资源。
///
/// 如果应释放托管资源,为 true;否则为 false。
protected override void Dispose(bool disposing)
{
if (disposing && (components != null))
{
components.Dispose();
}
base.Dispose(disposing);
}
#region 组件设计器生成的代码
///
/// 设计器支持所需的方法 - 不要修改
/// 使用代码编辑器修改此方法的内容。
///
private void InitializeComponent()
{
components = new System.ComponentModel.Container();
this.AutoScaleMode = System.Windows.Forms.AutoScaleMode.Font;
this.SuspendLayout();
this.AutoScaleDimensions = new System.Drawing.SizeF(6F, 12F);
this.Name = "mySwitch";
this.Click += new System.EventHandler(this.Switch_Click);
this.ResumeLayout(false);
}
#endregion
}
}
保存后在菜单栏选择“生成” ——> “生成解决方案” / “重新生成解决方案”,如下图:
生成成功后在输出窗口可看到结果,记住划红线的链接,后面会用到:
在其他解决方案中引用:
(为了方便演示,这里我新建一个解决方案,小伙伴们可以酌情跳过这一部分内容)
在弹出的窗口中选择“Windows 窗体应用(.NET Framework)”,随后点击“下一步”:
在项目配置页面同样自行命名并指定位置,选择“创建新解决方案”,随后点击“创建”:
创建完成后在菜单栏选择“视图” ——> “工具箱”打开工具箱窗口,然后在工具箱空白处右键单击,点击“选择项”:
第一次加载需要一点时间(如下图左半部分),加载完毕后如下图右半部分所示,点击“浏览”:
找到刚才控件库生成的dll文件所在的位置,选中该dll文件,点击“打开”:
打开后可以看到“选择工具箱项”窗口中新增了一个Switch选项,如下图所示:
最后点击“确定”,就可以在其他解决方案中的项目的工具箱窗口中看到自定义的控件了,包含系统自带的UserControl1以及自定义的Swtich控件。


