vue+express+websocket+mongodb在线群聊工具
vue+express+websocket+mongodb在线群聊工具
目录
- vue+express+websocket+mongodb在线群聊工具
-
- 1.项目概述
- 2.项目运行
- 3.项目代码细节
-
- 3.1 后端
-
- 3.1.1 nodejs连接数据库
- 3.1.2 创建`api.js`负责数据库操作
- 3.2 前端
-
- 3.2.1 前端功能简述
- 3.2.2 前端通过axios访问后端数据
- 3.2 通过Vuex实现状态管理
- 3.3 通过websocket实现群发消息
- 4.遇到的问题及解决
-
- 4.1 箭头函数
- 4.2 cors跨域问题
- 4.3 编程式页面跳转
- 4.4 不推荐使用对象作为key
1.项目概述
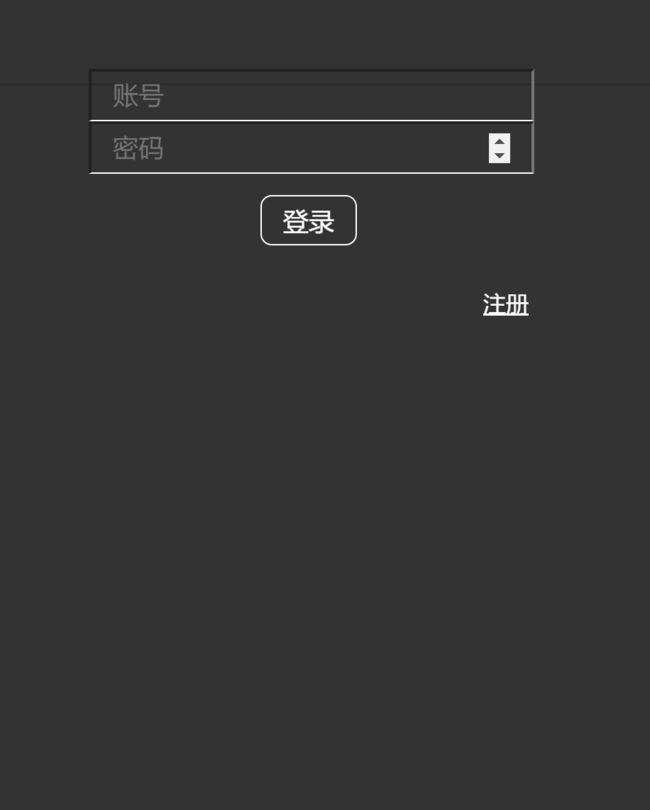
本项目是一个在线群聊工具,前端由vue搭建,后端采用express搭建,前后端通信采用ajax,使用vuex状态管理,能够使用websocket技术实现群发功能,用户和群聊的群信息存储于mongodb数据库中。
项目运行效果图如下:
2.项目运行
环境配置
需安装mongodb
建议安装mongodb Compass可视化管理数据库
需安装nodeJS环境,安装vue和express,以及运行时需要的各种组件
运行
1.启动mongdb服务
mongod
mongo
2.运行服务端
cd chatServer
npm start
3.运行客户端
cd chatClient
npm run dev
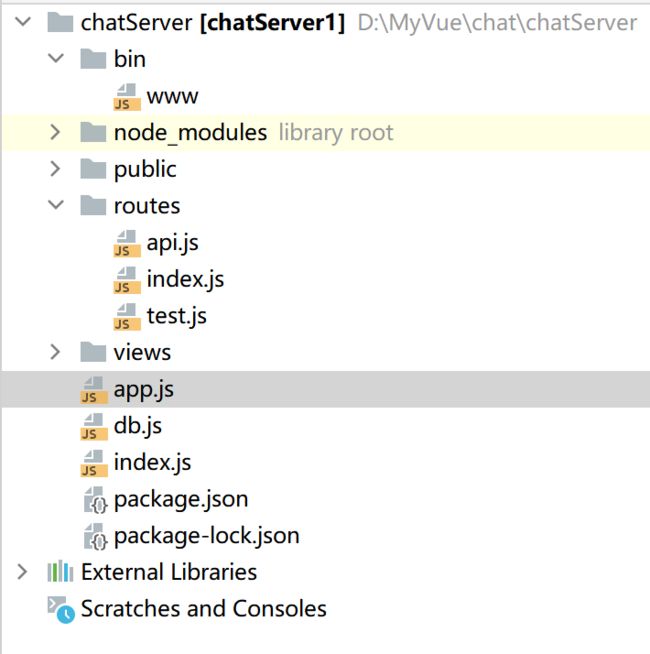
项目结构

3.项目代码细节
3.1 后端
3.1.1 nodejs连接数据库
创建db.js 负责数据库连接的初始化
当前文件夹下,安装mongoose包
npm install mongoose
- 连接数据库
在命令行已经启动了数据库的情况下,nodejs环境下按如下代码使用mongoose访问数据库
const mongoose = require('mongoose')
// 									 /数据库名
mongoose.connect('mongodb://localhost/firstDatabase', { useUnifiedTopology: true, useNewUrlParser: true}) // mongoose包下connect() 返回Promise对象
    .then(function() {
        console.log('数据库连接成功');
    })
    .catch(function() {
        console.log('数据库连接失败');
    })
- 设计document结构(表结构)
...
const UserSchema = new Schema({
    id: {type: Number},         // 用户账号
    name: {type: String},       // 用户昵称
    pwd: {type: Number},        // 密码
    regTime: {type: Number}     // 注册时间
})
....
- 将文档结构发布为模型
// 返回值是模型构造函数
const db={
    UserModel: mongoose.model('UserModel',UserSchema),
    GroupModel: mongoose.model('GroupModel',GroupSchema),
    Record1Model: mongoose.model('Record1Model',RecordSchema),
    Record2Model: mongoose.model('Record2Model',RecordSchema)
}
- 有了模型构造函数之后,就可以对document(表)进行增删改查
...
const initUser=[
    {
        'id': 100,
        'name': '张三',
        'pwd': 100,
        'regTime': 1111111112222222
    },
    {
        'id': 101,
        'name': '李四',
        'pwd': 101,
        'regTime': 1111111112222223
    }
]
...
//使用模型构造函数(db.UserModel、db.GroupModel、db.Record1Model、db.Record2Model),进行表操作
const initData = function (){
    /**
     * 初始化UserModel表
     * find 查询
     *  第一个参数:查询条件
     *  最后一个参数:回调函数,查询结果会通过回调函数返回,如果不传回调函数,压根不会查询。*/
    db.UserModel.find({},(err,doc)=>{
        if(err){
            console.log('User  用户的初始化出错'+err);
        }else if(!doc.length){
            console.log('User表第一次打开');
            // 初始化User,遍历插入
            initUser.map(item=>{
                db.UserModel.create(item);
            })
        }else{
            console.log('User表已初始化');
        }
    })
}
...
 module.exports=db
3.1.2 创建api.js负责数据库操作
app.js是初始运行文件,在其中配置
var apiRouter=require('./routes/api');
app.use('/api',apiRouter);
api.js
var express = require('express');
var router = express.Router();

// 连接数据库并初始化
const db=require('../db')
const {modelNames} = require("mongoose");

// 登录
router.get('/login', function(req, res) {...});

// 注册
router.get('/register',function (req,res){...});

//获取群信息
router.get('/getGroup',function (req,res) {...})


module.exports = router;
3.2 前端
3.2.1 前端功能简述
login.vue
登录/注册,判断登录/注册的合法性(与后端api的交互),成功则更新当前用户在在线状态 chatState,跳转到control页面
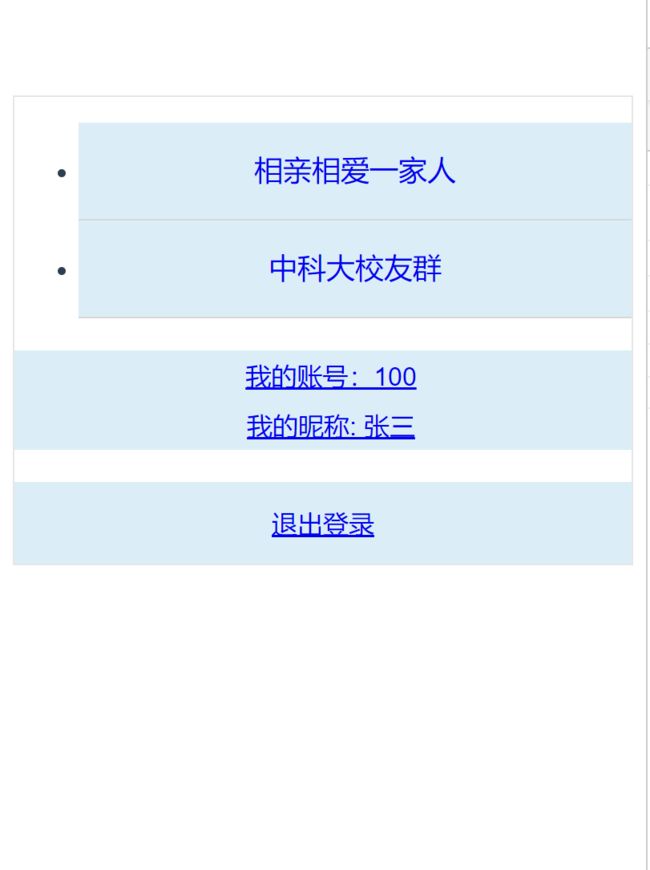
control.vue
获取当前的用户状态,获取该用户的群信息(与后端api的交互)
展示群信息,点击其中一个群后,更新当前群状态 groupState,跳转到chat页面 把点击的当前群信息带上
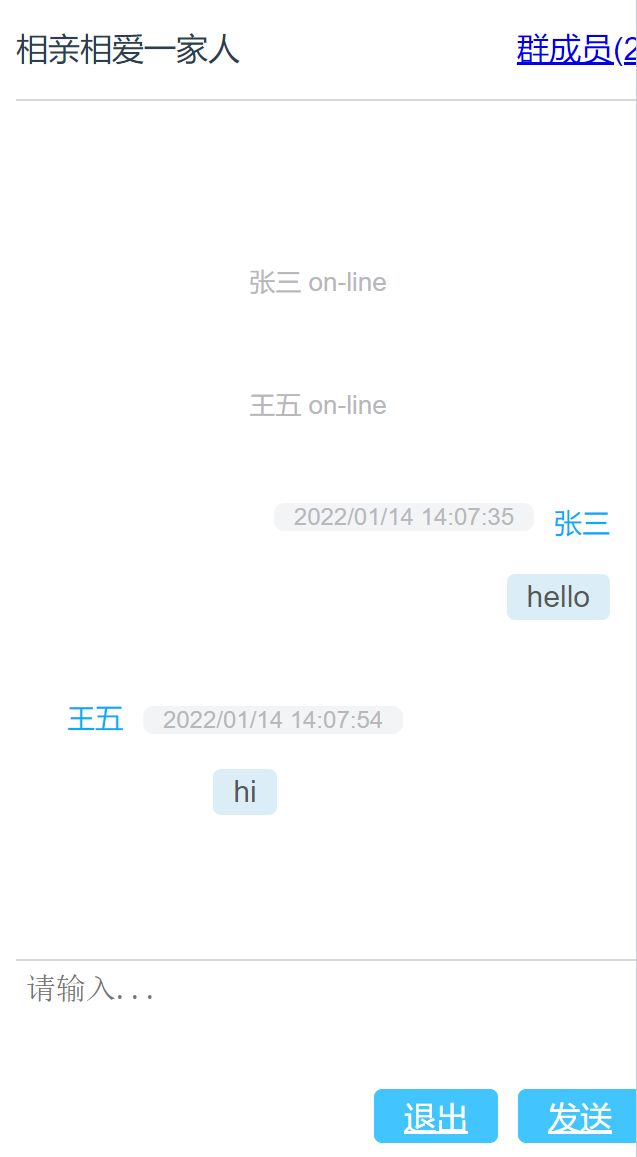
chat.vue
获取当前用户状态,群状态
用群状态获取当前群成员信息
用群状态获取当前聊天记录(与后端api的交互)
发送消息
3.2.2 前端通过axios访问后端数据
<span class="top-name">{{groupName}}span>
getGroups () {
      this.$axios({
        url: 'http://192.168.43.190:3000/api/getGroup',
        method: 'GET'
      })
        .then((res) => {
          let data = res.data
          if (data.code === 200) {
            // 从返回数据中获取群信息
            this.Groups = data.Groups
            console.log(data.msg)
          } else {
            // 获取失败
            console.log(data.msg)
          }
        })
    },
3.2 通过Vuex实现状态管理
新建文件夹vuex,创建store.js
初始化store.js的内容
import Vue from 'vue'
import Vuex from 'vuex'
// 挂载VueX
Vue.use(Vuex)
// 创建VueX对象
export default new Vuex.Store({
  state: {
    // 存放的键值对就是所要管理的状态
    // name: 'helloVueX' // 文档的test
    chatState: {
      id: null,
      name: null
    },
    groupState: null
  },
  /**
   * mutations 是对state成员状态的写方法
   * mutations方法的调用方式为this.$store.commit(‘method’,[payload])
   */
  mutations: {
    // 参数的传递?
    updateChatState (state, obj) {
      state.chatState = obj
    },
    updateGroupState: function (state, obj) {
      state.groupState = obj
    }
  },
  /**
   * getters 读取state成员状态并进行加工给外界的方法
   * 只读取的例如this.$store.state.name
   * getters方法的调用方式为this.$store.getters.method()
   */
  getters: {
    getChatState (state) {
      return state.chatState
    },
    getGroupState (state) {
      return state.groupState
    }
  },
  /**
   * actions 用于异步操作,一般是用来和后端同步状态
   * 由于直接在mutation方法中进行异步操作,将会引起数据失效,所以提供了Actions来专门进行异步操作
   * 其中需要通过context.commit(‘method’,[payload])调用mutation方法
   * actions方法的调用方式this.$store.dispatch(‘method’,[,payload])
   * */
  // updateChatState (context, status) {
  //   context.commit('updateChatState', status)
  // }
  // es6解构写法
  actions: {
    updateChatState ({commit}, obj) {
      console.log('updateChatState', obj)
      commit('updateChatState', obj)
    },
    updateGroupState ({commit}, obj) {
      console.log('updateGroupState', obj)
      commit('updateGroupState', obj)
    }
  }
})
将创建的VueX对象Store挂载到当前项目的Vue实例中去
打开main.js
import Vue from 'vue'
import App from './App'
import router from './router'
import store from './vuex/store' // VueX
Vue.config.productionTip = false
/* eslint-disable no-new */
// 将store挂载到当前项目的Vue实例当中去
new Vue({
el: '#app',
router,
store, // VueX
components: { App },
template: '在组件中使用vuex
例如在App.vue中,我们要将state中定义的name拿来在h1标签中显示
        name:
        {{ $store.state.name }}
或者要在组件方法中使用
...,
methods:{
	add(){
		console.log(this.$store.state.name)
	}
},
...
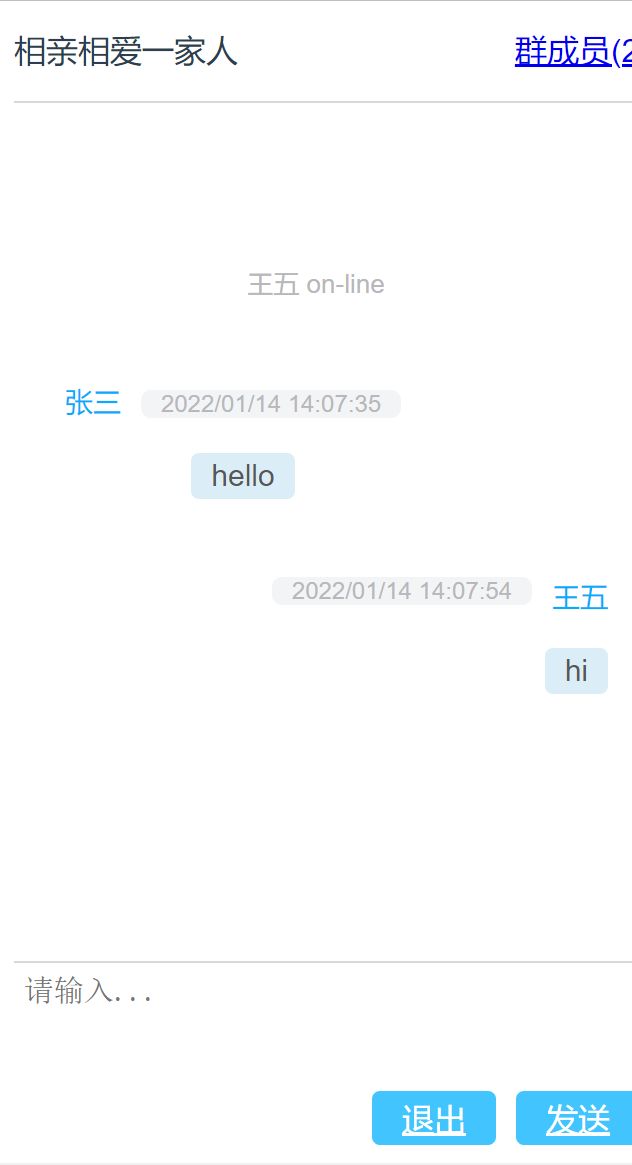
3.3 通过websocket实现群发消息
- 连接websocket
this.socket = io.connect('http://localhost:8081')
- 组织数据
// 组织数据
let chat = {
    id: this.$store.getters.getChatState.id,
    name: this.$store.getters.getChatState.name,
    chatTime: Date.parse(new Date()),
    chatMes: this.editText,
    chatGroup: this.groupState.groupId,
    chatType: 'chat'
}
- 在线发送消息
this.socket.emit('emitChat', chat)
- 客户端监听服务端
this.socket.removeAllListeners()
let that = this
this.socket.on('emitChat', function (data) {
    console.log('收到emitChat')
    let chat = data
    chat.chatTime = that.timeFormat(chat.chatTime)
    that.chatLog.push(chat)
})
- 服务端监听客户端
// 监听emitChat
  socket.on('emitChat',function (data) {
    console.log('服务端监听到emitChat')
    chat=data
    console.log(data)
    // 向所有连上socket的广播emitChat消息
    io.emit('emitChat',chat)
  })
4.遇到的问题及解决
4.1 箭头函数
<script>
import axios from 'axios'

export default {
  data () {
    return {
      msg: 'default msg'
    }
  },
  created () {
    this.msg = 'change'
    axios
      .get('https://api.coindesk.com/v1/bpi/currentprice.json')
      .then((response) => {
        // 处理成功情况
        console.log('前端通过axios访问后端成功')
        this.msg = response
        // 将HTTP响应的结果显示到页面上
        document.getElementById('content').innerHTML = response
      })
      .catch((error) => {
        // 处理错误情况
        console.log('前端通过axios访问后端失败' + error)
      })
  }
}
注意,箭头函数不是简单的function(){}匿名函数的简写,实际上,箭头函数和匿名函数有个明显的区别:箭头函数内部的this是词法作用域,再编写函数时就已经确定了。而匿名函数this指向运行时实际调用该方法的对象,无法在编写函数时确定。
所以下述写法中的this会出错!!!
created () {
    this.msg = 'change'
    axios
      .get('https://api.coindesk.com/v1/bpi/currentprice.json')
      .then(function (response){
        console.log('前端通过axios访问后端成功')
        this.msg = response
        document.getElementById('content').innerHTML = response
      })
      .catch(function (error){
        console.log('前端通过axios访问后端失败' + error)
      })
  }
![]()
4.2 cors跨域问题
cros跨域

express后端项目中安装cors
cnpm install cors --save
在app.js文件中引入cors,写下如下几行代码
var cors=require('cors');
app.use(cors({
    origin:['http://localhost:8080'],  //指定接收的地址
    methods:['GET','POST'],  //指定接收的请求类型
    alloweHeaders:['Content-Type','Authorization']  //指定header
}))
4.3 编程式页面跳转
router.push({ path: 'chat' }) //出现url改变,但页面不刷新的问题
//改为
this.$router.push({ path: 'chat' })
4.4 不推荐使用对象作为key
不推荐使用对象作为key

![]()