vue使用地图
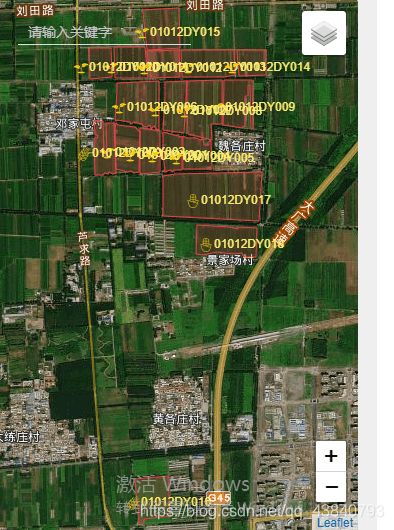
一、达到的效果
展示地图,画出地块,输入框

二、展示地图
1、首先写一个空白区域
<div style="height: 600px; width: 450px;" id="container"></div>
2、在method方法中写一个初始化函数
// 初始化
	  init() {
	  	//天地图
	  	let xyzTileLayer = new AMap.TileLayer({
	  		opacity: 1,
	  		zIndex: 4,
	  	})
	  	// 高德地图
	  	let gd = new AMap.TileLayer.Satellite()
	  	this.map = new AMap.Map('container', {
	  		layers: [gd, new AMap.TileLayer.RoadNet({
	  			zIndex: 6,
	  		})], //卫星图
	  		resizeEnable: true,
	  		expandZoomRange: true,
	  		zoom: 16,
	  		zooms: [3, 20], //移动端高清19,非高清20,前提expandZoomRange为true
	  	}).on('click', event => {
	  		//点击添加点标记
	  		this.addMaker(event)
	  	})
	  	// 比例尺
	  	this.map.plugin(["AMap.Scale"], () => {
	  		this.map.addControl(new AMap.Scale());
	  	});
	  },
解释一番吧。
来个标准图层
let xyzTileLayer = new AMap.TileLayer({
opacity: 1,
zIndex: 4,
})

再来个卫星图层
let gd = new AMap.TileLayer.Satellite()
最后来个卫星图层与路网图层的叠加,
this.map = new AMap.Map('container', {
	  		layers: [**gd, new AMap.TileLayer.RoadNet**({
	  			zIndex: 6,
	  		})], //卫星图与路网图叠加
	  		resizeEnable: true,
	  		expandZoomRange: true,
	  		zoom: 16,
	  		zooms: [3, 20], //移动端高清19,非高清20,前提expandZoomRange为true
	  	})
基本参数
- layers Array 地图图层数组,数组可以是图层 中的一个或多个
- zoom Number 地图显示的缩放级别,若center与level未赋值,地图初始化默认显示用户所在城市范围
- center LngLat 地图中心点坐标值(自V1.3.0起变更为view对象中的center属性)
- zooms Array 地图显示的缩放级别范围,在PC上,默认为[3,18],取值范围[3-18];在移动设备上,默认为[3-19],取值范围[3-19]
- resizeEnable Boolean 是否监控地图容器尺寸变化,默认值为false
添加个工具栏吧,工具栏中只放了比例尺。
this.map.plugin(["AMap.Scale"], () => {
  		this.map.addControl(new AMap.Scale());
  	});
3、在钩子函数中调用初始化函数
  mounted() {
  	this.init();
  },
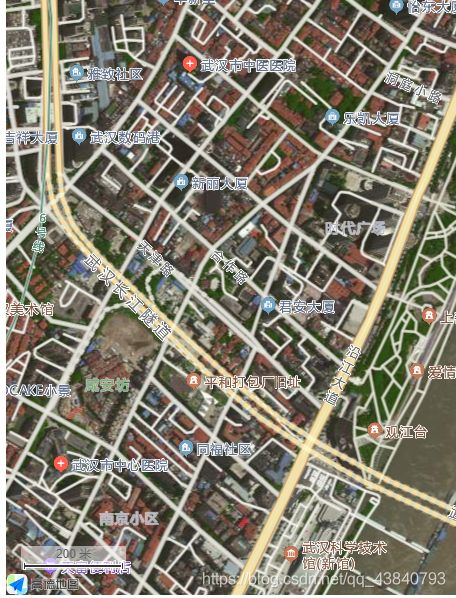
到这里,最简略的一般已经出来了

但没有定位是吧,而且工具栏也不全,接下来做点修改,
4、添加定位,写个定位函数
			// 定位
			getLocation() {
				this.map.plugin('AMap.Geolocation', () => {
					this.geolocation = new AMap.Geolocation({
						enableHighAccuracy: true, //是否使用高精度定位,默认:true
						timeout: 10000, //超过10秒后停止定位,默认:5s
						buttonPosition: 'RB', //定位按钮的停靠位置
						buttonOffset: new AMap.Pixel(10, 20), //定位按钮与设置的停靠位置的偏移量,默认:Pixel(10, 20)
						zoomToAccuracy: true, //定位成功后是否自动调整地图视野到定位点
					});
				})
				this.map.addControl(this.geolocation);
				this.geolocation.getCurrentPosition((status, result) => {
					if (status == 'complete') {
						console.log(result);
					} else {
						console.log(result)
					}
				});
			},
5、在init函数中调用定位函数
this.getLocation();
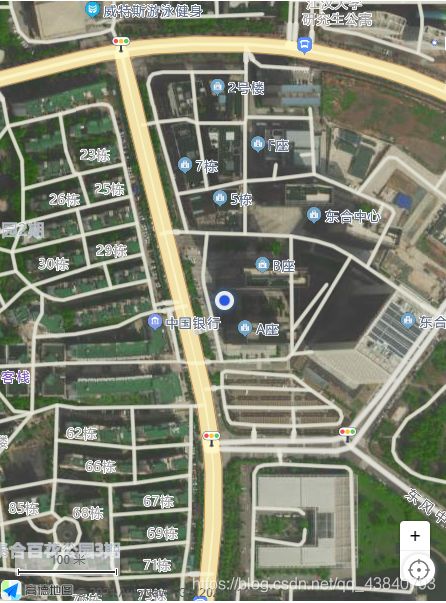
此时成片如下

6、添加放缩栏
this.map.plugin(['AMap.ToolBar', 'AMap.Scale'], () => {
			this.map.addControl(new AMap.ToolBar());
	  		this.map.addControl(new AMap.Scale());
	  	});
